|
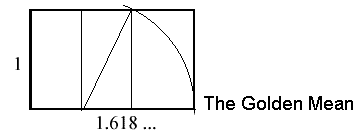
Finding a satisfactory format for a square canvas You will recall my explanation of how the 'golden mean' is constructed
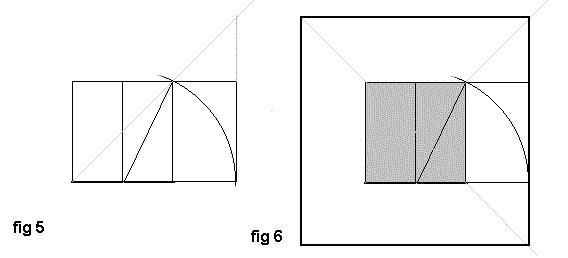
I intend to use this golden rectangle as the basis for the major composition elements in my painting. First I will extend the diagonal of the original square to meet the extended vertical of the right side of the rectangle as shown in Fig 5
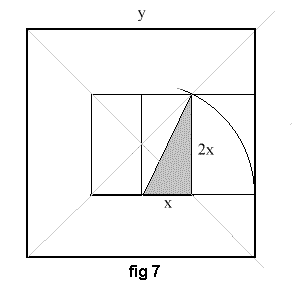
From this point of intersection I draw a square that will encompass and center the original square (here shaded) as in Fig 6. Thus I have established the proportions of my smaller square within the larger.
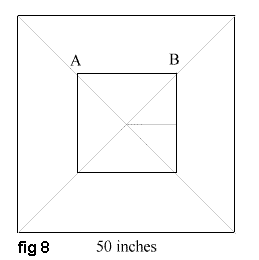
Thus we have our square within a square. This, as you can see, is essentially the 'design' standard I used for the paintings shown below. 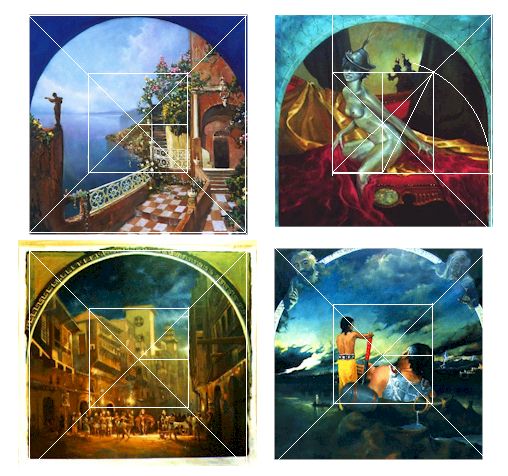
Fig 9 The 'Golden Rectangle' can be further divided into smaller 'golden rectangles' and arcs of circles added to make a 'Golden Spiral' similar to those you see in pine cones etc. 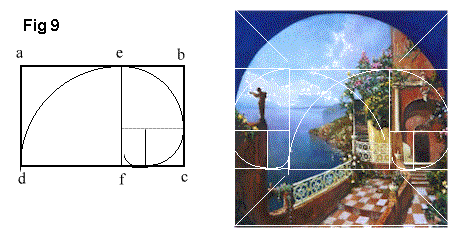
For the unfinished painting on the right a few more strategic secondary accents were aligned with these secondary golden rectangles. STUDENT ACTIVITY:Draw your own 'golden spiral' beginning with a unit (a-d = 6" or 250mm) and find out the proportions for a 'golden triangle'. Allow 40min. |
