| 2. SIDELIGHT TOPLIGHT AND REFLECTED LIGHT
We know solid objects will block out light
so why aren't their shadows black?

We know that every surface that absorbs one hue reflects the hues it does not absorb. The reflected hue is its 'named hue'. White surfaces then reflect the whole spectrum. We live in situations surrounded by many reflective surfaces. They can be red, blue or yellow, polished, shiny or not and light rays will continue to bounce around until like they find the appropiate surface to snap them up. Until they do however they are 'reflected' light and provide that illusive secondary source that lets us look into dark corners.
To demonstrate this let us take a trip to
the stars.
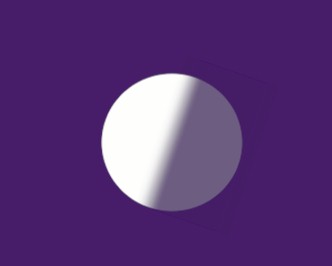 |
Here we see a sphere or
planet much like the earth. It is half in shade and half lit by a sun.
The value of the shadow is constant even though the edge at the 'equator'
appears darker. That is only an optical illusion because of its proximity to the white hemisphere. Also due to stray light rays the shadow is a 'value' lighter than the background though it is the same 'hue'. |
Now we give the planet a small moon which also
reflects a certain amount of light from the sun ...
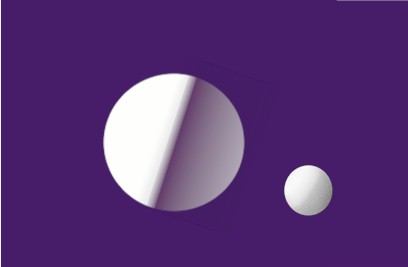
Note the effect of the reflected light as well
as the 'apparent' deepening of the 'turning point' or equatorial band.
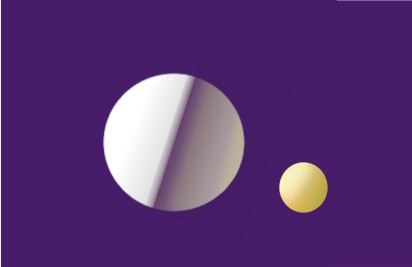
If we give the moon a local hue (yellow) we
can see its subtle effect on the main sphere. Much the same thing happens
between the moon and the earth.
The impressionists concentrated on illuminating
shadows such as in the haystacks of Monet and the flesh tones of Renoir.
Meanwhile Vermeer was the master of side and reflected light. Vermeer created layer on
layer of magic and delicate secondary light (see lesson on 'girl with the pearl
earring').
Note: when you are painting your next portrait,
or examining another, try to identify the local color, the reflected color,
the shadow color and the turning point. A face is not much different from
a sphere when struck by secondary light.
STUDENT ACTIVITY: Using a white jug, cup, or some other bland object and other colorful pieces set up your own secondary light effect. Try and use more objects to get a third light or tertiary effect. Make some colored sketches to show you understand the theory then find some master portrait that uses the secondary light effect to best advantage. Allow 40min.
|