title
Home page Opening MS Publisher V3 Setting up a Page The Task

The TOOL BOX

 Figure 4 Choose a button to view an example and select back to return to this page.
Will change the cursor back to an arrow The text frame button. Click and drag to ceate a frame. Then insert the text. To insert a picture or clipart. Click and drag then insert a picture. To insert a table. Click and drag. The wizard will help you choose a table or you can create your own. As in MS Word, this button helps you create WordArt. You can draw lines with this tool. Just click and drag. For ovals or circles select this button. You can also use it with the shift button to create circles. To draw rectangles choose this button. Use it with shift to create a square. This button gives you a choice of shapes. Select, then click and drag on your page. This is the page wizard tool. It helps you create your own page. To insert an object choose this tool. If you want to make use of a number or ready made designs, click this button.

Step 6 :

Using the TOOLBOX (figure 4)

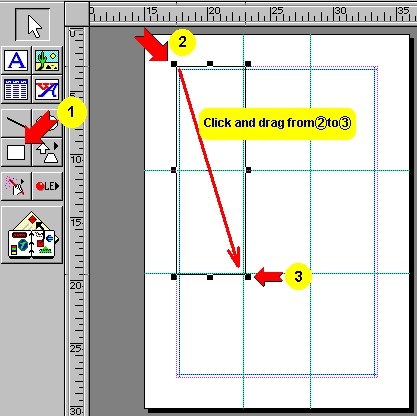
You can now use the guide lines to help you construct the page.

The Box tool (to draw a square or rectangle.)

Step 6a.

  1. Select the box tool
  2. Click and drag using the guide lines

using the Box Tool

3. Notice the Resizing handles. These are similar to the handles in MS Word. If you want to change the shape of the box you must use these handles.

But now new pointers appear : special pointers

You can see how these work later on.

top
If you have any difficulties, please e-mail me at: zammitellu@Hotmail.com next page