
This tutorial is designed to show you how to use the vary basics of the layers feature. It is a simple process the uses only Paint Shop Pro 5.01. You do not need any of the special filters you see mentioned throughout the web. I have created a zipped file with the Patch and the F-16 image that I used in this tutorial so you can do this exactly as shown. after downloading the zip file unzip it and save the two images in a directory you want. Of course you can use any images you like.Step #1
Step #2
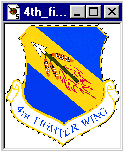
- Start by opening the 4th Fighter Wing Patch that was in the zipped file.
- From the Menu Bar
select Image, Resize.
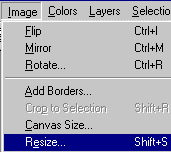
- Set the Pixel Size to Width=231, Height=248.
- From the Tool Palette
select the Magic Wand set the Tolerance =10 Feather=0.
- Place the mouse cursor in the White area and click. You should now have the dancing lines around the outer border and the patch.
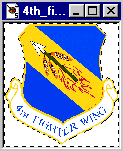
- Now from the Menu Bar choose Selections, Invert. Now the dancing line should be around the patch only.
- Select from the Menu Bar, Edit, Copy.
- Open a New Image at a Width=350 Height=325
- Now go to the Tool Bar
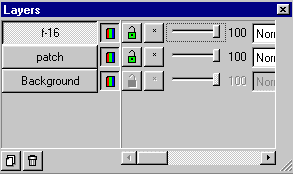
and select the Layer Palette.
- In the lower left corner of the Layers Palette select Add New Layer
and call it patch.
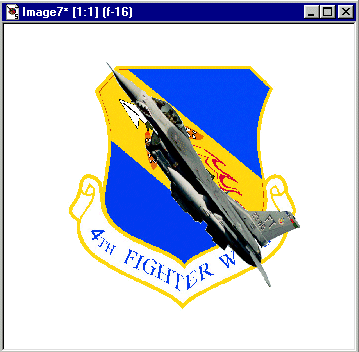
- Again from the Menu Bar select Edit, Paste, As New Selection. Place the patch in the center of the Image box.
- Now deselect the patch. Place the Magic Wand in the Image box and right click the mouse or from the Menu Bar pick Selections, Select None.
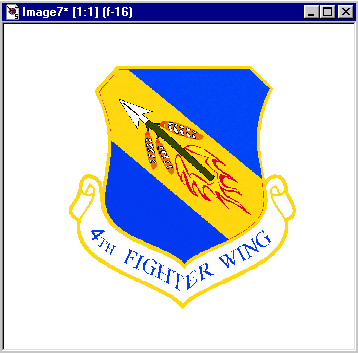
- Open the F-16 Image from the zipped file.
- You will need to Resize this Image as you did with the first Image. From the Menu Bar select Image, Resize. Set the Width=250, Height=250.
- Same as the first Image select the Magic Wand and click in the White area of the image.
- Go to the Menu Bar choose Selections, Invert.
- Select Edit, Copy from the Menu Bar.
- Now we need to add a new layer to the Layer Palette. Again in the lower left corner of the Layers Control Box select Add New Layer. Call this layer f-16.
- From the Menu Bar select Edit, Paste, As New Selection. Place the F-16 Image in the center of the Patch add deselect.
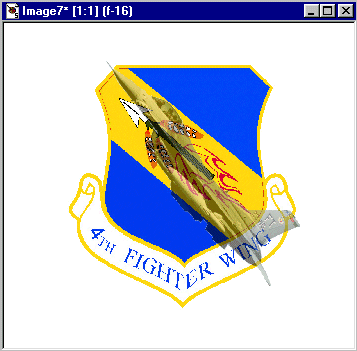
- Now on the Layer Palette Control Box move the slide bar to the left till you fade the F-16 to the effect you want.
Go To Page 2