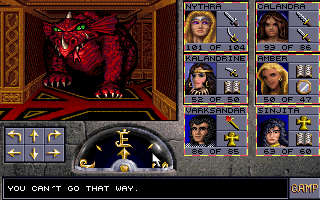
 The entrance to Temple Darkmoon - brace
yourselves, 'cause things will get distinctly nastier for
here on - I promise you!
|
 Calandra is well worth having in the
party, but watch the clerics guarding the cell block - they
cast potentially lethal Hold Person spells!
|
 Clerics...a major pain in the butt. They show
up just when you don't need them - and they don't need to
cast spells to cause you big trouble.
|
 The deadly depths of Darkmoon - no chance to
rest, but plenty of opponents. Fight through the Margoyles
to find a portal key!
|
 The "Zappy Chamber", full of nasty trap-beams.
Work out the pattern, then work your way round carefully,
and blast the Mantises at the end!
|
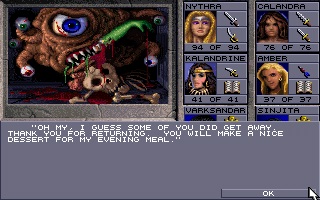
 Mantises, wasps, gas spores, flying
snakes...it all leads to this encounter with the evil
mastermind, who does a nice line in "Q" impressions...
|
 One Beholder last time was bad enough, but
Darkmoon has heaps of them. Watch out for the special
key-item in this area!
|
 These Beholders - there are two - are
especially vicious, and stand between you and the rest of
the game. Prepare, then dive in and fight!
|
 The Daemons are Darkmoon's equivalent of the
Kenku - kill loads of them to earn heavy experience and
levels!
|
 Explore every corner, or you'll have to
back-track - not a good thing if that back-tracking takes
you on a return visit to the fearsome Fireball Maze!
|
 The magic dust (in the little green bags) will
unpetrify any "stoned" characters. Better not to get
petrified in the first place, though...
|
 Bloody Frost Giants! Lightning-Bolt the
b*st*rds - you may do double damage if they're against a
wall, or zap more than one at a time!
|
 The Final Battle approaches - with heaps of
spell-casting before-hand! This time, Dran treats us to his
"Mr. Burns of The Simpsons" impression...
|
 Far more impressive is Dran's true appearance,
revealed when he is first defeated. This guy is fast and
DEADLY - there are few his equal!
|
 However, he goes down, just like ALL the
rest!
|
 Acclaim hard earned, and much deserved!
|