An Introduction to the Restoration of Old Vinyl Records at Home
Sound Editing with the best software - Cool Edit Pro
Recording
Recording through the analog input needs some basic
setting which is not to be discussed here because there are too many different
kinds of sound cards on the market. Anyway, after proper setting of the input
level and selection of recording source through Cool Edit Pro, we now begin to
record things.
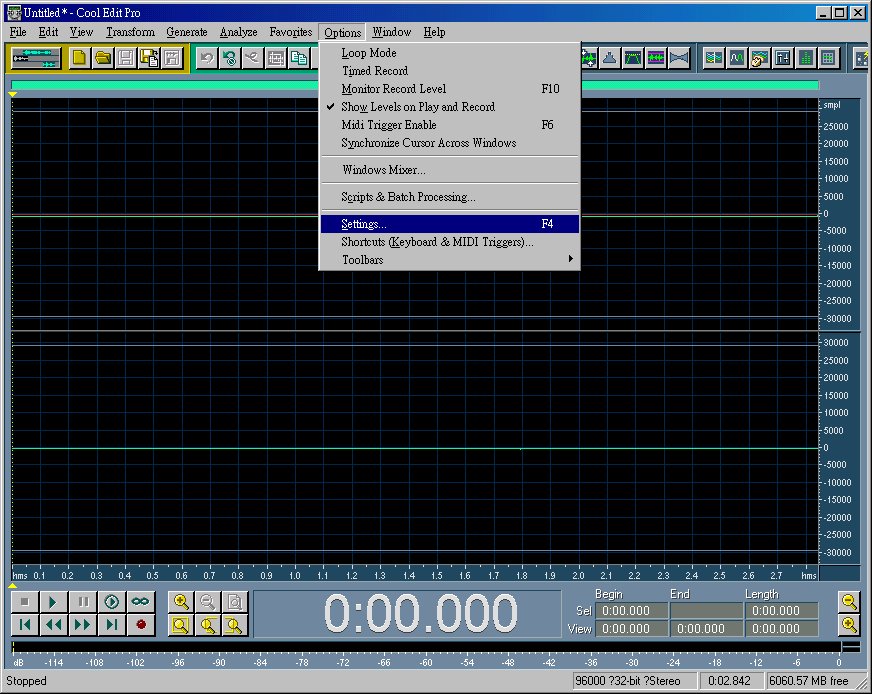
Choose Settings to begin our basic recording settings.
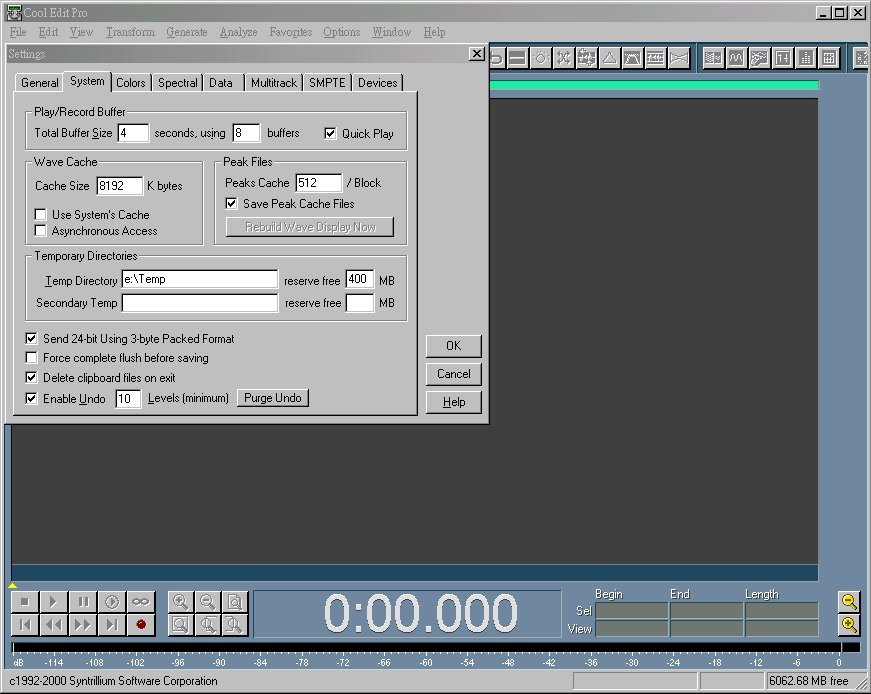
A good Sound Card can record up to 24bit resolution, choose "Send 24-bit Using 3-byte Packed Format".
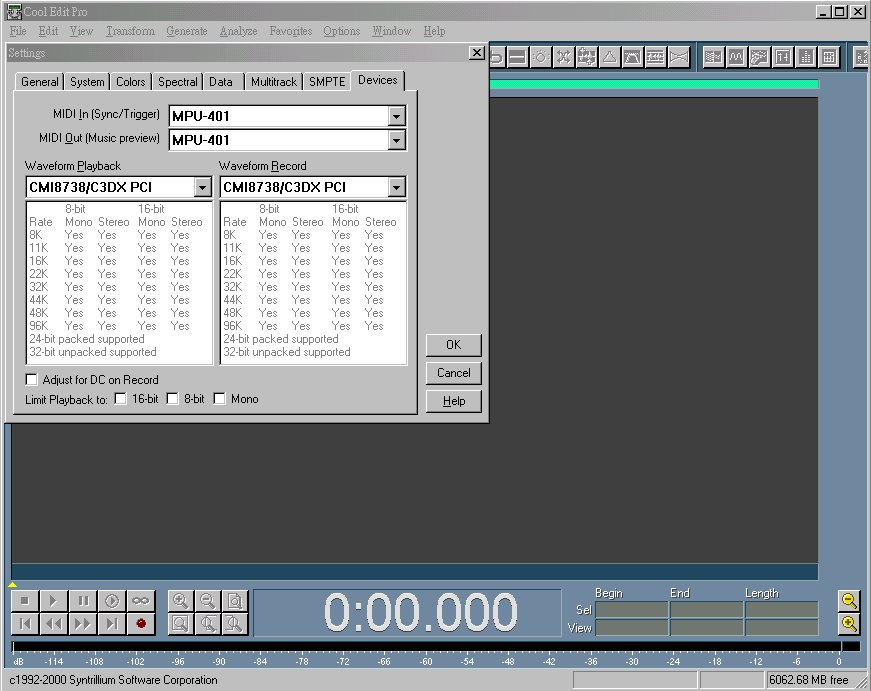
Choose the appropriate Sound Card for input and output. You may check "Adjust for DC on Record" if needed (see below). As you can see, this Sound Card is a cheap one. It does not support 24bit recording.
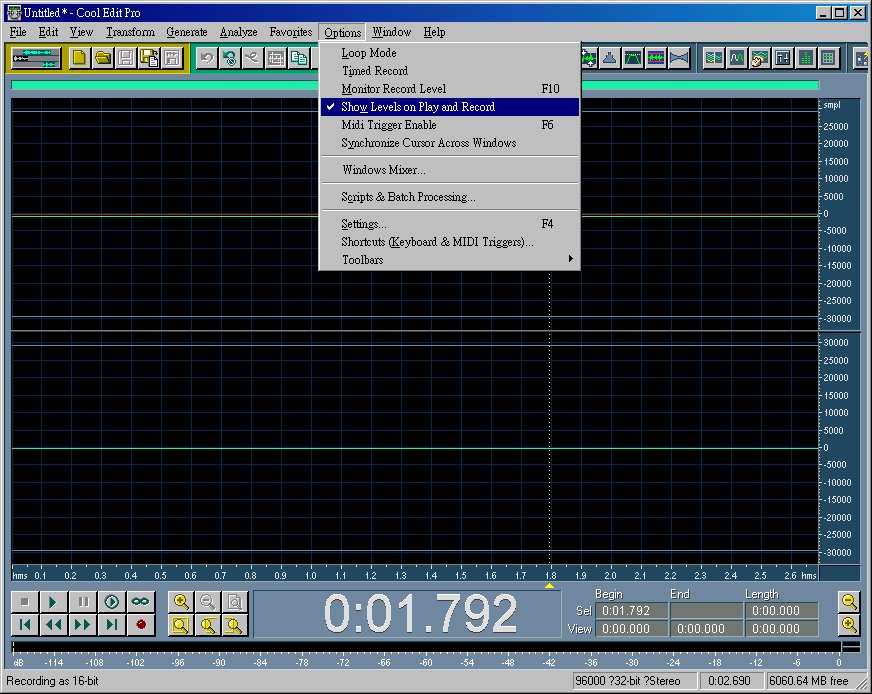
In order to monitor the signal input, you may choose "Show Levels on Play and Record"
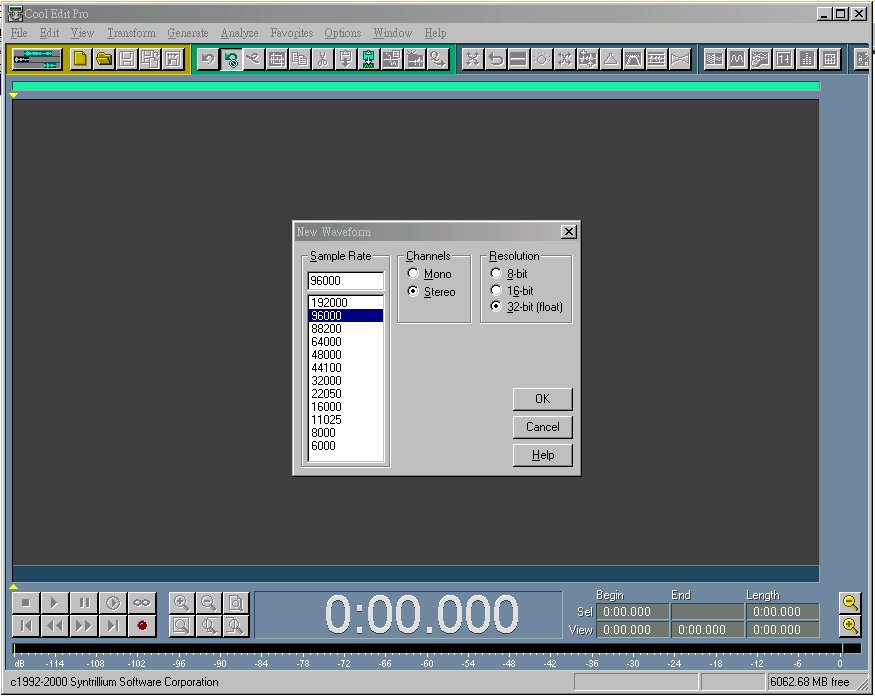
To begin recording, click on "File/New... (Ctrl+N)". Choose the Sample Rate and Bit Rate. Choose 32bit- (float) for 24bit recording.
![]()
Now this Sound Card is recording the blank no-signal source after clicking on the red recording button on the lower left corner. Two red lines appear to show the sound level. Because there is no sound source signal. The 2 red lines represent the background noise incurred by the sound card itself. The upper (Left Channel)red lines shows a higher background noise than the lower (Right Channel) red line. The lower red line is at about -57dB with no input signal. The double lines on the upper part of the graph (Left Channel) shows that the Left Channel has a negative direct current (DC) bias. Therefore you may check "Adjust for DC on Record" box on the recording source (Devices) menu to eliminate the unwanted DC bias during recording sessions. However, you may also eliminate the DC bias later at sound editing.
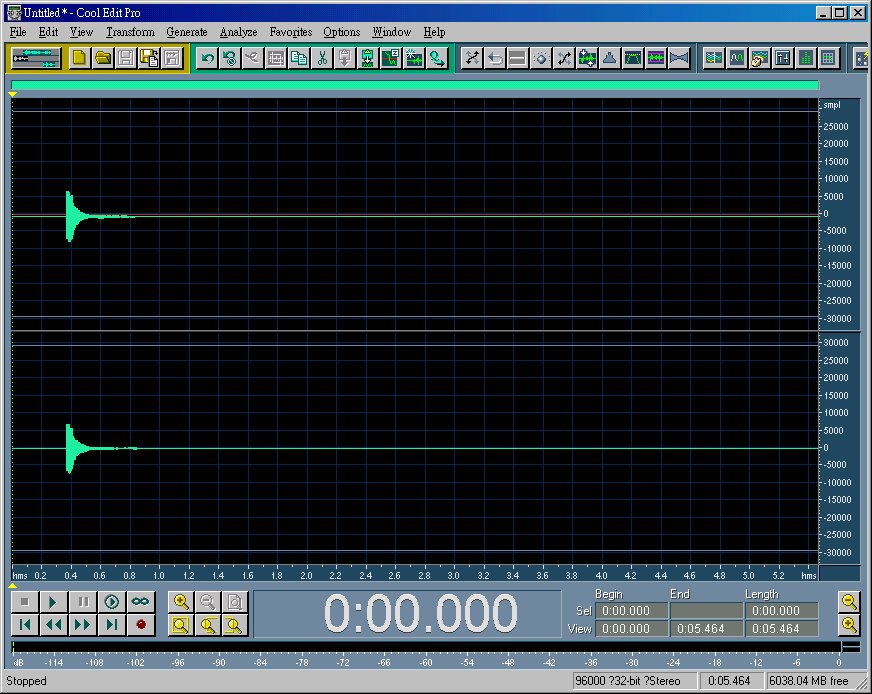
I sent some signal input for testing purpose. You can see that the negative DC bias caused a small down shift of the left channel.
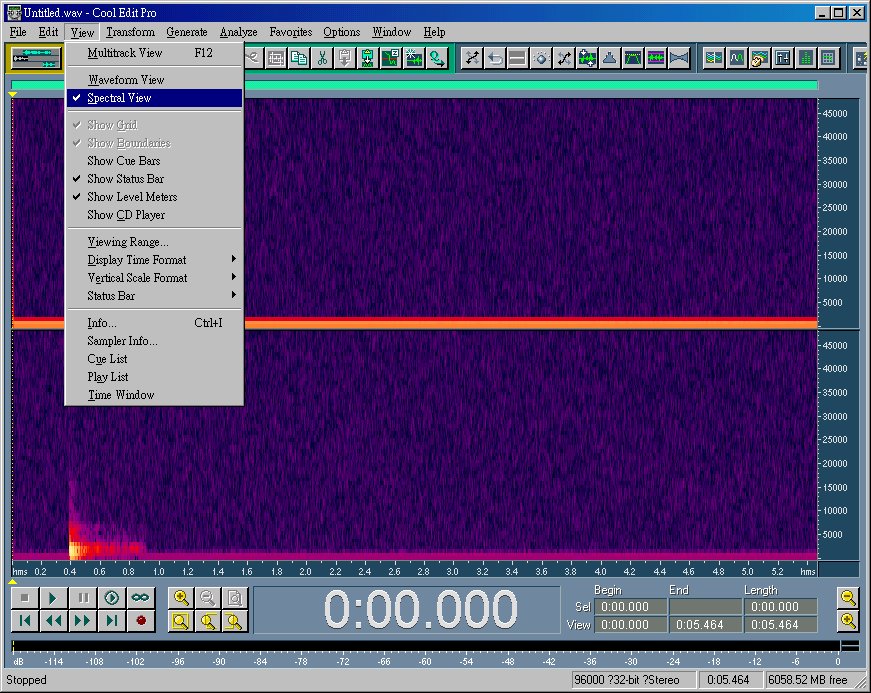
To let you see clearly the background noise, you may click on "View/Spectral View" so that the low level bass hum can be seen clearly represented by the purple-colored mottling background. The background noise is quite annoying. In this case, you can see that this particular Sound Card has a background noise level of -57dB which means you can have a dynamic range of volume between -57dB and 0dB...a narrow range but still enough for ordinary home recording. CardDeluxe (399USD) is deemed the best Sound Card affordable for home recording. It's background noise is about -96dB in my hardware settings (The manufacturer's specification says that it has a signal-to-noise ration >100dB).
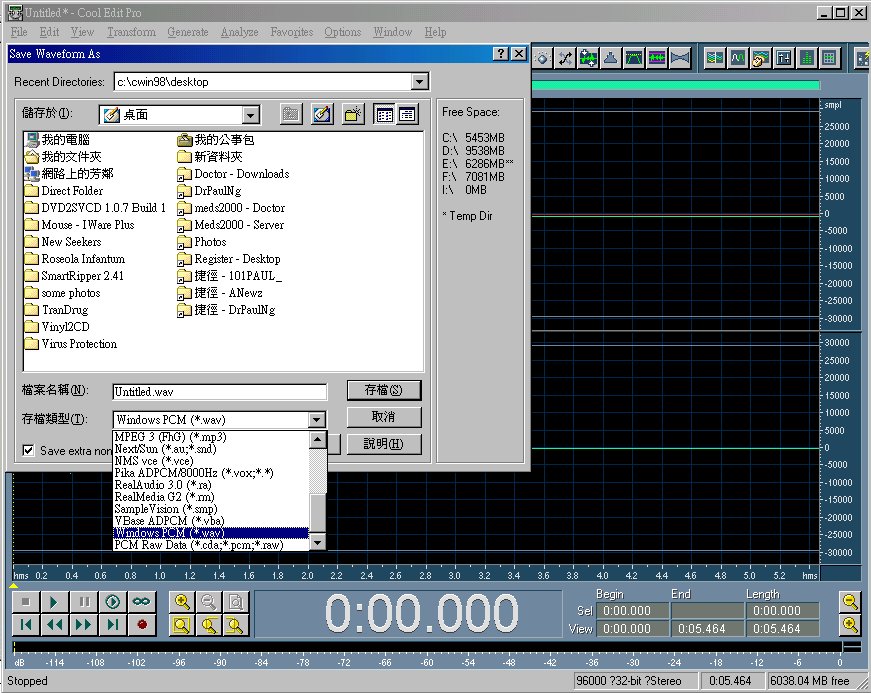
Now click on "save" to save the file .wav format (There are many different formats you can choose among).
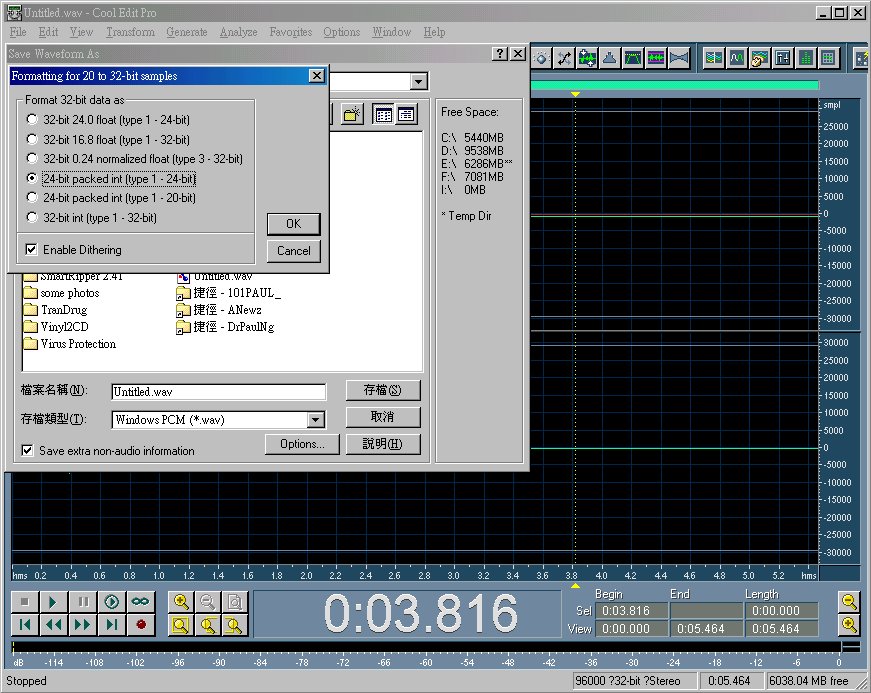
You may specify the bit depth by clicking on the "Options.." button. However, for this cheap on-board Sound Card, the bit depth is limited to 16bit only. Now that you have saved the sound file in Untitled.wav or AnyNameYouWant.wav, we are going to do some editing.
NEXT PAGE: How to do the sound editing (4. Editing - Background Noise Elimination)