Air/Fuel Mixture Gauge Installation, Continued..
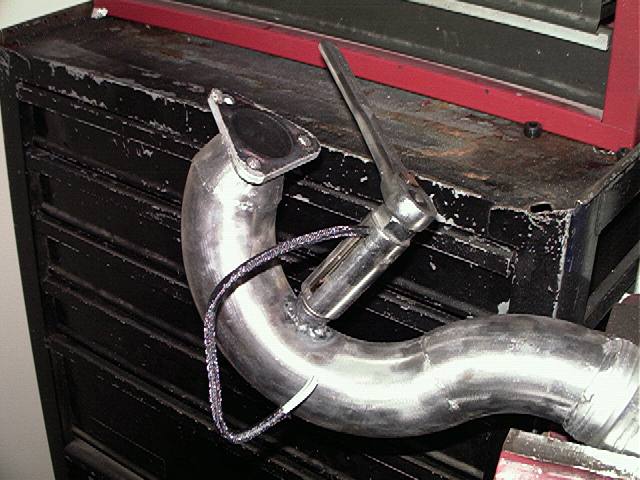
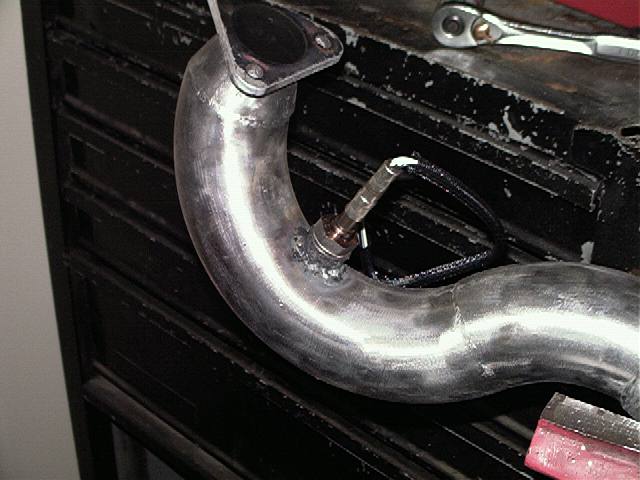
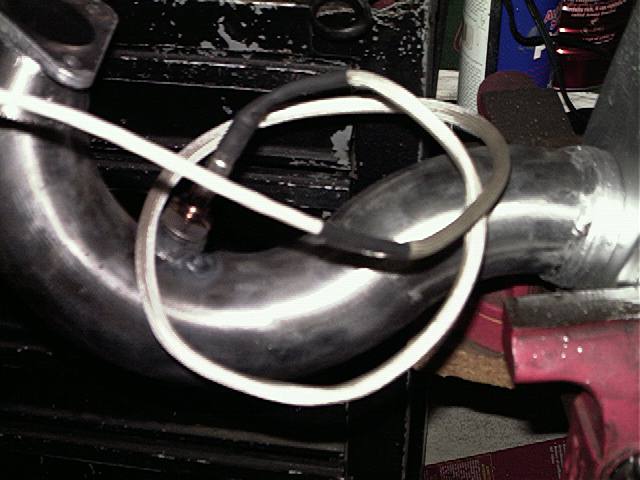
Okay, now we take out that special socket that we bought a few years back to replace the o2 sensor on the wife's car, and test fit the o2 sensor. It should go in easily. If not, make sure you got the o2 bung welded dead center over the hole you put in your exhaust. Actually, from here, you can leave the sender in the exhaust. Wow, looks like a modern day's car exhaust.
All installed, and ready for action. Doesn't it look so 'Modern'?
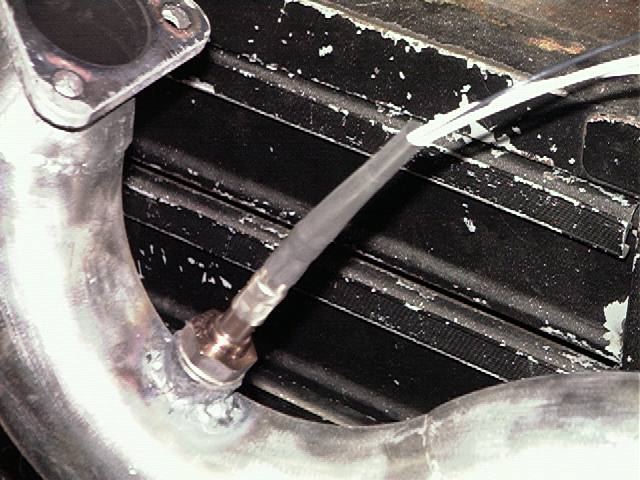
Slide some Heat Shrink tubing over the o2 sensor......
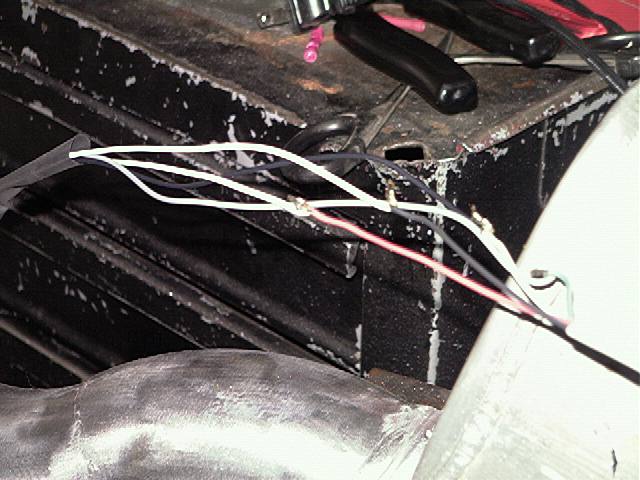
I know, I know, the kit comes with crimp connnectors for this part, but I trust soldering my connections more. Strip some of the main harness down, and expose the ends of the wires. You cant have all the wires splice at the same point in the harness though. As you can see here, I have spaced my 'splices' about 1 inch away from eachother, that way, when the fibergalss sheating goes over it, it won't look like a gardner snake after eating.

Now, slide the supplied sheathing over the harness, and tuck it into the heat shrink tubing. Get out your trusty Zippo lighter, and shrink that stuff down! This sheathing will protect your wiring from melting and shorting out if the exhaust temps get too hot. It also hides your unsightly splices you've just made. A very clean look!
<-- Now heat shrink the other end of the sheating on the main harness. Very cool!