


| | The
1970 restoration.......
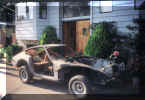
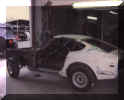
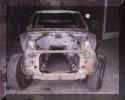
Here are some pictures of the new car that I am building. There wasn't
much to it when I bought it, just a rolling chassis with a jumble of miscellaneous
parts thrown inside. No engine, tranny or differential. There was some rust .The
previous owner had intended to build a race car and had tubbed the
rear wheel wells. What I did get was a body that was straight and a dash-board
with no cracks or holes.
I have managed to trade, beg, borrow and steal, (and in some cases
actually buy) a rebuilt 2.8 litre, a heavier differential and a five speed which
I rebuilt myself ( I am a transmission rebuilder by trade). There used to be a
day when you could buy rusted out Z's in the Buy &Sell all day long but alas
those days are gone. Fortunately a tow truck driver I know turned me on to a
great parts car. Yellow, completely rusted out with a seized engine but with an
almost immaculate interior. It can be seen in the picture of the two cars in the
garage, the one on the right on the previous page.

Click on above And below pictures for a full size image
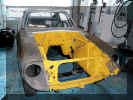
Some newer pictures, the doors were painted off the car and can
be seen here mounted back on the car. The hatch back and hood are still being
prepped for paint.
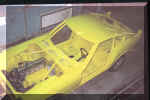
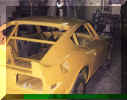
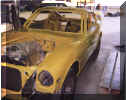
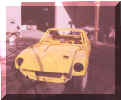
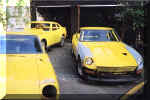
The yellow collection, Parts car, My new car and the one my
friend is getting. I couldn't resist the opportunity to get a shot of all three
yellow Z s
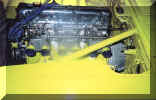
A picture of the carbs installed, Webber 40s
Recent progress and restoration
tips
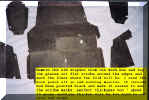 So
what do you do with the rotten, shaggy, cardboard dash box ? Build your own out
of steel ! So
what do you do with the rotten, shaggy, cardboard dash box ? Build your own out
of steel !
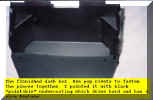 The
finished dash box. My original plan was to use fiberglass but it turned into a
big mess. I thought if I made a mold $$$$$ but the steel one turned out great
and was a lot easier to make. The
finished dash box. My original plan was to use fiberglass but it turned into a
big mess. I thought if I made a mold $$$$$ but the steel one turned out great
and was a lot easier to make.
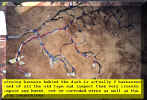 The
car I am building is a 70 240. There are differences in the wiring compatibility.
The 70 uses a different harness in the dash than a 71. Since most of my parts
are from 71's I decided to rewire the dash so I could use 71 parts. Signal
switch, headlamp switch, and fuse panel connections are some of the differences.
At any rate it is well worth the effort to take it all apart and check the wiring.
Repairing stuff now is easier than when it's all back together. Most Z's by now
have had any number of stereo equipment installed and wired up to God knows what
! Get a manual and double check EVERYTHING ! The last thing you want is a "Mickey
Mouse" electrical system ( Sorry Mickey) The
car I am building is a 70 240. There are differences in the wiring compatibility.
The 70 uses a different harness in the dash than a 71. Since most of my parts
are from 71's I decided to rewire the dash so I could use 71 parts. Signal
switch, headlamp switch, and fuse panel connections are some of the differences.
At any rate it is well worth the effort to take it all apart and check the wiring.
Repairing stuff now is easier than when it's all back together. Most Z's by now
have had any number of stereo equipment installed and wired up to God knows what
! Get a manual and double check EVERYTHING ! The last thing you want is a "Mickey
Mouse" electrical system ( Sorry Mickey)
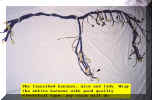 The finished harness. Now you know what wire goes where and what it plugs
into but more important you can put it all together and know it is right !
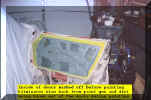 Preparing
the door for paint. Mask all areas and cover anything you don't want over
spray on. Preparing
the door for paint. Mask all areas and cover anything you don't want over
spray on.
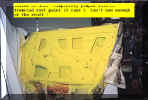 Use
Tremclad rust paint and pump the doors full of the stuff. Quite
by" accident " it turns out that Tremclad yellow is the same color as
I painted the car.......it helps!..... Use
Tremclad rust paint and pump the doors full of the stuff. Quite
by" accident " it turns out that Tremclad yellow is the same color as
I painted the car.......it helps!.....
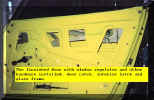 Only
thing left is to install a moisture barrier. Thick clear polyethlyene works
great. Only
thing left is to install a moisture barrier. Thick clear polyethlyene works
great.
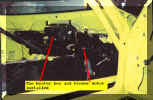 The heater box has to be installed before the dash. The blower can be installed
after but it is easier without the dash in the way.
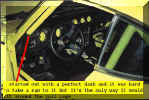 Dash
modifications for the roll cage. Some of the steel frame in the back has to be
removed and the fresh air vents have to be shortened to clear the roll bar. Dash
modifications for the roll cage. Some of the steel frame in the back has to be
removed and the fresh air vents have to be shortened to clear the roll bar.
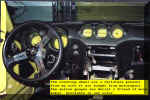 View
of the dash and steering wheel. Removing and installing the dash is an easy job.
It helps if you have two people. I did it by myself but only because the
windsheild has not been installed which gave me more room. View
of the dash and steering wheel. Removing and installing the dash is an easy job.
It helps if you have two people. I did it by myself but only because the
windsheild has not been installed which gave me more room.
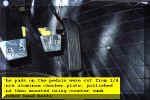 New
pads for the pedals. I wear size 14 shoes so I made them small on purpose. I
don't like the cheezy aftermarket ones that you see in just about every Honda
you look at. They are too big, too loose and too common ! New
pads for the pedals. I wear size 14 shoes so I made them small on purpose. I
don't like the cheezy aftermarket ones that you see in just about every Honda
you look at. They are too big, too loose and too common !
I have no more current pictures to add but I will in a week
or so...Never mind here are some new pictures as of June 16, Fathers day the day
of the " sea trials"
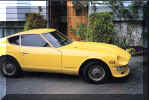 I
thought I would include a picture of my " Classic Spoked Wheels" I
have given them to my friend who painted the car, he's going to put them on his
MGB. I
thought I would include a picture of my " Classic Spoked Wheels" I
have given them to my friend who painted the car, he's going to put them on his
MGB.
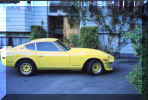
These are my old dinosaur wheels
after being cleaned up and repainted. I am having a hard time trying to find new
tires. Pirelli P7F 225-55-VR-14.

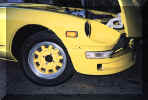
The wheels are American Racing wheels, 14 inch wheels are
not that popular anymore and like I said finding
tires to fit is not that easy.
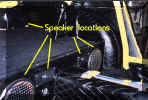
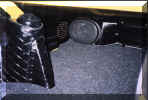
Below are pictures of the interior and how I located the
speakers.
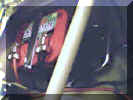
These are pictures I took of the battery tray and tie down I
made for the Optima battery. I took them with a $ 70.00 digital Camera so they
are not very good pictures.
Yellow yellow yellow nothing but yellow.......
|
