| FINAL TEST - Page 2 | |
|---|---|

Assignment 6 - Transparent Background |

Assignment 7 - 256 color 12.7 Kb |

Assignment 7 - 16 color 6 Kb |

Assignment 7 - 101 color 12.7 Kb |
Turn a color picture into a black and white except for one item. I chose to keep the bear. |
|
| FINAL TEST - Page 2 Montage |
|---|
|

|
|
|
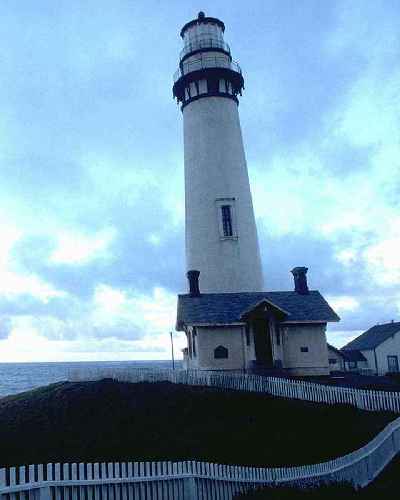
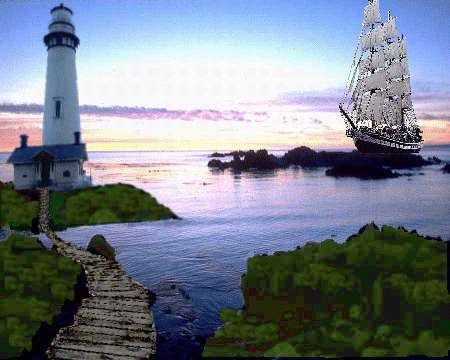
The original Lighthouse was Width 720 x Height 900 and is re-sized to 400 x 500 |
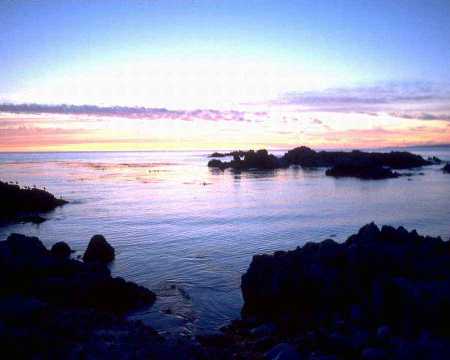
| I used the water background in it's original size to create the final picture.
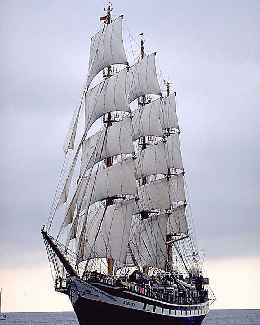
Using copy and paste as a new layer, with the lighthouse, I added it to the background and did a mirror image of the light house and rotated it left 2 degrees, as it was leaning to much to the right for what I wanted. I then did a copy and paste as a new layer, for the path and also mirrored it. Taking the ship, I again did a copy and paste as a new layer and placed it also on the background. Then following lesson 6, I set the foreground color to black and the background to white. I selected the lighthouse layer, clicked on the toggle icon and got a 1. I then went to select Masks/New/Show all/View Mask/Edit. Using my paint brush I outlined the lighthouse and background of the lighthouse with the area I didn't want, I completely covered it, I then selected Mask - Delete and said "Yes". This deleted the area that was shaded in red and the water background showed through. I saved this as a .psp to finish the other items I needed to mask. I did the exact same things to the path and the boat. Once I had the masks completed, I fiddled with the picture by taking the rock under the house and used - soften/blur/ to blend it in a bit. I also created a small shadow effect in the water to show the sunset effect. The path was very bright to the picture so I did a "Smart Edge" 0 feather selection and outlined the pathway, I then did a color adjustment on Bright and Contrast, setting bright to -32 and contrast to 9. This created a darker pathway. I used the clone tool (non-Aligned) on the path and the ship to create the effects I needed to fill in for shadows and colors. I worked with the Hue map (Saturation 31 Lightness 8) to adjust the rocks to look greener and try to lighten the picture a bit more. Readjusted the path, rotated the lighthouse more to put it into prospective with the ship, also rotated the path some more. I continued to fiddled until everyone around the house liked it. (I need to say 'Thank you' to my family for their help in making this picture look the way it does) Thanks to my wonderful Family! Once I was through fiddling around with the picture, I did a Un-sharp mask on the boat, the path and the Lighthouse. I then merged all layers to flatten. Then I saved this as my waterpic3.jpg. I resized this to fit this page. |
|
| I again want to say thank you to the instructor for teaching this course at Virtual University. This has been one of the top classes I have taken at VU. I learned a lot of great things to do with Paint Shop Pro 5. |
Lesson
4 class items | Lesson 5 class items | Lesson
6 class items | Lesson "FINAL" class items
![]()