Cutting The Tall Bowl
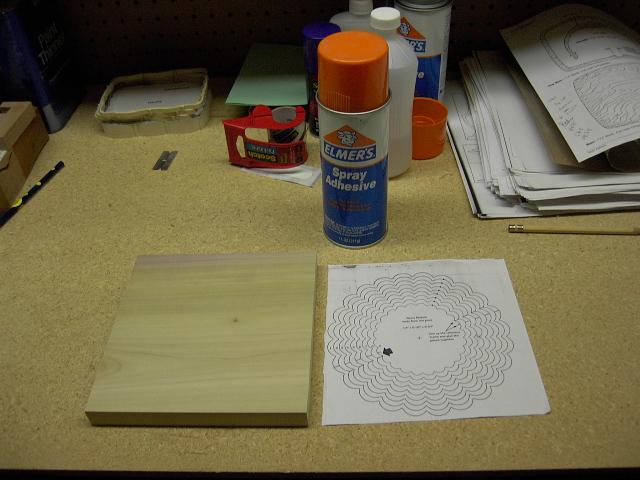 |
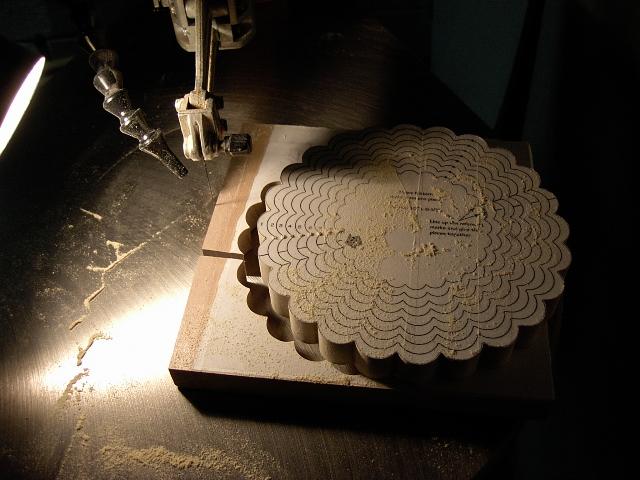
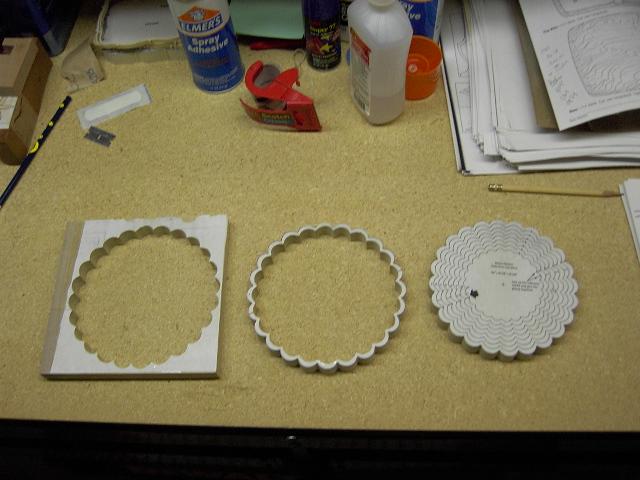
| The project starts with a piece of wood just larger than the pattern, and of course the pattern. |
 |
| Spray Adhesive is sprayed on the back of the pattern and allowed to dry for a few minutes to become 'tacky'. This keeps the pattern from permanently sticking to the wood. |
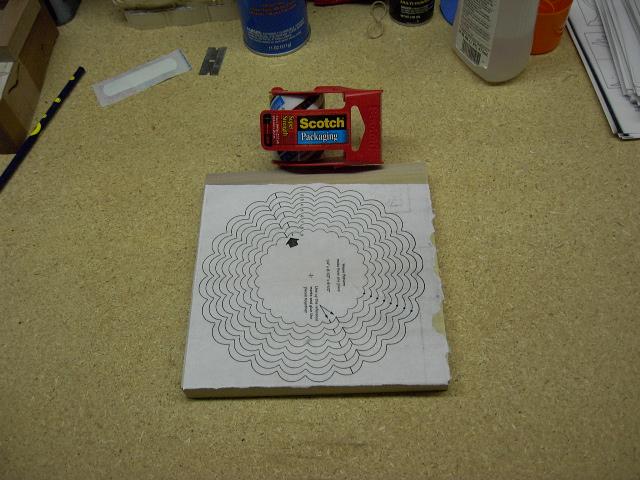 |
| A layer of packaging tape is placed on top of the pattern. This lubricates the blade while cutting and keeps the wood from burning. |
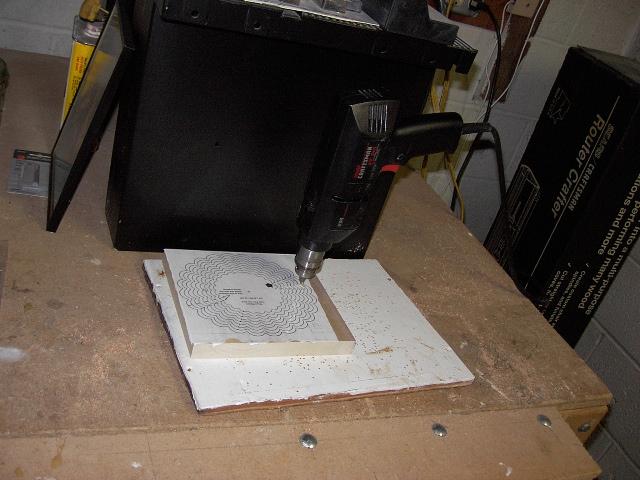 |
| One 3/16" hole is drilled at an inner curve of each ring on the pattern. |
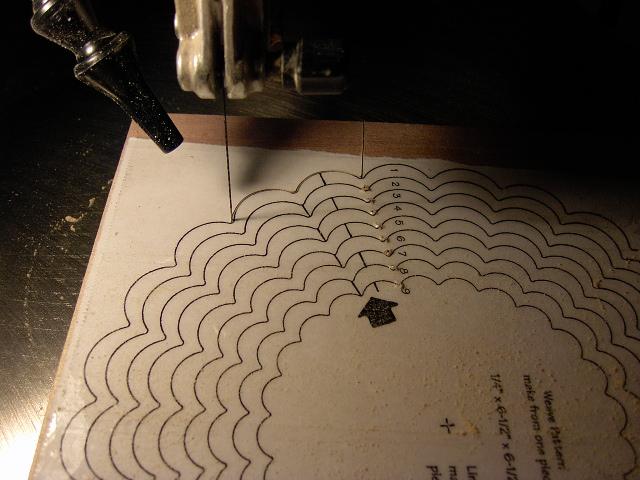 |
| The outside of the bowl is cut by cutting in from the edge, and following the outside ring of the pattern. |
 |
| Here is the project after the first complete cut. |
 |
| The second (and rest of the cuts) are started by putting the blade through the hole drilled into that ring on the pattern. |
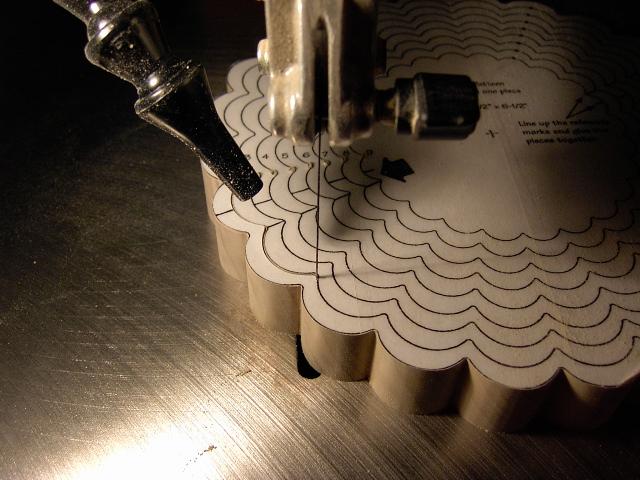 |
| The second cut is performed as the first one was, by cutting that ring's line around the pattern. |
 |
| When the second cut is completed, the first ring of the bowl should seperate from the rest of the wood. |
 |
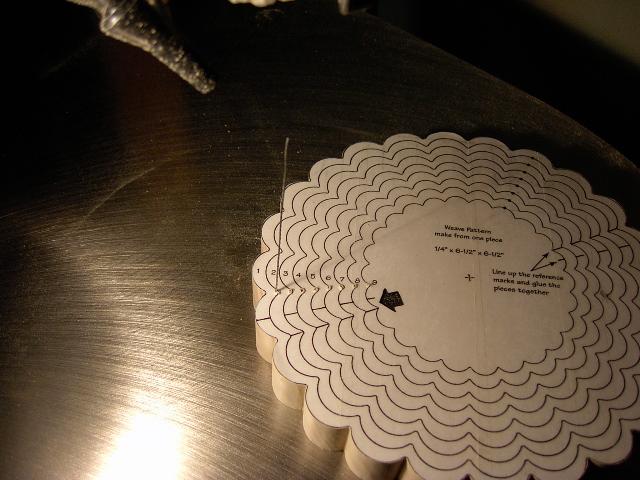
| Here you can see what has been cut so far. This shows the outer waste wood, the first cut ring, and the remaining wood with the pattern showing the rings still to be cut. |
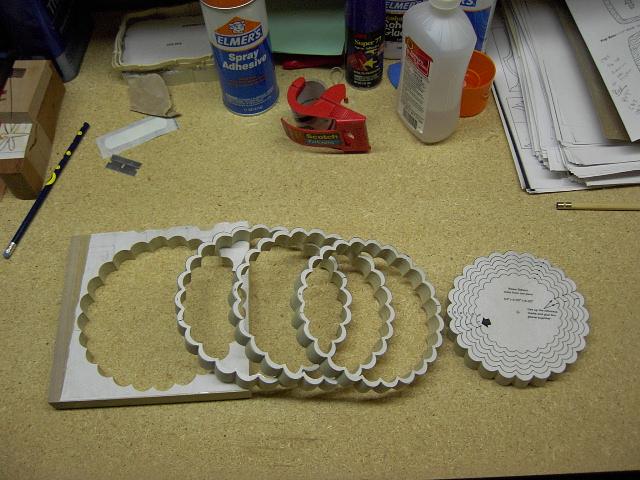 |
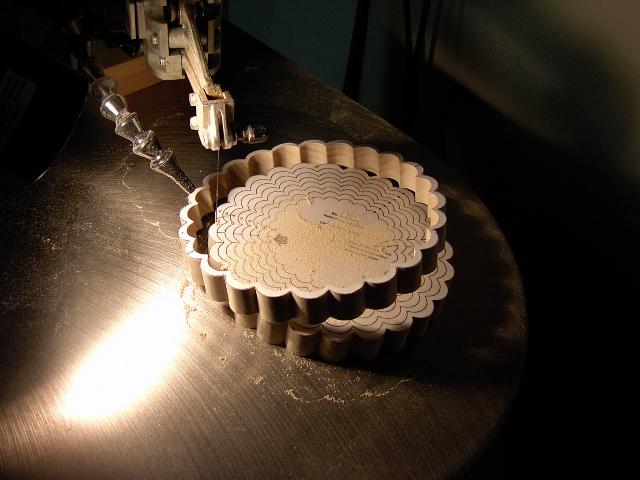
| This shows the project after three rings have been cut. |
 |
| Here is the project after all of the rings have been cut. |
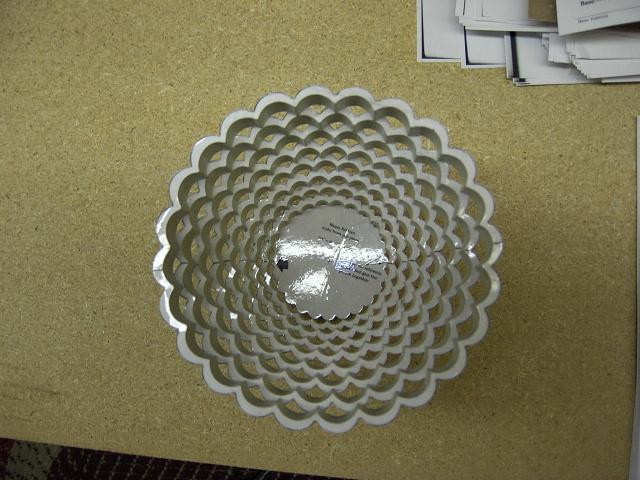 |
| Utilizing a line on the pattern, the rings are stacked on top of each other. This is the top view. |
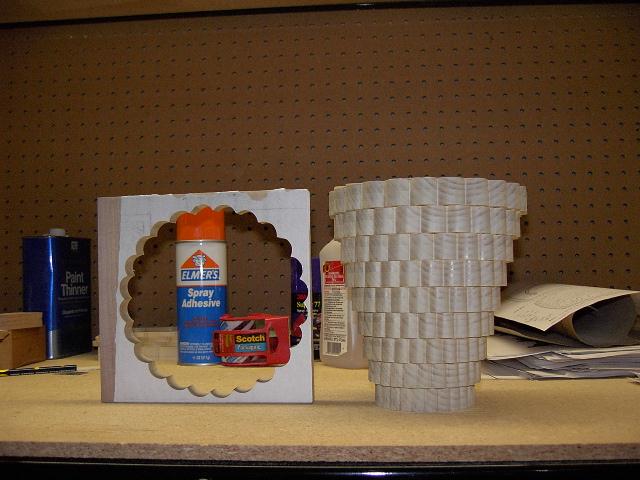 |
| Here is a side view of the project. This shot also shows the waste wood and shows the size of the bowl in comparison to the original piece of wood. |
 Get your own Free Home Page