The single greatest reason for instability in wood is the moisture content which we take care of by drying the wood such that it will no longer loses it's shape due to shrinkage from to moisture loss. Proper drying and moisture stabilization is a whole different subject though so we'll just assume for now that the wood you're working with is properly dried and moisture stabilized.
The second greatest reason for instability in wood is the grain of the wood itself. Unlike the metal yard stick that is made from a reasonably uniform material, the wooden yard stick is made from a grained material that nature seems to have done a wonderfully random job of placing various textures in. The same grains that oftem make a dulcimer such a beautiful looking and sounding instrument also cause the base material to often be a bit unstable.
In most applications, this is not a problem and even slight instability in most dulcimer parts can be worked around but it is extremely critical in a fret board. For a fret board to be good, it has to be straight and true.
All of the wood we use in a dulcimer is cut from a larger piece of wood. Even if the larger piece of wood is dimensionally stable, that does not mean the smaller piece we cut from it will be dimensionally stable. Cutting the piece effects for the different grains inneract with each other and can alter the stability of the wood.
A board can be straight and true for 100 years on the side of a barn during all kind of extreme weather and yet after being taken down and stored in the resonably stable conditions of a garage for just a few months, can aquire some rather ugly twists. It sems kind of odd but for those 100 years, it was being held in position by several nails but once the nails were removed, it was allowed to find the shape it really wanted to be.
It's much the same with a smaller piece of wood cut from a larger piece. Up until the time it was cut, it was held in place by the overall grain structure of the larger piece but once free from it, it could seek the shape it felt more stable at.
It may sound like a losing battle but it's not. It's just something that has to be taken into consideration when cutting a fret board.
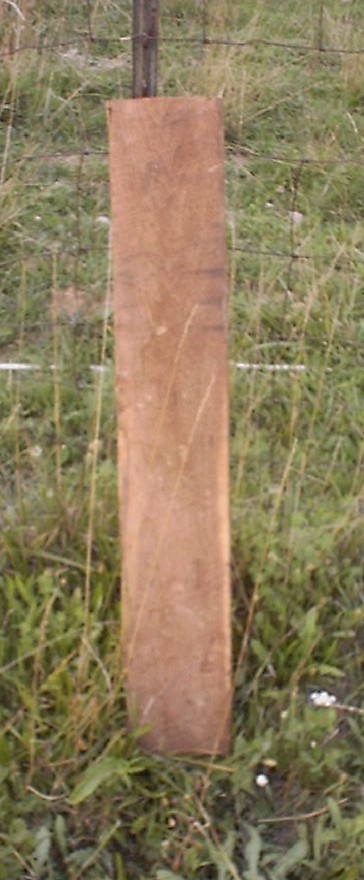
We'll be cutting this fret board from stabilized and aged rough sawn walnut. Well be starting with a slab that's about 7 quarters thick (1 3/4"), about 5 1/2" wide and around 36 inches long. We'll be cutting several fret boards from this piece.
Most pieces of wood cut this thick are plane sawn across their larger face and quarter saw across the smaller edge face. That's the main reason I cut my fret boards from thicker slabs of wood as it gives me that quarter sawn face to work from. Quarter sawn wood tends to be more uniform in grain structure and as a result, both stronger and more dimensionally stable.
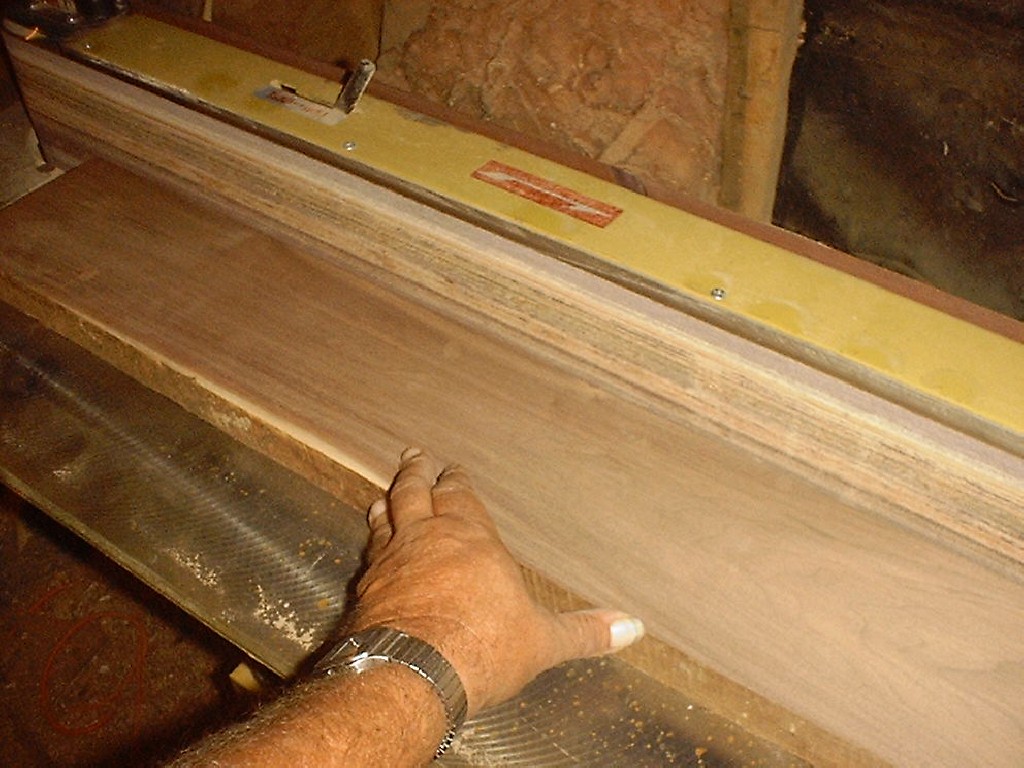
The fretted face of our fret board will be from the quarter sawn edge of this slab.
Since I'm also planning to cut the fret boards from the 7 quarter face, at this time, I also don't want to dress the wood down to much below 1 5/8". The reason for keeping that extra 1/8" will become apparent in just a bit.
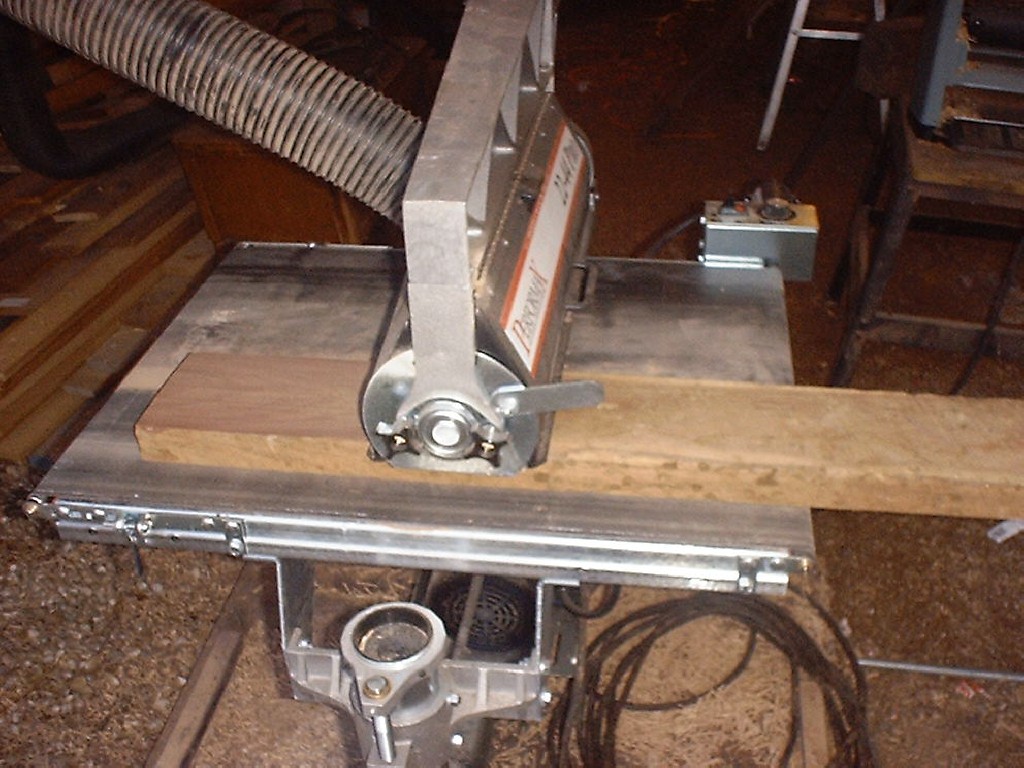
Be sure to first check your sander or jointer with a good square to make sure you have a true 90 degree angle.
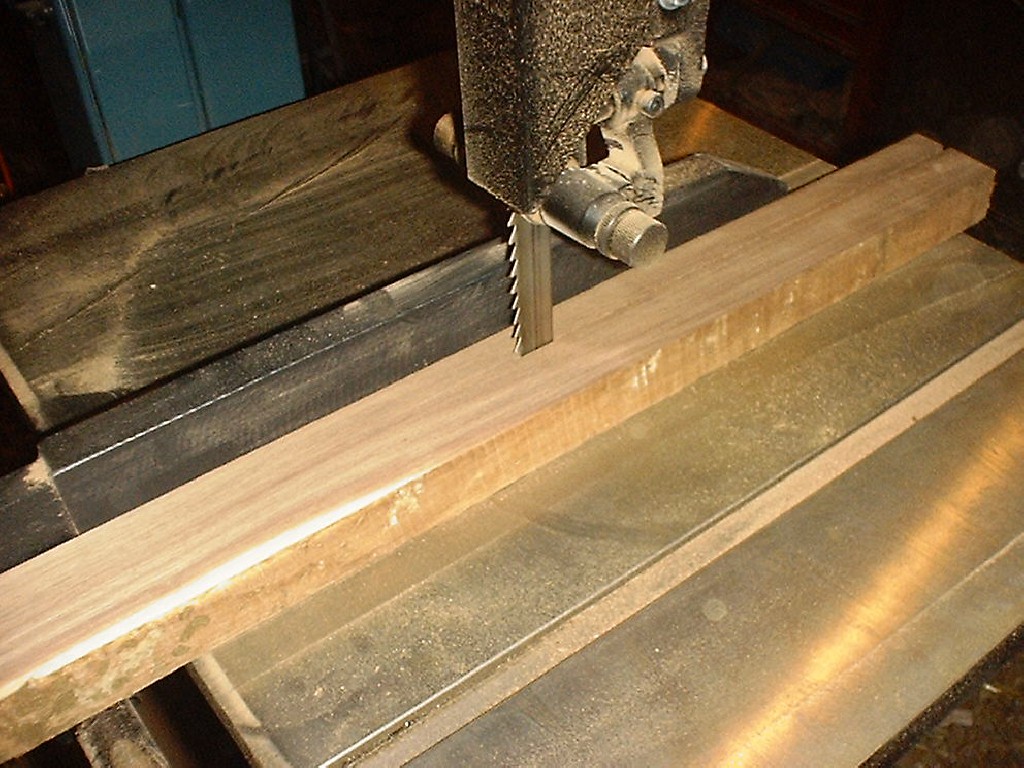
I could also use a table saw to make these cuts but a band saw has a smaller kerf and wastes less wood. I also want the cutting marks left in the wood that a band saw leaves for later gauging.
This slab yielded me 5 fret boards with very little waste.
Please note that I have the upper saw guide set up higher for the purposes of the picture. In actual practice, it should be set much closer to the piece you're cutting.
As I started earlier, once cut from the larger piece of wood which has always before stabilized it dimensionally, the fret board may now have found a different shape than you cut it to to be stable. No matter how accurate and precise your cuts were, to still may not be dimensionally correct. We're at a point now that we have to start correcting for that.
Your eyes are your first level of quality control at this point. From the end, sight down the length of each side and look for bows or twists. It's a good possibility that at least one is there. No matter how slight, they need corrected. If you can't see any, don't count on your eyes alone and recheck the board with an accurate set of straight edges.
If the board is twisted, throw it away. Getting a twist out of a fret board is rarely successful. If you use quartersawn wood, a twist is also uncommon.
If the board shows no twists or bows which is also extremely rare, then go ahead and start working it down on the drum sander but be sure to check it again after every pass through.
If the board is bowed along any face, then keep reading.