 |
|
|
|
|
|
|
|
|
|
|
|
|
|
|
|
|
|
|
|
|
|
|
|
|
|
|
|
|
|
|
|
|
|
|
|
|
|
|
|
|
|
|
|
|
|
|
|
|
|
|
|
|
|
|
|
|
|
|
Here are some pictures of my front end suspension. Like I mentioned before, I replaced all my bushings and ball joints with aftermarket stuff. I wanted my truck to handle like the old Z28. I used Belltech lowering spindles with Eibach springs. They are stiff just like I wanted them. I am using the Edelbrock Performer IAS shocks on the front and back. |
|
|
|
 |
|
|
|
 |
|
|
|
|
 |
|
|
|
|
|
|
|
|
 |
|
 |
|
|
 |
|
|
|
|
|
|
|
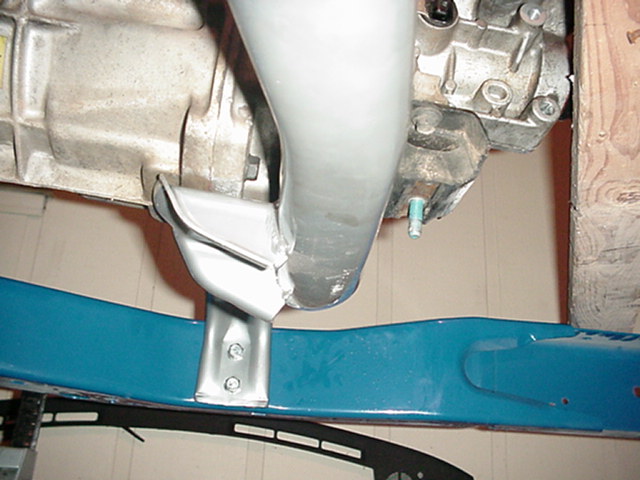
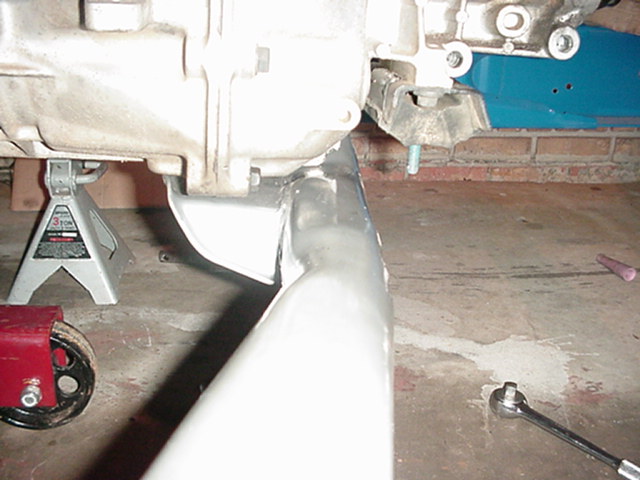
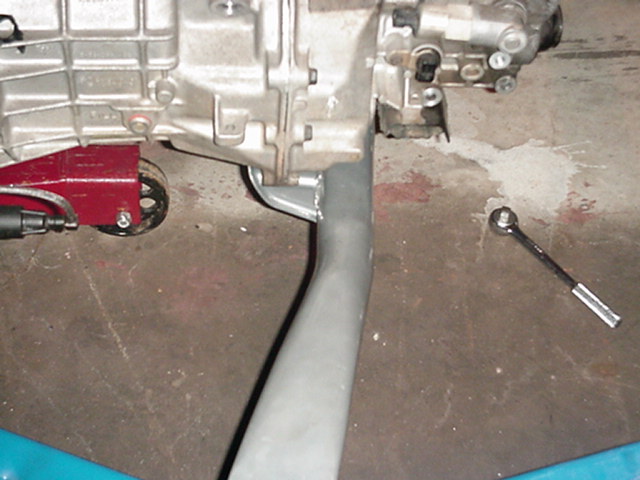
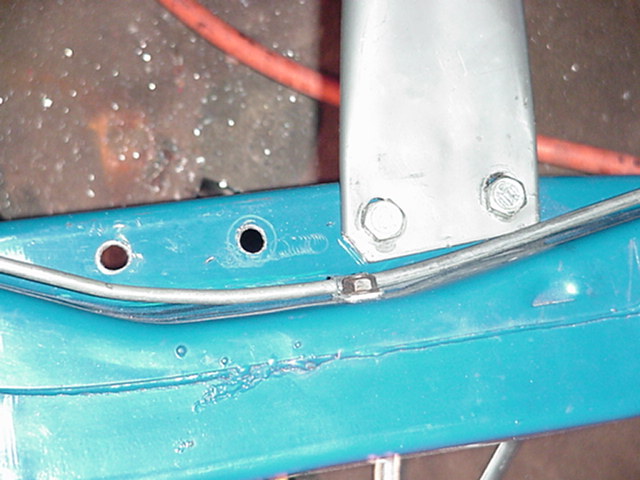
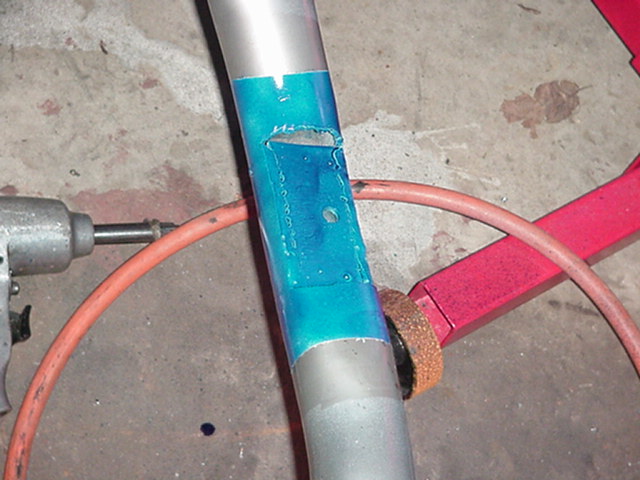
Another important task that I had to perform in order for the tranny to sit on the frame correctly was my crossmember notch. If I could do mine over again, I would do things a bit differently, but I will save that for lower down on the page... These are some pictures of a buddy of mine that had to mod his x-member. Mine is the silver one, his is the black one. I think his is a bit more supportive than mine. |
|
|
|
 |
|
|
 |
|
 |
|
|
|
|
|
|
|
 |
|
 |
|
|
|
|
|
 |
|
|
|
 |
|
|
|
|
 |
|
|
|
|
|
 |
|
|
|
 |
|
|
|
|
 |
|
|
|
|
|
|
|
|
 |
|
 |
|
|
 |
|
|
|
|
|
|
|
 |
|
 |
|
 |
|
|
|
|
|
 |
|
|
 |
|
 |
|
|
|
|
|
|
|
|
|
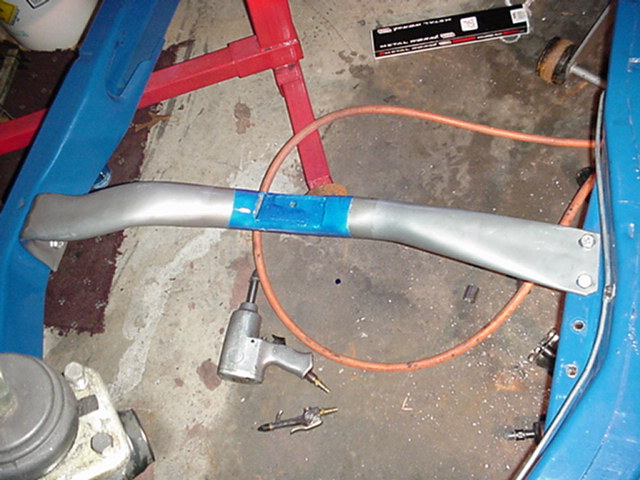
Okay, so you can see 2 examples of how we just modified the existing x-member, but in my humblest opinion, the BEST way would be just to fabricate a totally new one. I would basically start by chopping the driver's side of the frame up. I would box it in and make it exactly the same as the passenger side. That would make for a nice easy fit. Then I would slot the holes front to back to make room for adjustment. I would probably weld in a 1/4" plate for reinforcement on both sides. The crossmember would probably look something like the one below. |
|
|
|
 |
|
|
 |
|
|
|
|
|
|
Home Page |
|
Previous Page |
|
|
|
|
Next Page |
|
|
|
|
|
|