Making Curved Text
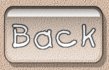
Now
that we've got our text curved, it's
still got that white edge and it looks a
bit silly. We don't need the edge
any more so let's get rid of it!
:o)
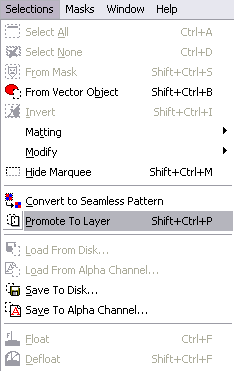
First we need to put the text on it's
own layer, so go to "Selections" and
down to "Promote to layer"
You'll notice that the marching ants
have disappeared from around your text
and your white edge isn't selected any
more. That's cool - we want it to
be like that :o)
Now
we need to let PSP know that we want to
delete the white edge, so select your
mover tool
 and just single left click somewhere on
your white edge - be careful not to move
anything... if you do, just hit "undo"
until it goes back to the right place
and try again.
and just single left click somewhere on
your white edge - be careful not to move
anything... if you do, just hit "undo"
until it goes back to the right place
and try again.
When
you've clicked on your white edge, just
hit the "delete" key on your keyboard
and your white edge will vanish!
:o)
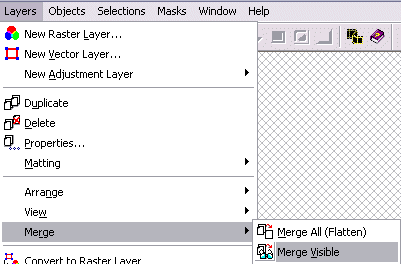
Now
we need to put everything together so
that it can't move about, so go to
"Layers" then down to "Merge" and across
to "Merge Visible". It's important
that you choose this one and not the one
that flattens it 'cos we don't want PSP
to choose the background for us - that's
*our* job! :o)
That's all there is to it! :o)
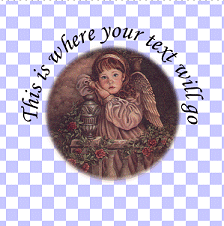
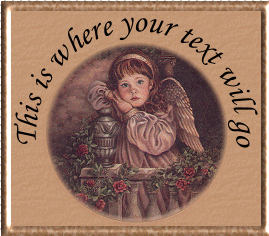
I've
added a background and frame to mine...
to add a background to yours too, go to
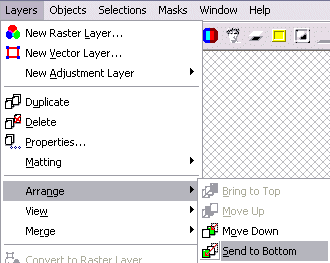
"Layers" then "New Raster Layer" (click
on OK) and we need to tell PSP that the
background goes underneath our image, so
go to "Layers" then down to "Arrange"
and across to "Send To Bottom"

Now
you can add whichever colours, textures,
gradients, patterns, frames etc you would
like to add. This is what mine
looks like:
Now
that you now how to do it... try it with
different shapes - not just circles and
ovals! What does the text look
like on a square? How about a
star? Have a bit of a play around
and see what you can come up with!
:o)