|
|
Add Us To Your Favorites
| E-mail
Nathan


Artificial
Raising
Artificial raising requires a little more work on your
part than
parent raising, but usually has a better hatch rate.
With artificial raising, once your pair is done
spawning, you will want to remove the eggs. Be aware the
parents won't be happy about this and will bite. Don't
worry they can't hurt you. You will want to put the
eggs (still on the slate) into a 2˝ or 5 gallon tank.
Don't leave the eggs out of the water for more than a
few seconds. Take a quick look to admire them and add them to the hatch out
tank. Some people suggest leaving them in water at all
times but I've had no difference in hatch rates either
way.
You
need to use fresh de-chlorinated water in the tank so that you won't be
introducing large amounts of bacteria to the eggs. You
will want to add some anti-fungal like Methylene Blue.
There are other
things on the market that some people use. I've tried
them, and always come back to the Methylene Blue. Don't
use AmQuel as a de-chlorinator as it effects dyes. Use
something else like Stress Coat. You
want to add just enough Methylene Blue to make the water a dark blue so
that you can barely see into the tank.
Be aware, this stuff stains everything including your
hands, clothes, carpet, and the silicone in the tank so be careful
when using it. You will want to add a heater as well and
have the tank temperature match the parents tank at
about 82ş F.
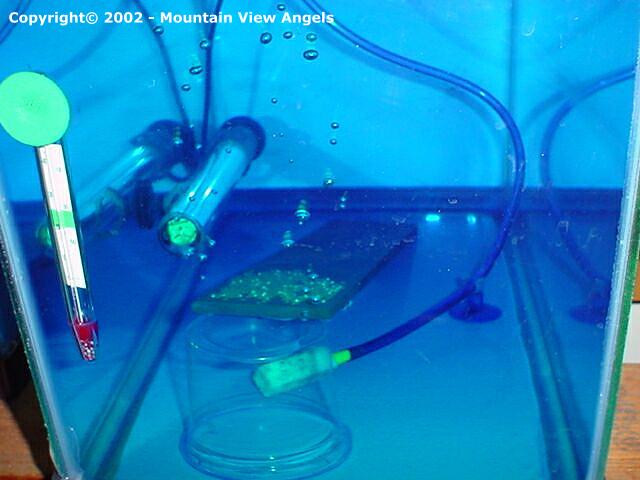
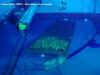
Next, put one of those cups Betta's come in
upside down in the tank. Then gently add the slate to
the tank setting the end of the slate with the eggs on
it towards the cup, eggs facing up at you. Some people
turn them facing down but I don't. Then, add an
air stone to the tank with a steady trickle of air
passing under the slate and around it so that a steady
light flow of water is passing over the eggs. This will
help with keeping the eggs clean and simulates the
parents mouthing or fanning the eggs as I discussed earlier. Also,
there is no need for a tank light. The light just
promotes fungus growth although some people feel
differently.
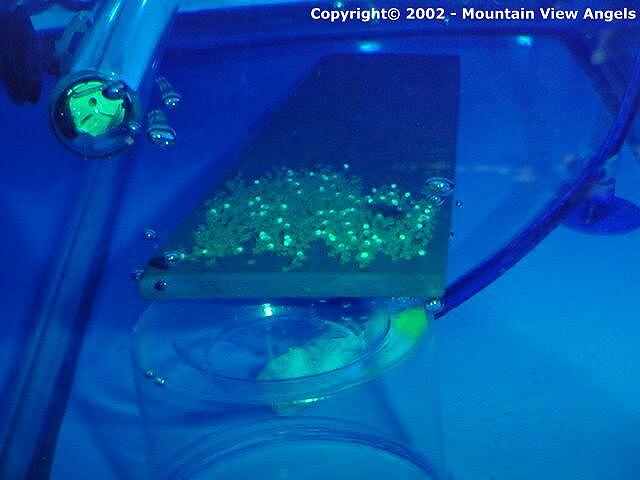
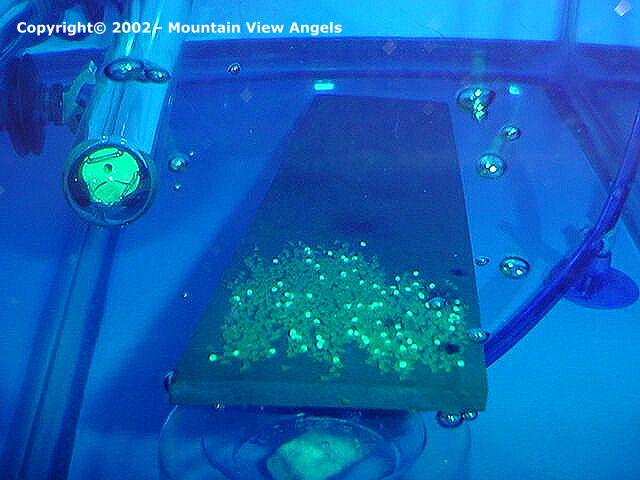
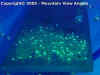
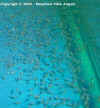
Below is
several pictures of this set up. Keep in mind, I've
removed some of the Methylene Blue so that you can see
the set up. The eggs that are white are infertile (dead)
and should be removed.

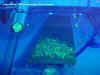

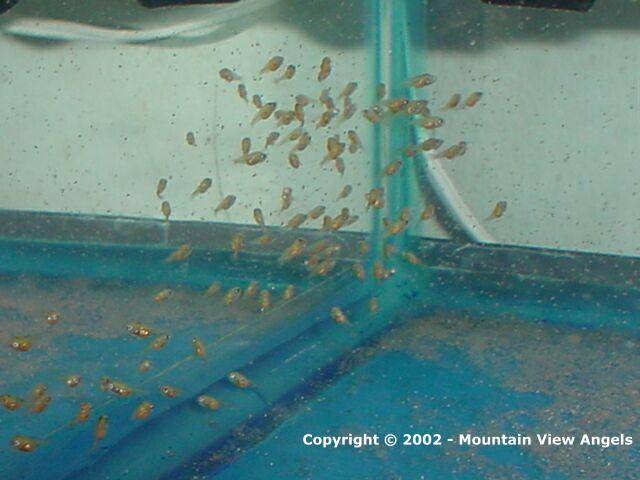
After
48 hours the spawn will begin to hatch. If you look
closely you will see little tails wiggling all over. At
that point they are called "wigglers."
During this stage the fry have a spot on their head that
is sticky and they will stick to just about anything.
Some will begin to wiggle so hard they fall off the
slate and onto the tank bottom. They're ok, don't worry.
I usually shake the remain wigglers off the slate
carefully and remove any infertile white eggs, then
remove the slate and the cup. (See the picture below)
It's at this time that you will want to start doing 50%
water changes twice a day. Also be sure the tank bottom
is clean and free of any sediment. You need to remove any Methylene
Blue in the tank before the become free swimming. Five
days after they begin wiggling they will become free swimming.
It's at this point (free swimming) you will want to
start feeding the fry. Not while they are wiggling. You
will need to feed them Baby Brine Shrimp. It's best
you start hatching Baby Brine Shrimp 24 hours before the
wigglers become free swimming. I will explain how to do
this later in this article. Also, you will want to add a
well cycled, fine pore sponge filter to the tank when
they become free swimming and you start feeding. It's
also ok to use tank lights at this point as well.
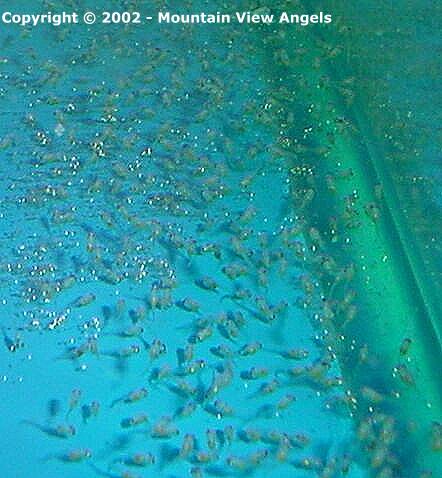
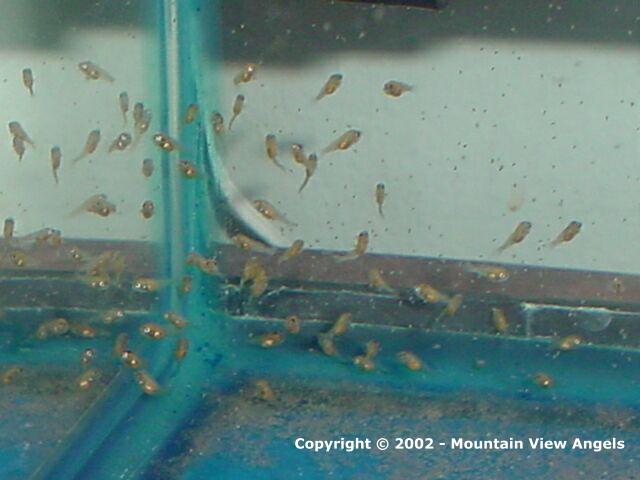
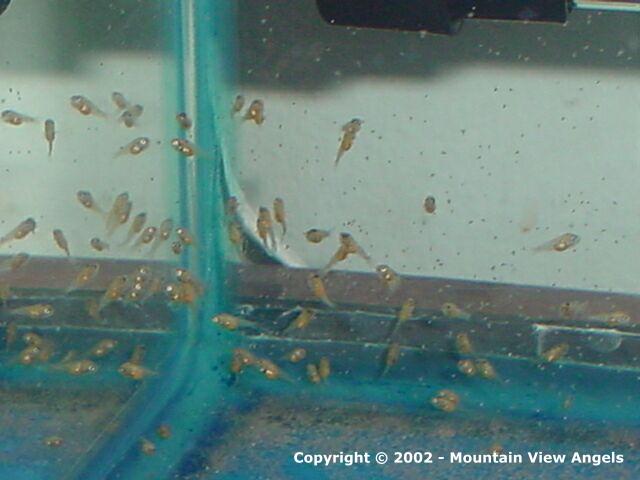
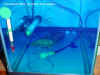
Free
swimming fry
Seven
days from the time the eggs were laid, the fry will
be free swimming. This is the time that you
should start feeding them. You want to feed them
live Baby Brine Shrimp (or "BBS" for short). If for some
reason you do not have live BBS on hand, most quality
local fish stores sell frozen BBS. This can be used in emergencies
and should not be fed regularly. The nutritional value
of live, freshly hatched BBS is much greater than frozen
BBS. Other things are available such as "liquid
fry" food but in my experience it just doesn't work
as well as the live BBS and therefore I don't use it. Water
changes should still be done (50% daily), or about 20 to
30 minutes after feeding to remove any uneaten food. BBS
will quickly foul tank water if left in the tank.
As
the fry get older and begin to grow you will want to
split
them up and put them into different, larger tanks.
This will promote faster growth and keep the
bio-load low in the tank. Here's a stocking
rate guide to use as a guide provided by Johnny Johnson of The
Angelfish Micro Hatchery.
|