Here is the
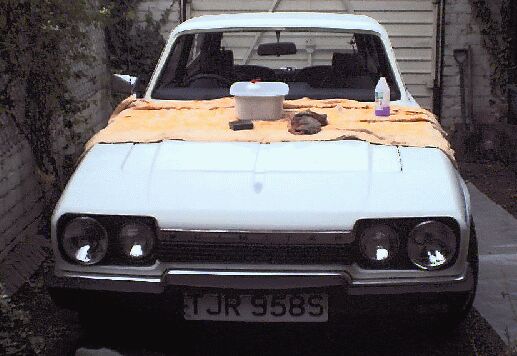
first task, the water was flowing quite
freely onto passengers knees so a new
windcreen rubber was sourced to help keep
the elephants out. About fourty notes for
the new seal and a good whole day for two
clueless stumbling buffoons. Well, at
least one.. me.
| |
 |
|
The old
seal gave up the glass easily
with the application of the
stanley knife.
Round
the inside in this case.
|
|
|
|
|
Use Plenty of washing up
liquid and make sure you are fitting the
seal on the glass the right way out. Some
people make that mistake you know and
spend hours grunting away on this huge
rubber band that will just not fit (ahem).
| |
 |
|
Smooth
off the leftover edges of old
paint, sealers, whatever, to give
the new seal a chance to do it's
biz.
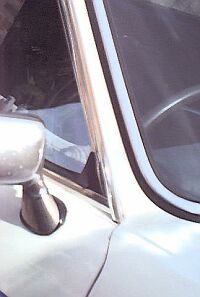
In
this case the seal, trim and
glass are all assembled off the
car then fitted in the car as a
unit leaving just the final trim
finishers to fit.
One
sentance - two hours.
Final
fitting is done with a cord
pulled from the seal inside the
car, as per instructions.
|
|
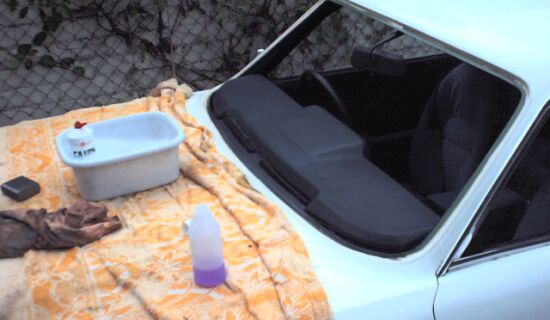
That bottle was half full
when we started, but I spill more than I
drink.
(Only kidding, it makes you
blind then dead you know)
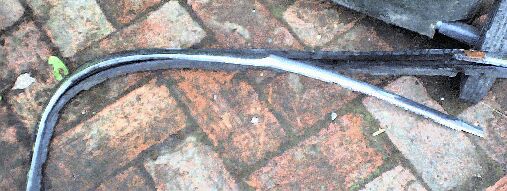
When you remove the
brightwork and seal from the glass, take
care to place it safely on the ground so
some clot can trip over it with his big
feet and mangle it.
| |
 |
|
Despite
obvious problems which all worked
out ok in the end, the seal does
what it says on the tin and moved
itself into the right shape
within a couple of days. The next
one (Ray's Se5)
will be loads easier now we know
how to go about it. If you decide
to have a go at one of these
yourself then I would leave the
windscreen sealant goo in the
shop. It seems to be more
applicable to older hardened
problem seals and serves no
discernable usefull purpose other
than getting all over the
bodywork, glass and workers.
|
|
Addenum - I did eventually
have to put some of this sealant under
the seal at the top kerbside corner.
Feel free to drop me a mail if you
need a little more advice.
|

