| |
 |
|
I
guess we didn't really need to
think too hard about replacing
the seal or not - it looked truly
dire and was leaking in loads.
|
|
| |
|
|
|
|
| |

|
|
It
came out without a fight - just
cut one of the glass holding lips
off with a knife and the glass
pushes easily out from the
inside.
|
|
| |
|
|
|
|
| |


|
|
I
guess this goes under the heading
of 'Clean the aperture'
There
was a nasty crack looking thing
on these corners - we decided to
investigate
A
little sanding revealed their
true colours - all eight of them.
Not glass cracks at all but
cracks in the licourice allsorts
school of painting paint job.
|
|
| |
|
|
|
|
| |

|
|
Roll
on the new seal - literally - we
played with easing, pushing,
coercing but rolling was best.
Bend it back and roll it on as in
the picture
|
|
| |
|
|
|
|
| |

|
|
Cutting
to length was a time consuming
exercise - with lots of test runs
and the like. Eventually we
marked the seal right round, with
a permanent marker, stretched the
seal a little and cut it with a
Swiss army knife about 5mm long
to make it tight.
Sadly
it was not quite square but a
slow application of the angle
grinder
(praise the angle grinder) and it
was just right.
|
|
| |
|
|
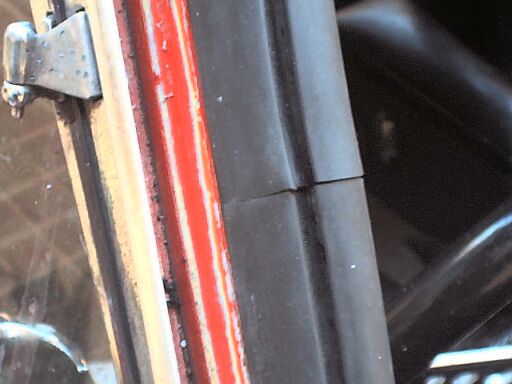
The
join looks pretty darn good - and
even better with the glass in.
|
|
| |
|
|
|
|
| |
|
|
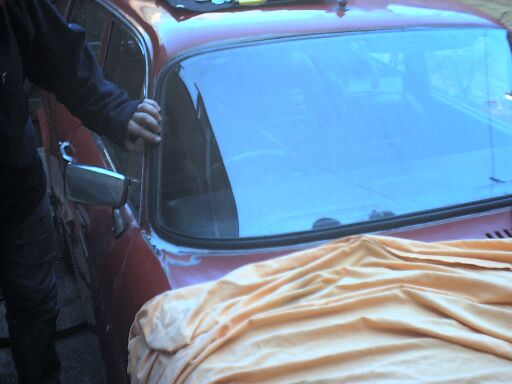
Fitting
the screen is a bit of an art and
lots of wooden half pegs
gallantly gave their lives.
A
good bit of advice from the
Yahoogroups list was make sure it
is central before you fit as it
is difficult to centre up later.
We marked it central with a
permanent marker including the
seal and then fitted it bottom
half first, then bend the top
back a little then when the lips
are all mostly in place - push
down and back quite hard and it
all pops in.
|
|
| |
|
|
|
|
| |
|
|
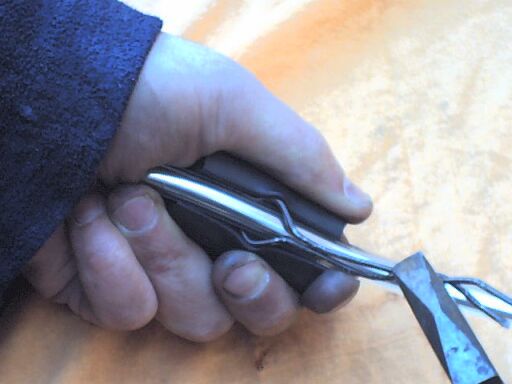
We
struggled for quite a while with
the trim but then a posting to
the list (join HERE) about
some tool to
fit these sprung to mind.
One
quick mutilation of a coat hanger
later and the trim was done in
about two minutes Thanks loads
for that posting Dermot.
|
|
| |
|
|
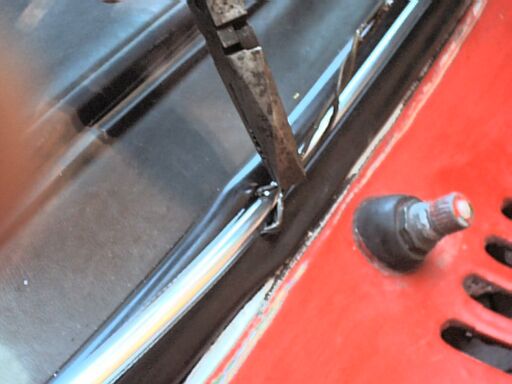
Just
in case it's not obvious in the
last picture.
|
|
| |
|
|
|
|
| |

|
|
And
here is what made it all so easy.
|
|
| |
|
|
|
|
| |
|
|
|
|
