|
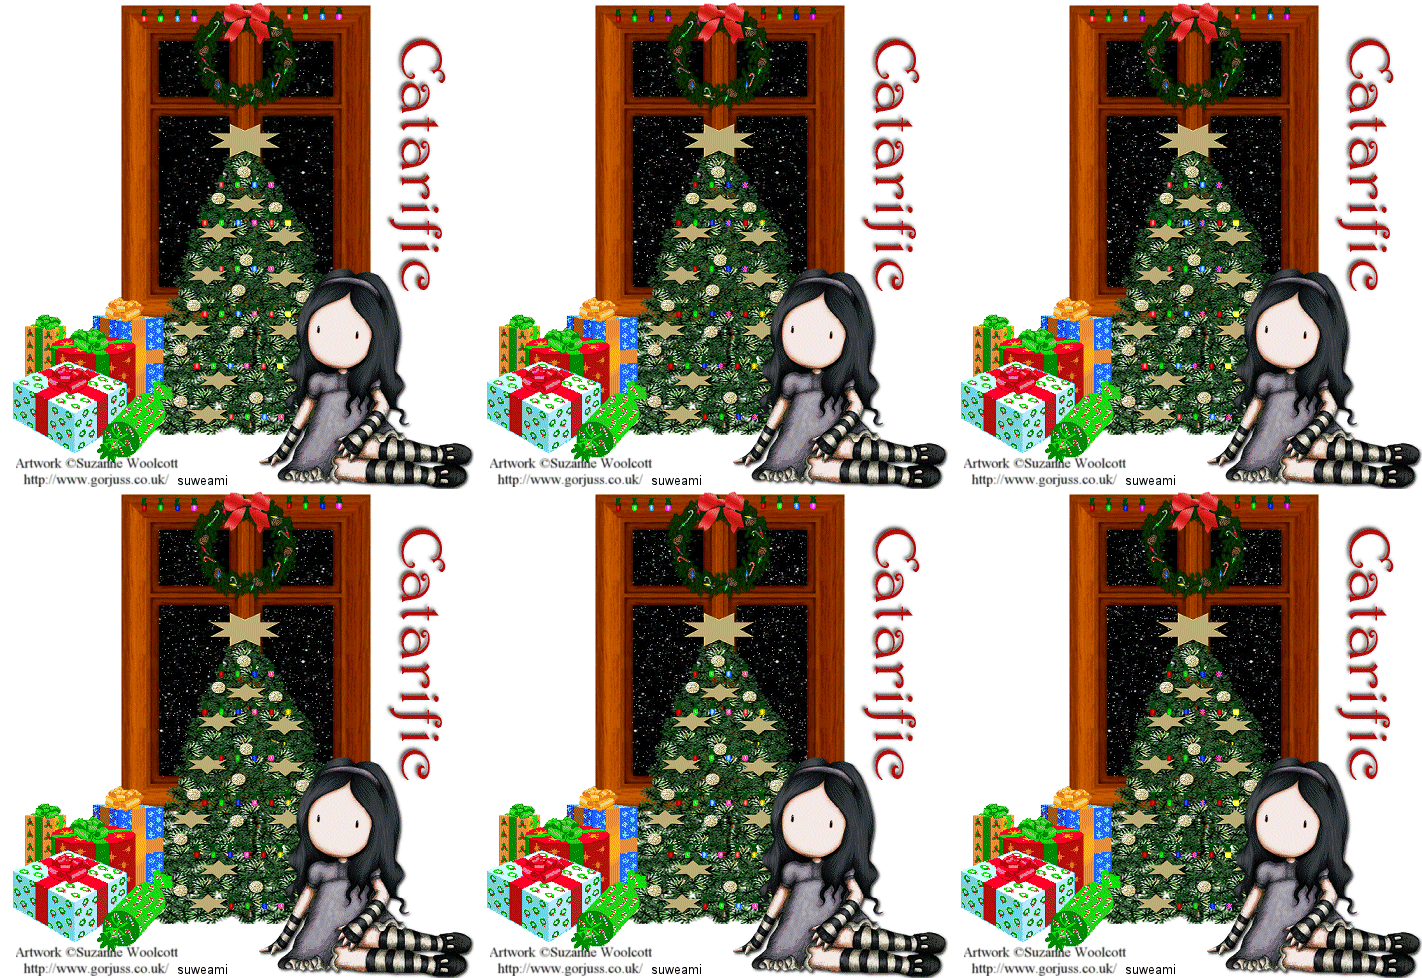
Christmas Window
Supplies Jasc/Corel's Paint Shop Pro. VDL Adreneline's Snowflakes Filter which you can download here. Tube of Choice - For this tutorial, I used a delightful image created by Suzanne Woolcott. You can purchase her wonderful art in tube and full form at AMI which stands for Artistic Minds, Inc. Supplies to Download. This file contains the following: Christmas Tree and stars background created by me Window from Essex Girl Wreath, presents and lights shared
SETTINGS USED IN THIS TUTORIAL Drop Shadow: Vertical Offset 4, Horizontal Offset 4, Opacity 40, Blur 10, Color black. Magic Wand: Mode: Add/Shift, Match Mode: RGB Value, Tolerance 14, Contiguous checked, Feather: 0, Anti-Alias checked and outside selected.
Step 1 Open up your window tube and a new transparent image 700 width by 700 height. Make the window tube active and go to Edit/Copy. Make the transparent image active and go to Edit/Paste as New Layer. Step 2 Open up the stars tube. Copy and paste as New Layer. Go to Layers/Arrange/Send to Bottom so the stars are now beneath the window. Go to Layers/Merge/Merge Visible. Step 3 Open up the Christmas Tree and copy and paste the tree as a New Layer. Step 4 Open up the presents and copy and paste them as a new layer. Step 5 Open up the tube graphic and copy and paste it as a new layer. If the graphic is too large, go to Image/Resize using the percent option, bicubic and resize all layers NOT checked. Step 6 Go to Effects/3D Effects/Drop Shadow and use the setting from above. Step 7 Go to Layers/Merge/Merge All (flatten). Go to Image/Resize using the percent option at 70%, bicubic and resize all layers checked. Step 8 Add your text and copyright information and go to Layers/Merge/Merge All (flatten). Step 9 Left click the crop tool and draw a rectangle around the areas you wish to keep, eliminating any excess white palette. Double left click within the rectangle or go to the crop ribbon and left click the check mark. Step 10 Left click the magic wand and use the settings from above. Left click the magic wand on the window panes - on the two above and the two below to select them. Go to Layers/Duplicate and duplicate the layers five times so you have a total of 6 layers. Step 11 Open up your layer palette and make sure you are on the bottom layer. Go to Effects/Plugins/VDL Adreneline/Snowflakes and use these settings: Amount 45 Size Range 0 Size Range End 10 Transparency 0 Basic Snow Random Seed 91. DO NOT DESELECT. Step 12 At your layer palette, go to the second layer (the one above the bottom) and go to the snowflakes filter and use these settings: Leave everything as is but change the Amount to 82 and the Random Seed to 99. DO NOT DESELECT. Step 13 Go to Layer 3 and repeat Step 12 but change the Amount to 105 and Random Seed to 110. Step 14 Go to Layer 4 and repeat Step 12 but change the Amount to 110 and Random Seed to 115. Step 15 Go to Layer 5 and repeat Step 12 but change the Amount to 120 and Random Seed to 120. Step 16 Go to Layer 6 and repeat Step 12 but change the Amount to 125 and Random Seed to 125. Step 17 Go to Selections/Select None. Save this file as a psp or psd file. We will add the lights in animation shop. Click here to continue.
|
