|
Fauna Tag
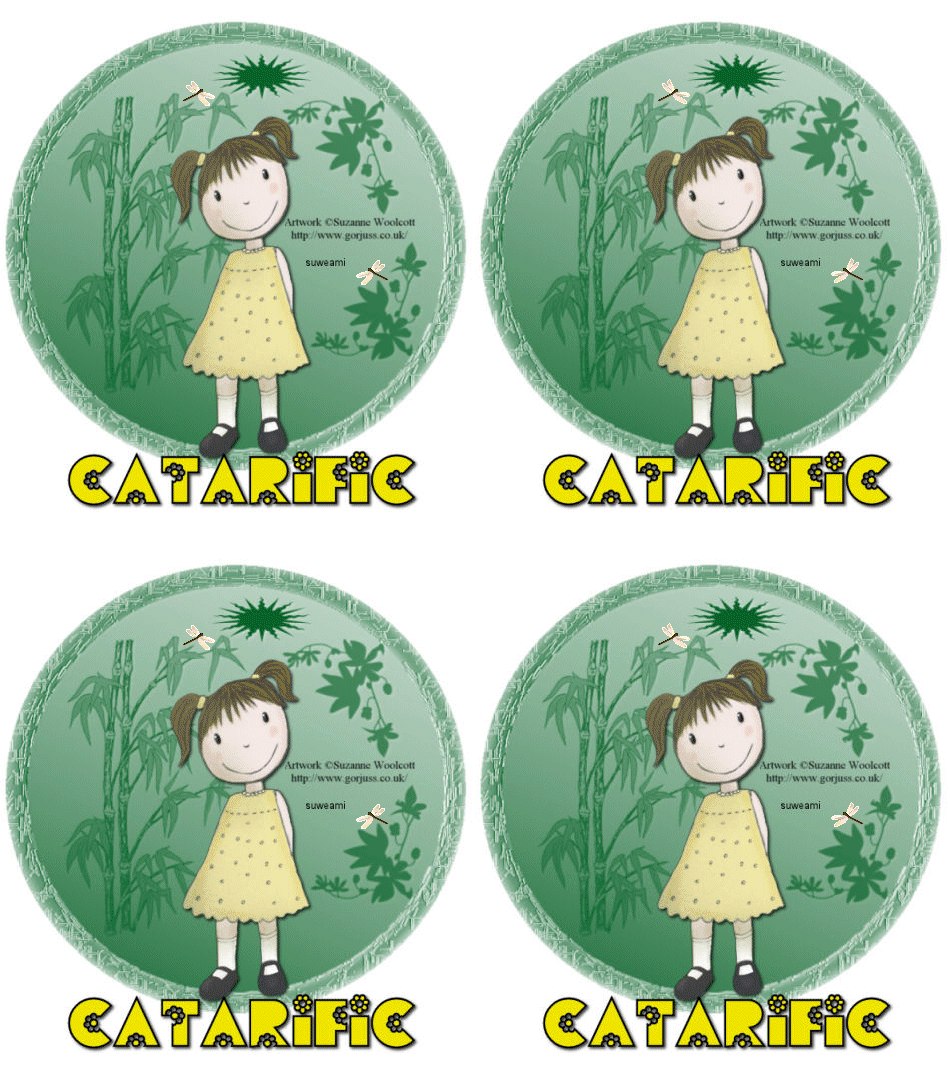
Supplies Jasc/Corel's Paint Shop Pro any version. Tube of Choice - For this tutorial, I used a delightful image created by Suzanne Woolcott. You can purchase her wonderful art in tube and full form at AMI which stands for Artistic Minds, Inc. Please remember, when creating your signature tags, to only use permission art and to apply the copyright information on the tag which would include both the artist's name and online gallery link. If you have purchased a commercial image, do add your license number as well. Supplies for download - Fauna Mask, insect animation file and Flores Font.
SETTING USED IN THIS TUTORIAL
Drop Shadow Settings: Vertical Offset 2, Horizontal Offset 2, Opacity 80 Blur 5, Color White Vertical Offset 2, Horizontal Offset 2, Opacity 80 Blur 5, Color Black CREATING THE BASIC TAG Step 1 Open up your tube graphic, the fauna mask, and a new transparent image 600 width by 600 height. At the Material Palette, select a deep solid color that will coordinate with your tube graphic. Flood fill the transparency with that color. Step 2 Go to Layers/New Mask Layer/From Image. At the source window's drop down menu, locate fauna mask with source luminance checked. Nothing else should be checked. Click ok. Step 3 Go To Layer/Merge/Merge Group Step 4 Go to Effects/3D Effects/Drop Shadow and use the settings from above with the color white. Step 5 Go to Layers/Merge/Merge Visible. Step 6 Go to Image/Canvas Size. For width, leave it at 600, and for height, make it 700. Left click the mover tool and move the tag graphic to the top of the canvas, leaving room below to later add text and/or copyright information. Step 7 Make your tube graphic active and go to Edit/Copy. Make the tag image active and go to Edit/Paste as New Layer. If the image is too large, go to Image/Resize using the percent option, bicubic and resize all layers NOT checked. Step 8 Go to Effects/3D Effects/Drop Shadow and use the settings from above, but this time use the one with the color, black. Step 9 Go to Layers/Merge/Merge All (flatten). Step 10 Go to Image/Resize using the percent option at 80%, bicubic and resize all layers checked. Step 11 Go to Layers/New Raster Layer and add your text using the flores text. Apply the drop shadow using the color black. Step 12 Add your copyright information and go to Layers/Merge/Merge All (flatten). Step 13 Go to Layers/Duplicate. Do this three times so you have a total of 4 layers. Step 14 Save this file as a psp or psd file. We will add the insects in animation shop. Click here to continue.
|
