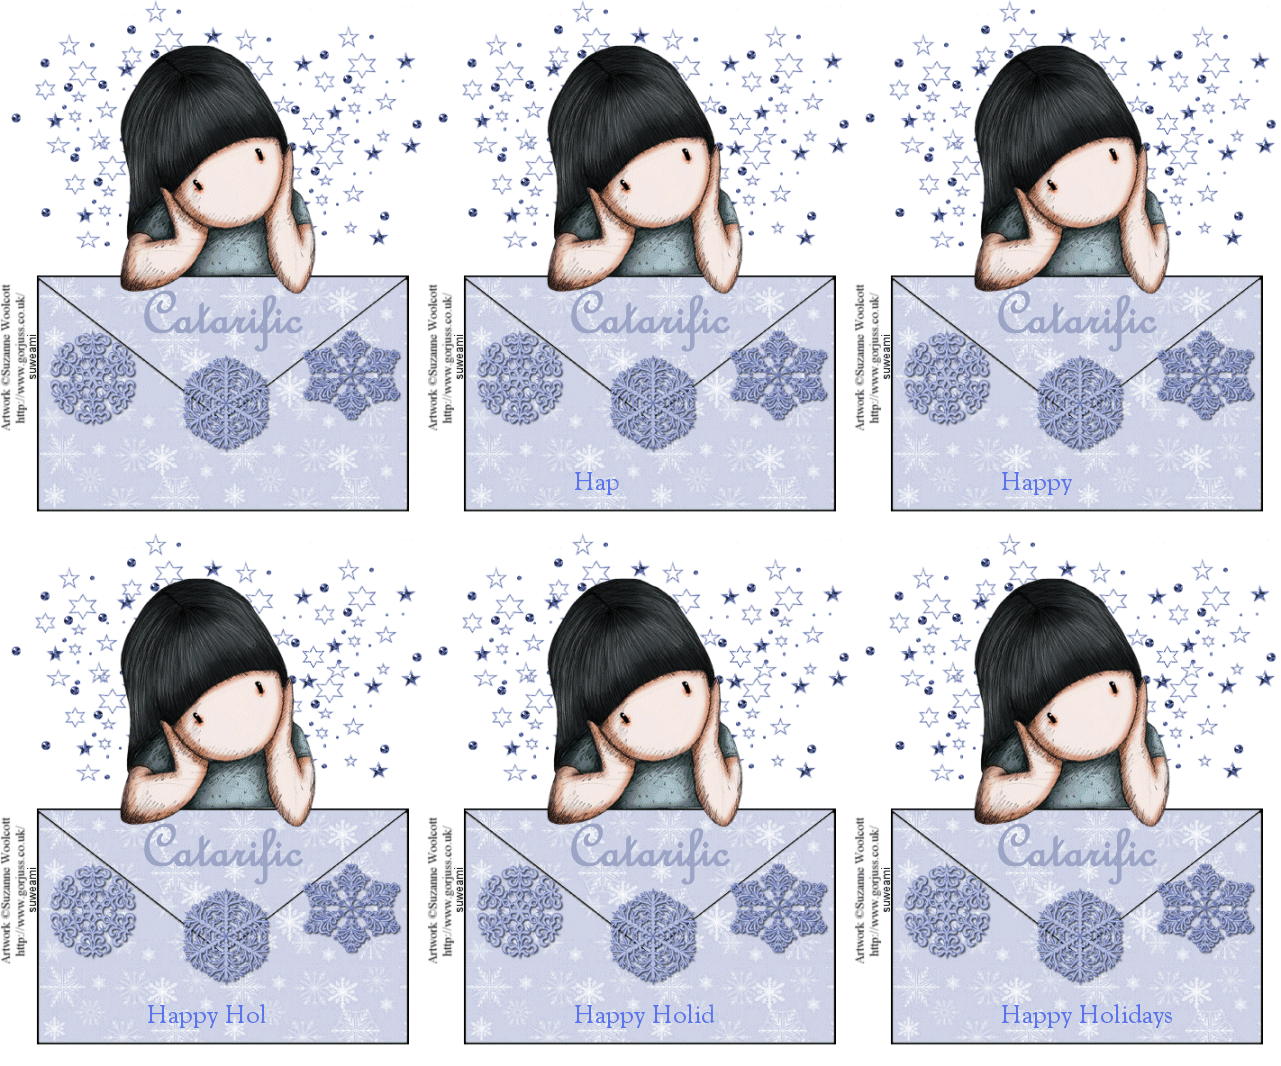
|
HOLIDAY ENVELOPE
Supplies Jasc/Corel's Paint Shop Pro. Tube of Choice - For this tutorial, I used a delightful image created by Suzanne Woolcott. You can purchase her wonderful art in tube and full form at AMI which stands for Artistic Minds, Inc. For this tutorial, a topper type graphic would work very well. Supplies to Download: This file contains the following: Gray scale snowflake seamless background and psp snowflakes. Envelope, star cluster and a happy holiday text animation created by me. SETTINGS USED IN THIS TUTORIAL Magic Wand: Mode: Add/Shift, Match Mode: RGB Value, Tolerance 51, Contiguous checked, Feather: 0, Anti-Alias checked and outside selected. Drop Shadow: Vertical Offset 2, Horizontal Offset 2, Opacity 80, Blur 5, Color Black Step 1 Open up a the envelope psp file and the grayscale snowflake seamless background. Select a color for your snowflake background so that it appears in the top color box at the Material Palette. Left click the material palette and when the color selection window opens, write down the hue and saturation of that color. Go to Adjust/Hue and Saturation/Colorize and type in the hue and saturation amounts. Your snowflake seamless background should now be close to the color you selected. Step 2 Left click the top color box at the Material Palette, and when the color selection window opens, select Pattern, left click the down arrow and locate the snowflake background with angle set to 0 and scale set to 100. Step 3 Left click the magic wand and use the settings from above. Left click the magic wand on both the top and bottom portion of the envelope. Flood fill these areas with the colorized snowflake background and go to Selections/Select None. Move the snow picture within the selection, choosing a section of the picture you want for your tag. Go to Selections/Invert, click the delete key and go to Selections/Select None. Go to Layers/Merge/Merge/Visible. Step 4 Open your tube graphic (preferably a topper style graphic) and go to Edit/Copy. Make the envelope graphic active and go to Edit/Paste as New Layer. If the image is too large, go to Image/Resize using the percent option, bicubic and resize all layers NOT checked. Step 5 Go to Effects/3D Effects/Drop shadow and use the settings from above. Step 6 Open up the star cluster psp file. Copy and paste it as a new layer. Go to Layers/Arrange/Move Down so that they cluster is behind your tube graphic. Left click the mover tool and move it into place. Step 7 Open up the snowflakes psp file. Each snowflake is on a different layer. Copy and paste the snowflakes to your envelope. But do leave room at the bottom of the envelope for the animated text. Step 8 Apply your copyright information and go to Layers/Merge/Merge all (flatten). Step 9 Go to Image/Resize using the percent option at 70%, bicubic and resize all layers checked. Step 10 Left click the crop tool and draw a rectangle around the area you wish to keep. Double left click within the rectangle. Step 11 Open up the happy holiday animation and you will see the text is in blue. If you want blue text, leave the animation as is. If you want to colorize the text to a different shade, open up each layer and go to Adjust/Hue and Saturation/Colorize and for each layer, use that color. Resave the file with the new color. Step 12 Go to Layers/Duplicate. Do this 13 times so you have a total of 14 layers. Save this file as a psp or psd file. We will complete the animation and add the text in Animation Shop. Click here to continue.
|
