|
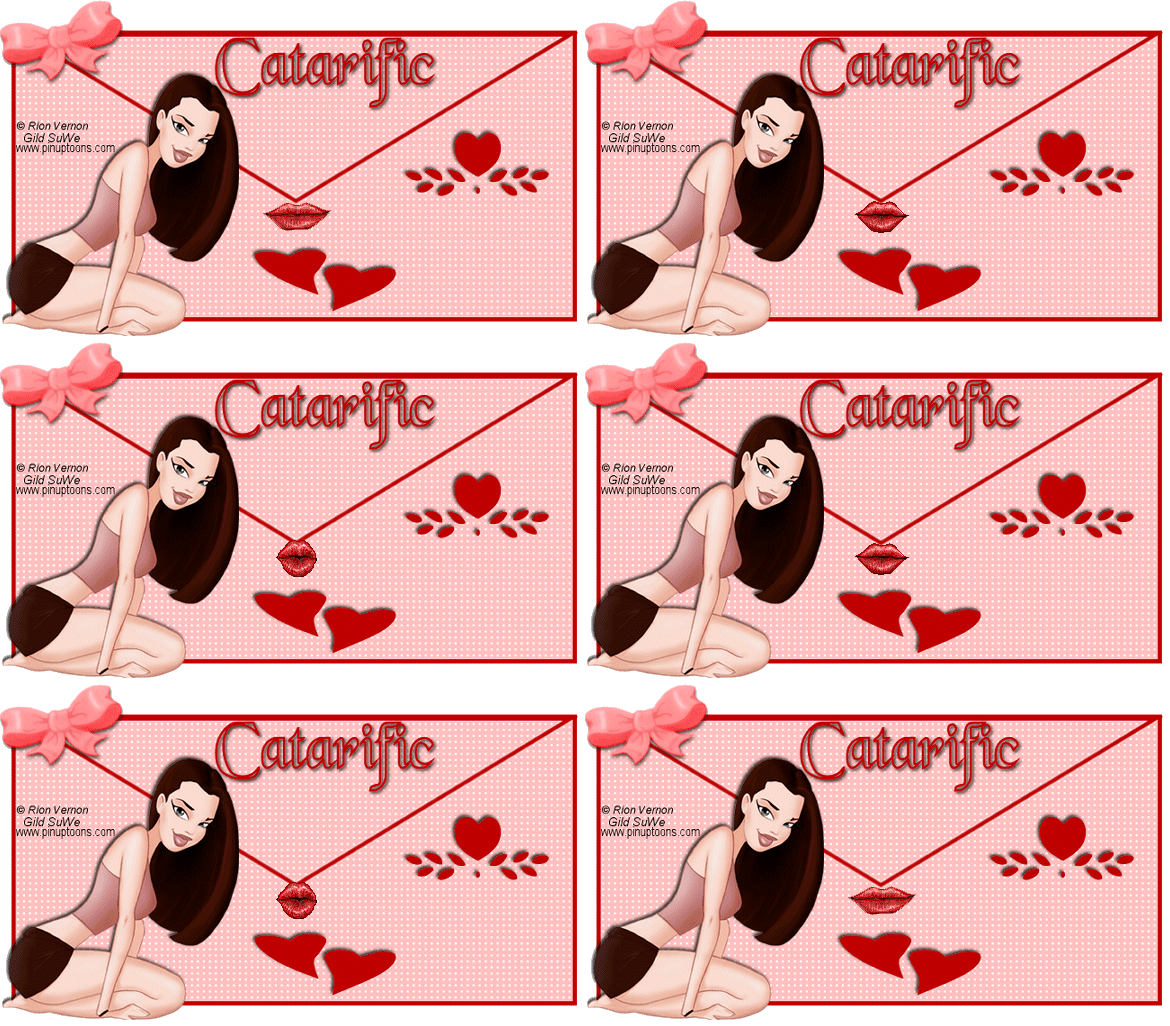
SEALED WITH A KISS
Supplies Jasc/Corel's Paint Shop Pro. Tube of Choice - I am using a commercial licensed image created by Rion Vernon and licensed through CILM. CILM stands for Creative Image Licensing and Management and it is through CILM that you can purchase Rion Vernon's outstanding images in full or tube form as well as images from many other outstanding artists. Supplies for download - Envelope, bow, hearts and kiss animation
SETTING USED IN THIS TUTORIAL
Magic Wand Settings used in this tutorial are: Mode: Add/Shift, Match Mode: RGB Value, Tolerance 0, Contiguous checked, Feather: 0, Anti-Alias checked and outside selected Drop Shadow: Vertical Offset 2, Horizontal Offset 2, Opacity 80, Blur 5, Color Black Step 1 Open up the envelope psp file. Left click the magic wand and left click the top of the envelope. Flood fill with any color but do not deselect. Step 2 Left click the top color box and when the color selection window opens, select the color white, left click the top box which says texture. At the drop down menu select the grid pattern with scale of 100% and angle 0. Flood fill the selection with the grid pattern and go to Selections/Select None. Step 3 Left click the magic wand on the bottom of the envelope and flood fill with the same color you used in Step 1 and repeat Step 2 flood filling the selection with the grid pattern. Go to Selections/Select None. Step 4 Open up your tube graphic and go to Edit/Copy. Make your envelope active and go to Edit/Paste as New Layer. If the image is too large, go to Image/Resize using the percent option, bicubic and resize all layers not checked. Left click the mover tool and move the image to where you would like it on the tag. Step 5 Go to Effects/3D Effects/Drop Shadow and use the settings from above. Step 6 Open up the hearts psp file. Each heart is on a different layer - so use whichever ones you like - by copying and pasting on the envelope as new layers. Step 7 Open up the bow psp file. If the bow is not close to the color of your envelope, go to Adjust/Hue and Saturation/Colorize and change the color of the bow by moving the color adjustments for the hue and saturation. Step 8 Go to Layers/New Raster Layer and add your text and apply the same drop shadow to your text as you did in Step 5. Step 9 Add your copyright information and go to Layers/Merge/Merge Visible. Step 10 Go to Image/Resize using the percent option at 90%, bicubic and resize all Layers checked. We will finish the tag, adding the animation in Animation Shop. Click here to continue.
|
