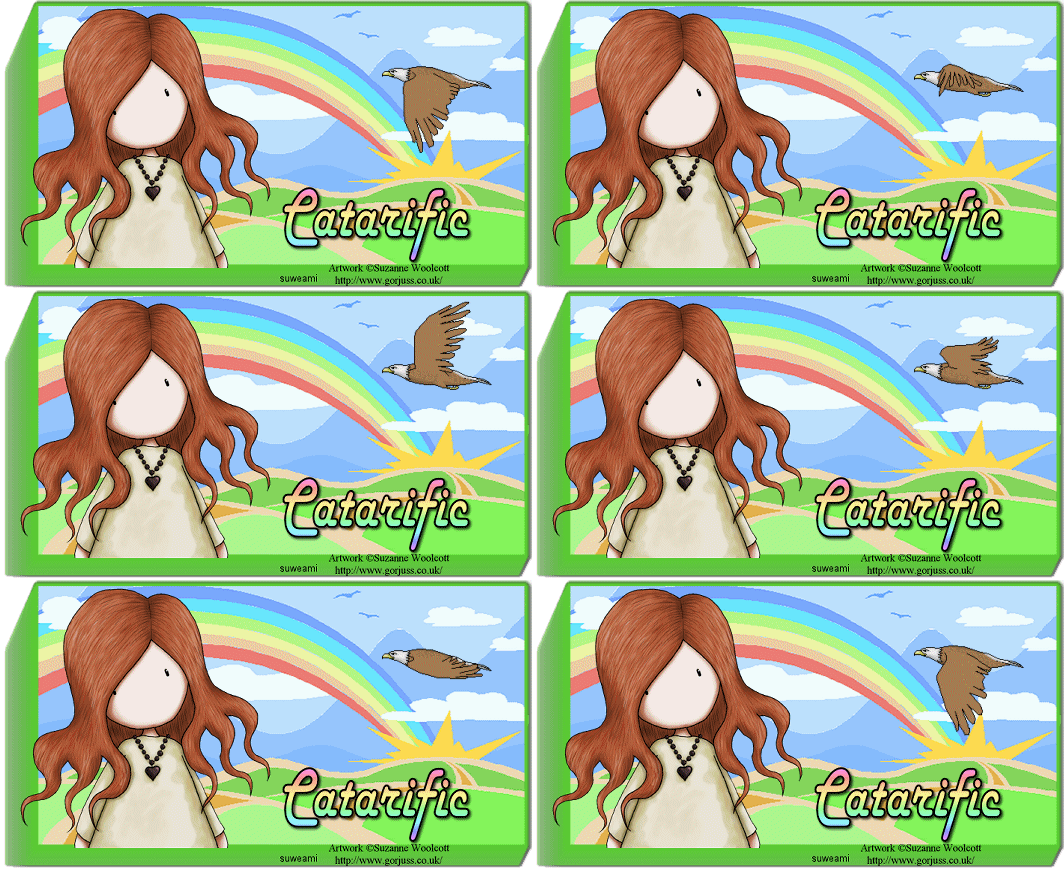
|
Morning is Breaking
Supplies Jasc/Corel's Paint Shop Pro. Tube of Choice - For this tutorial, I used a delightful image created by Suzanne Woolcott. You can purchase her wonderful art in tube and full form at AMI which stands for Artistic Minds, Inc. Accessories - Rainbow Landscape psp graphic created from an image from Microsoft Clipart Media - a great place for graphics and animated eagle. Optional for 3D effect: Eye Candy Version 3.03 - The filter we will be using is called Motion Trail/Long Trail at the default setting. or Eye Candy 4000 - Motion Trail/Zooming Right with Taper set to 24 and Smear Color from Edges checked. Please remember, when creating your signature tags, to only use permission art and to apply the copyright information on the tag. If you have purchased a commercial image, do add your license number as well. **When creating your Signature tags with Paint Shop Pro, do remember to save continually. Nothing worse than to use up your memory resources and lose everything!** SETTING USED IN THIS TUTORIAL Drop Shadow Settings: Vertical Offset 2, Horizontal Offset 2, Opacity 80 Blur 5, Color Black for text.
CREATING THE TAG Step 1 Step 2 Go to Effects/Plugins/Eyecandy either version 3 or 4000/Motion Trail and use the settings from above for whichever version of Eyecandy you have. Step 3 Open up your tube graphic and go to Edit/Copy. Make the tag template active and go to Edit/Paste as New Layer. If the image is too large, go to Image/Resize using the percent option, bicubic and resize all layers not checked. Step 4 Go to Layers/New Raster Layer and add your text. If you would like to have a rainbow text as I have, in the top color box, set it to black. In the bottom color box, left click it. When the color selection window opens up, select gradient with a linear style and locate the rainbow gradient with angle and repeats set to 0. Go to Effects/3D Effects/Drop Shadow and use the settings from above. Step 5 Go to Layers/New Raster Layer and apply your copyright information as well as license information, if applicable. Go to Layers/Merge/Merge Visible. Step 6 Go to Image/Resize using the percent option at 75%, bicubic and resize all layers checked. Step 7 Left click the crop tool and draw a rectangle around the areas you wish to keep, eliminating any of the excess palette. Once you have your crop rectangle drawn, double left click within the rectangle or left click the check mark at the crop ribbon. Save this file as a psp or psd file. We will add the eagle in animation shop. Click here to continue.
|
