|
SLIDESHOW
Supplies Jasc/Corel's Paint Shop Pro. Toadies Bands Supressing Noise Filter. Toadies Blast N' Blur Filter. Tubes of Choice (3) - For this tutorial, I used the delightful images created by Suzanne Woolcott. You can purchase her wonderful art in tube and full form at AMI which stands for Artistic Minds, Inc. Any extra scrap elements, tubes, brushes, preset shapes for design. Choice is yours.
SETTINGS USED IN THIS TUTORIAL Magic Wand: Mode: Add/Shift, Match Mode: RGB Value, Tolerance 0, Contiguous checked, Feather: 0, Anti-Alias checked and outside selected. Drop Shadow: Vertical Offset 2, Horizontal Offset 2, Opacity 80, Blur 5, Color Black Step 1 Open a new transparent image 500 width by 500 height and flood fill with a dominant color that coordinates with the three tube graphics you selected. Step 2 Go to Effects/Plugins/Toadies/Band Supressing Noise and move the slider to about 78. Go to Layers/Merge/Merge All (flatten). Step 3 Go to Image/Add Borders. When the border selection window opens, select a color for your border that coordinates with your tag color, symmetric, and border width 4. Step 4 Left click the magic wand, using the settings from above, and left click the magic wand on the border of the tag. Go to Effects/3D Effects/Inner Bevel and use these settings.
Go to Selections/Select None.
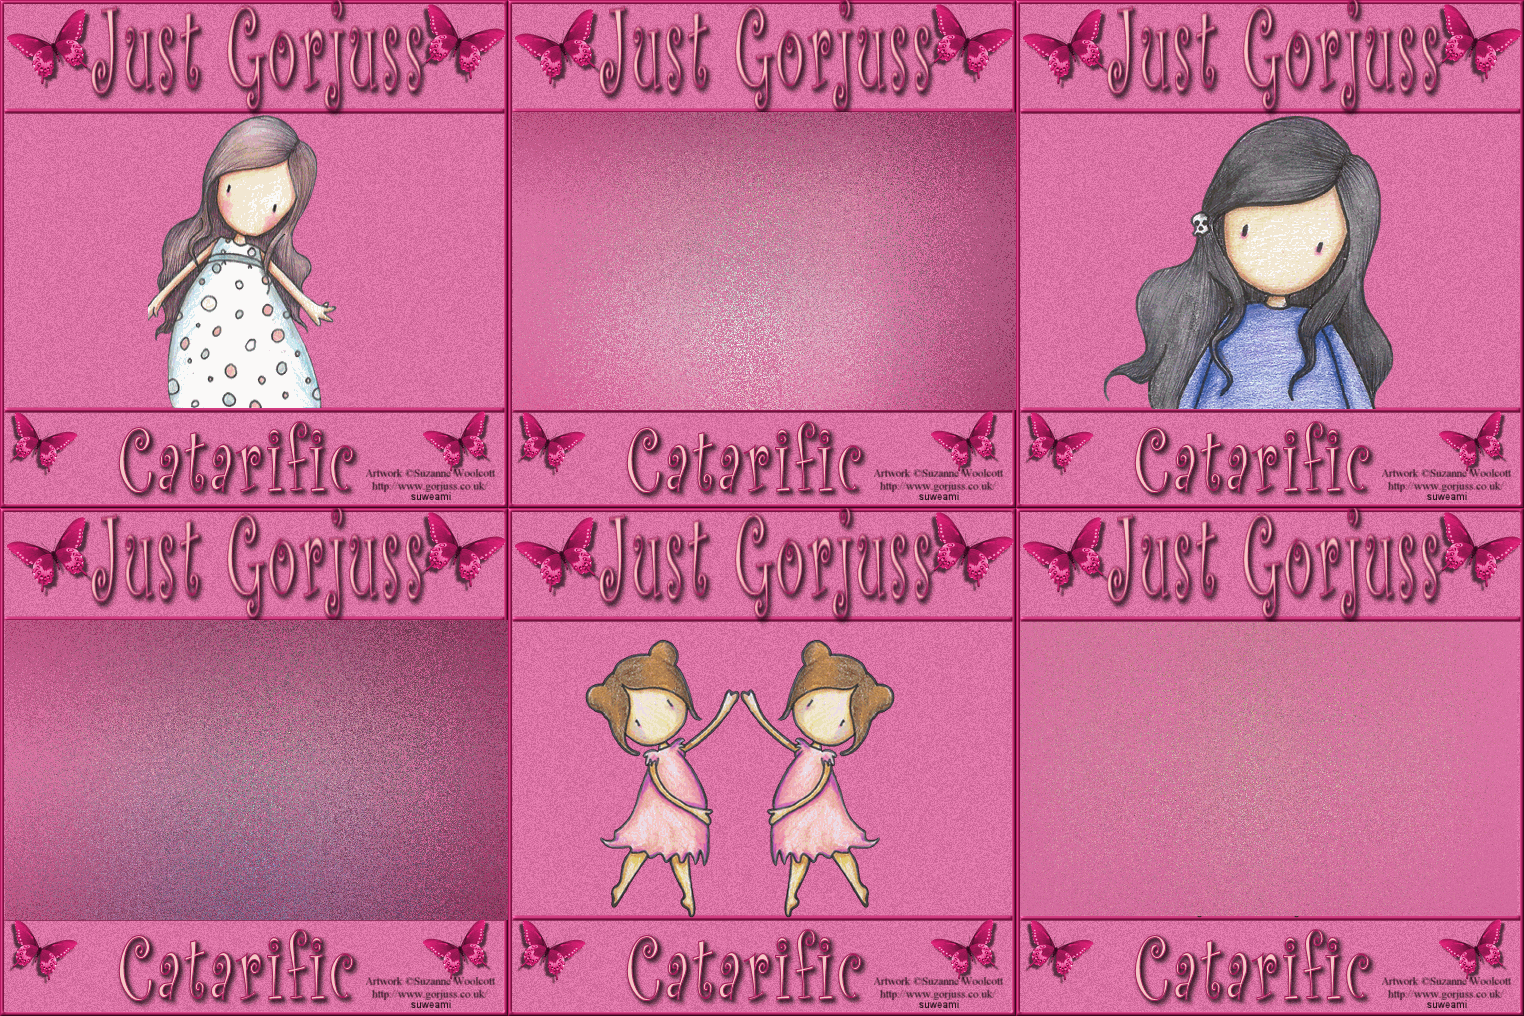
Step 5 Go to Layer/New Raster Layer Step 6 Left click the preset shape tool and set it to rectangle, solid line and width no larger than 5.05. At the Material Palette, in the bottom color box (background), select the same color you used for your border. The top color box (foreground) should be null. Going from left to right and down, draw a thin rectangular line going from the left side border to the right side border of the tag. Left click the mover tool and place your line toward the top of the tag as you see on mine. Step 7 Go to Layers/Duplicate and move the duplicate line toward the bottom of the tag as you see on mine. Go to Layers/Merge/Merge All (Flatten). Step 8 At this point go ahead and decorate the top and bottom portions of your tag with your elements. At the bottom portion of the tag do add your copyright information and leave room to add text later. When you have the tag all decorated with your elements and copyright/license information, go to Layers/Merge/Merge All (flatten). Step 9 Open up all your tube images and duplicate them. (Click the Shift and D keys). We will use the duplicate ones. Close the original ones. Resize each of your tubes so they fit in the middle section of your tag. Do not place them there yet. Just resize each so they will fit within the two dividing lines in the middle section of your tag. You can paste them there to see if they fit and then hit the undo key. We want each image resized to fit in the middle section. Step 10 Before we start placing the images on the tag. Go to Layers/Duplicate and do this two times so you have a total of three layers. Open the layer palette and close off the top two layers (left click the eye and you will see a red X). We will start with the bottom layer first. Step 11 Make your resized image active and go to Edit/Copy. Make the bottom layer active and go to Edit/Paste as New Selection and place the tube image in the center area of the tag. Go to Effects/3D Effects/Drop Shadow and use the settings from above. Go to Selections/Select None. Step 12 Left click the selection tool and draw a rectangular selection covering the entire middle portion of the tag. This is on the same layer where you placed your tube. Go to Layers/Duplicate but do not Deselect. On the duplicate layer, go to Effects/Plugins/Toadies/Blast N' Blur and move the X and Y sliders over until image is somewhat blurred out. Do not Deselect. Step 13 Go to Layers/Duplicate and again, on this duplicate layer, move the Blast N' Blur X and Y sliders over until the image is entirely blurred out. Go to Selections/Select None. Left click the eye on these three layers to close these layers off (you will get a red X). Step 14 Left click the red X on one of the two remaining original layers that we closed off in Step 10. You will paste your second resized tube image on this layer as a New Selection and go to Selections/Select None. Repeat Steps 12 and 13. Step 15 Left click the red X on the remaining original layer we closed off in Step 10. You will paste your third resized tube image on this layer as a New Selection and go to Selections/Select None. Repeat Steps 12 and 13. Step 16 Left click the red X's on all the layers to open them up and save this file as a PSP or PSD file. We have not added our text yet but will in animation shop. Click here to continue.
|

