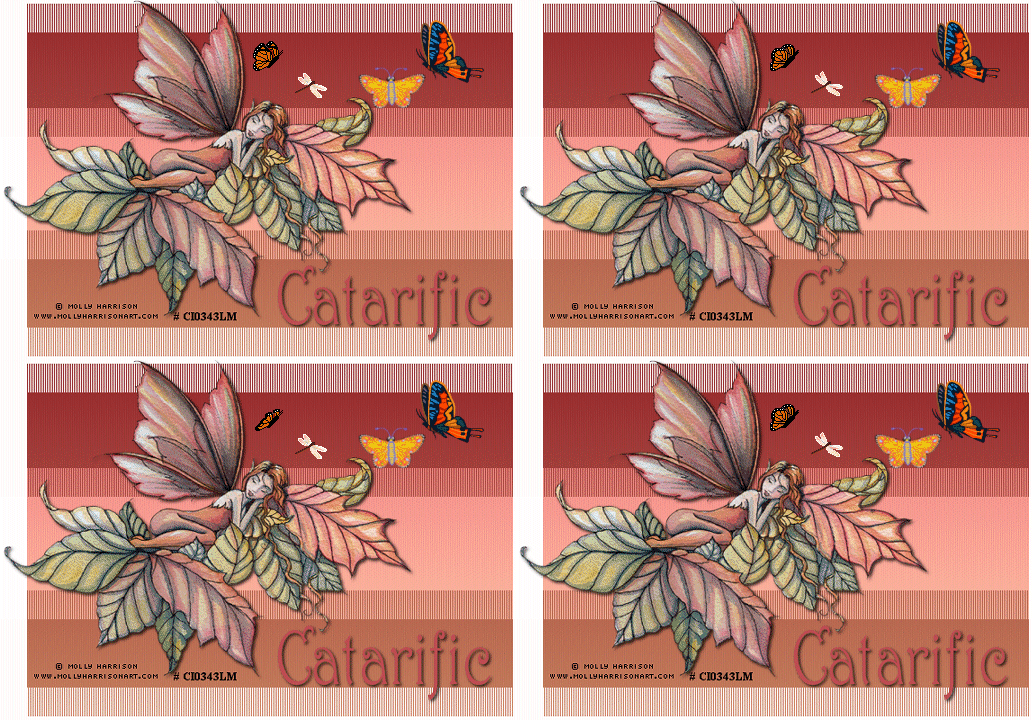
|
TWICE TRANSMISSION TAG
Supplies Jasc/Corel's Paint Shop Pro any version DSB Flux - Linear Transmission Filter VM Extravaganza - Transmission Filter (Do make sure you have the correct transmission filter - it needs to be part of the VM Extravaganza Collection). Tube of Choice: The tube image I am using is a commercially licensed image created by Molly Harrison. You can purchase Molly Harrison's charming art work in both tube and image form through CILM. CILM stands for Creative Image Licensing and Management. Bug Animations. The delightful little animations were downloaded from Peachie's Collection of Cute Stuff. The two animations I am using have the exact number of frames which is 4. If you wish to download different animations to use on your tag, do make sure your animations have the same number of frames. Optional - Any form of decorations you would also like to add such as scrap elements, preset shapes or brushes. Please remember, when creating your signature tags, to only use permission art and to apply the copyright information on the tag which would include both the artist's name and online gallery link. Font of choice.
SETTING USED IN THIS TUTORIAL
Drop Shadow: Vertical Offset 2, Horizontal Offset 2, Opacity 80, Blur 5, Color Black Step 1 Open a new transparent image 600 width by 400 height. Left click the top color box at the Material Palette and select a deep color that coordinates with your graphic. Left click the bottom color box and either select a lighter variation of the same color family in the top color box or a color that coordinates well with the first color you selected. Left click the top color box and when the color selection window opens click the gradient tab and select, linear style, foreground-background with angle and repeats set to 0. Flood fill the transparency with this linear foreground-background gradient. Step 2 Go to Image Resize using the percent option at 90%, bicubic and resize all layers NOT checked. Step 3 Go to Effects/Plugins/VM Extravaganza/Transmission and use these settings: Line Width 174, Offset 0, Contrast 40 Step 4 Go to Effects/Plugins/DSB Flux/Linear Transmission and use these settings: Size 1, Offset 4, Blend -4 (to get to the minus 4, move the slider) Go to Layers/Merge/Merge All (flatten). Step 5 Open your tube graphic and make it active. Go to Edit/Copy. Make your tag image active and go to Edit/Paste as New Layer. Step 6 If your image is too large, resize your image by going to Image/Resize, using the percent option and Resize all Layers NOT checked. Step 7 Go to Effects/3D Effects/Drop Shadow and use the drop shadow settings as you see above. Step 8 Go to Layers/New Raster Layer and add your text - applying the same drop shadow. Go to Layers/New Raster Layer and add your copyright and license information, if applicable. Step 9 (Optional) Add any additional decorations to your tag. Step 10 Go to Layers/Merge/Merge All (flatten). Go to Image/Resize using the percent option at 90%, Bicubic and Resize all Layers checked. Step 11 Left click the crop tool and going from left to right and down, draw a rectangle around the areas you wish to keep (eliminating any unused white portion). Double left click inside the rectangle or left click the check mark at the crop ribbon. Save this file as a psp or psd file. We will add the animations to the tag in animation shop. Click here to continue.
|
