|
Replacement of Steering Head Bearings
At about 33000 kms my bike demanded a replacement of the steering head
bearings.
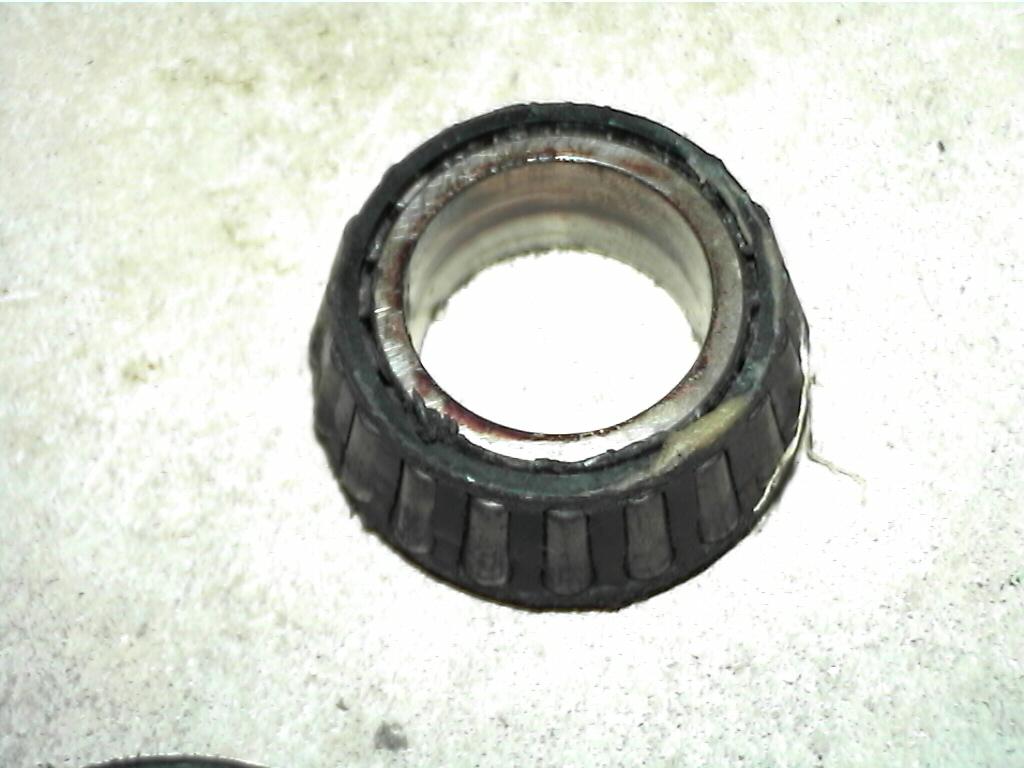
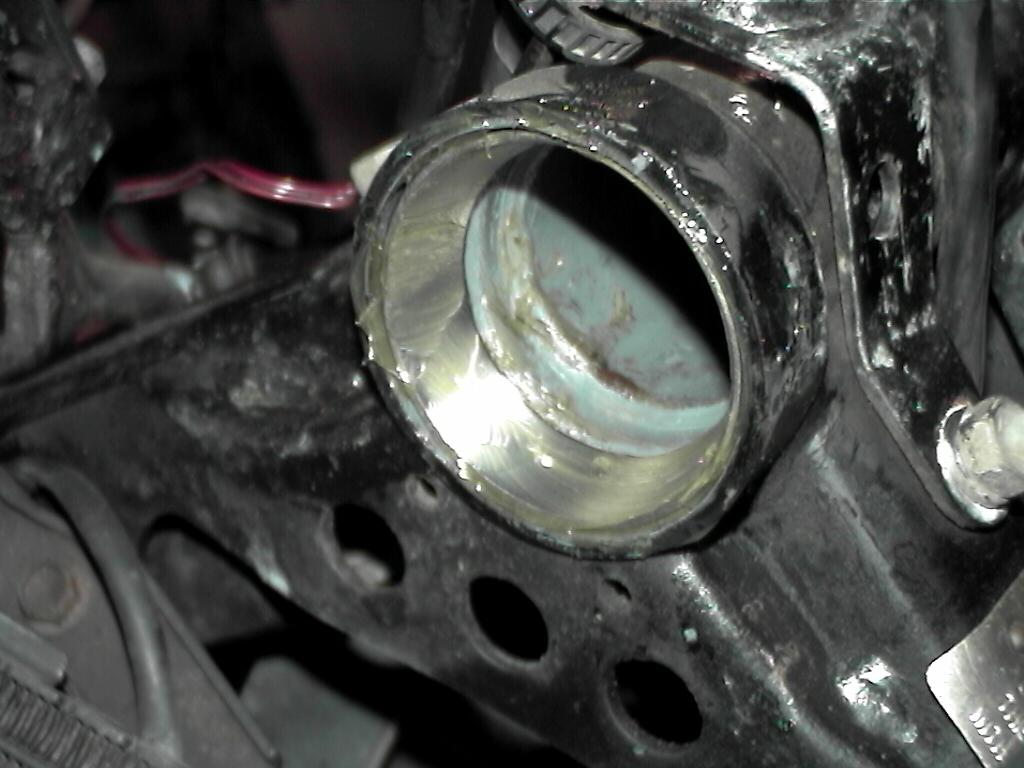
Fig. 1. completely
stuffed upper steering head bearing.
What can a bike display to show it needs new bearings? In my case, it
started to wander from side to side whilst riding, and the wandering can
be particularly noticeable when banking the bike. Not a good feeling, and
of course it could be quite dangerous. You can improve the situation somewhat
by loosening up the steering stem nut a little, but
this then makes it even more dangerous, because the wandering might
subside but the chances that a bearing will suddenly break up when riding
are substantially increased. In other words, don't risk it, just change
the bearings...
The process is pretty simple. As I said above, read the workshop manual,
but basically you;
The points to be made here are few but worth remembering.
1. Cram the bearings with grease, otherwise only the outside will be
covered. You need to get the bearing in your hand and squeeze the grease
through the bearing with hand pressure to see grease extruding out.
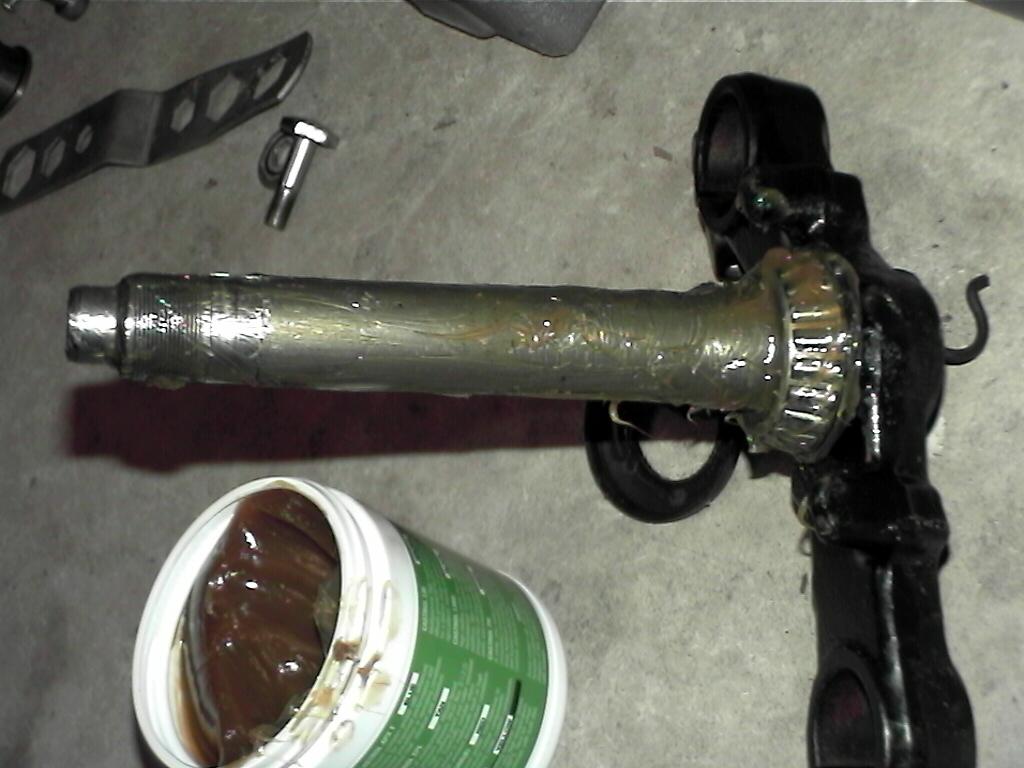 
Fig 2. steering stem and lower bracket
Fig. 3 upper bearing greased up
with new bearing
2. Make sure you don't damage any surface that the bearings sit on,
such as the bottom of the steering stem. If there are any irregularities
in the surface, file/polish them smooth.
3. Try not to hurt the races as you put them in either. A small (eg
10 x 10 cm) bit of wood is good for ramming the races in evenly. Try to
get them as far down into the steering head as they will go.
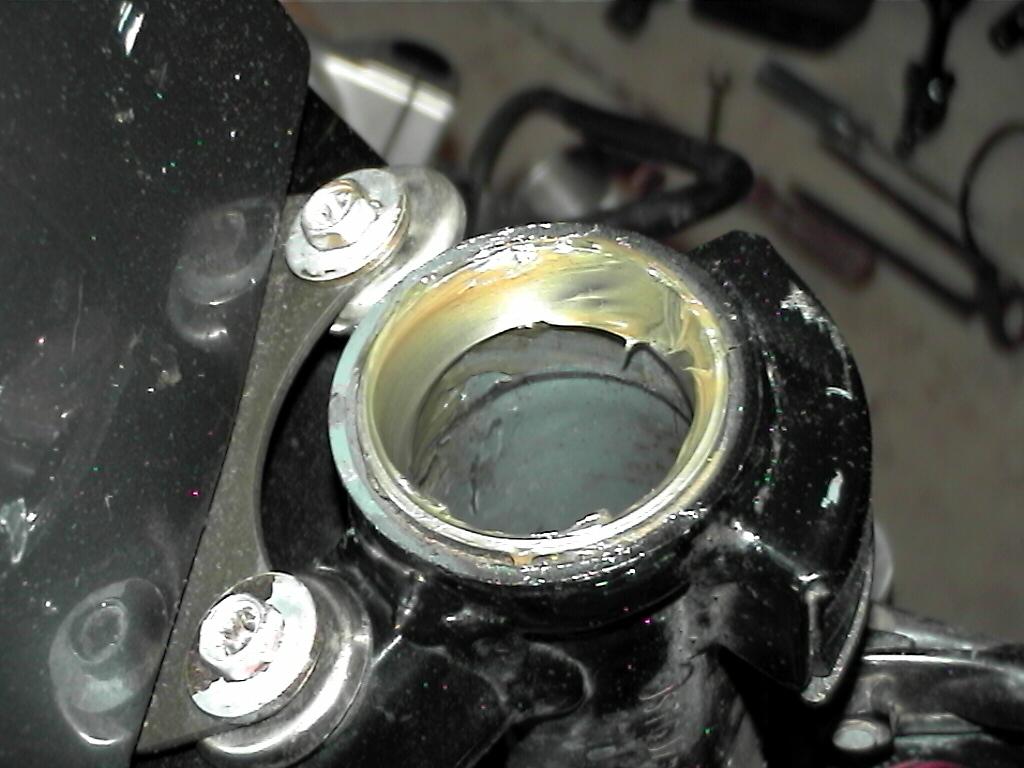 
upper bearing race
lower bearing race
4. Be really careful when you have the steering head assembly together
and you are torqueing the stem nut. Pages 7-25 & 7-26 have information
on the process. Overtorqueing could flatten the rollers and thus destroy
the bearings, make your efforts meaningless, and adding another $60ish
to your bill for more new bearings.
5. It might be difficult to get out the lower bearing race. I used a
crow bar which just happened to have the right bend to curve inwards and
sit on top of the race. A few taps and it was out.
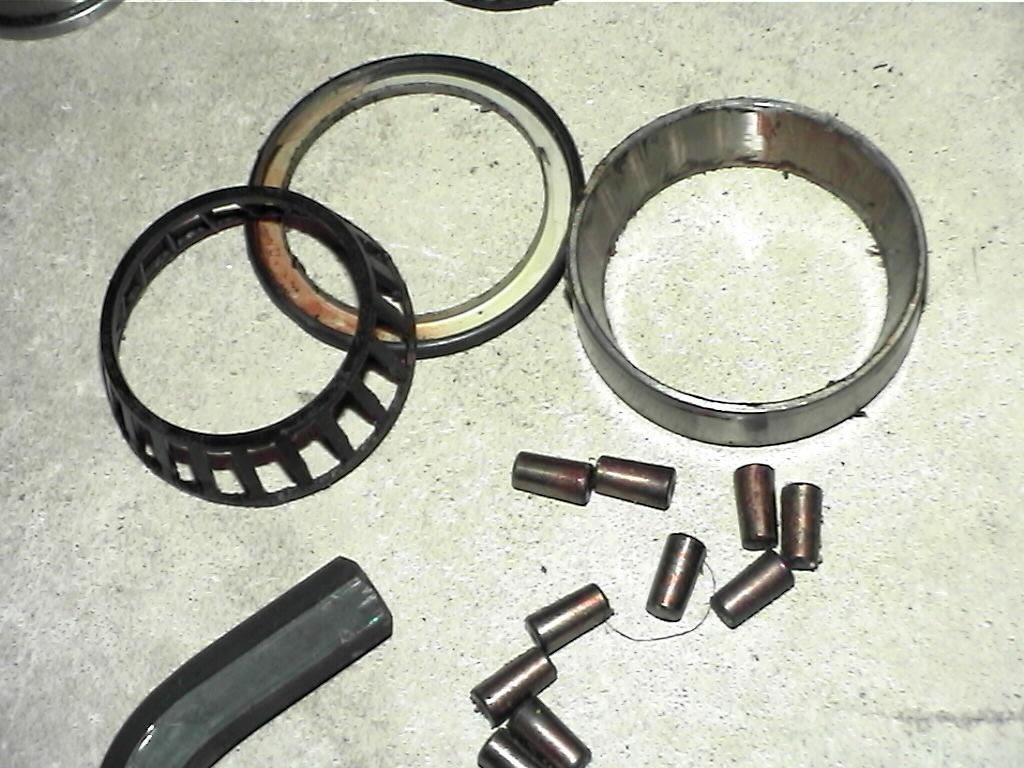
6. The lower bearing on mine self-destructed on the way out of the steering
head (see pic), but this proved to be a bonus, as the steel inlay of the
bearing proved a wonderful tool for tapping in the new lower bearing onto
the stem without damaging the bearing. Heres a pic of the new improvised
tool;

With this part inverted and placed on top of the new lower bearing,
you can tap against the solid part of the new bearing to get it down on
the steering stem without any pressure going onto the bearing surfaces
themselves.
7. It is a good idea to check for free play in the steering head a couple
of times straight way, and then again after about a week, to make sure
that the right tension is on the bearings. A tech friend of mine actually
recommends to torque the bearings down, loosen them up, then torque them
down & loosen another two times before final tightening, to make sure
everything is seated properly.
Voila! New head bearings and better handling!
Savings?
In Sydney the workshops will typically charge you about two hundred
bucks labour to do this, but you can do it yourself (with a modicum of
skill and patience) for nicks. Parts cost; about ten to twelve bucks for
the 12mm allen key (to get the front wheel off--if you don't already have
one in your tool collection), plus about sixty for the new bearings.
|
 Made
in Sydney, Australia
Made
in Sydney, Australia