

How to Make Roman Arches.
In this project you will be doing some Extrude Planer Curve, Loft, Fillet Edges and other basic moves. It helps when you use the different layers to distinguish you pieces apart. Selecting lines can be confusing when you have allot of lines.
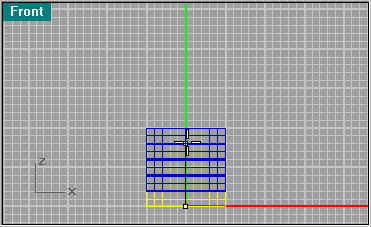
First create a pattern like the one below, this will be the base pillar and the half circle is the base for the column to be lofted (done near the end).
Highlight the base configuration and use Solid/Extrude Planar Curve to a height of 2 units. Then use Solid/Fillet Edge to round of the edges (.1u). This gives better detail to the pillars as they are stacked.


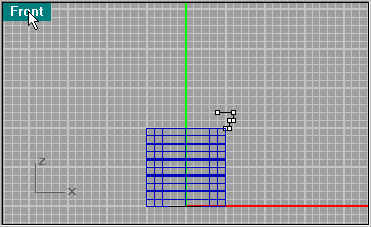
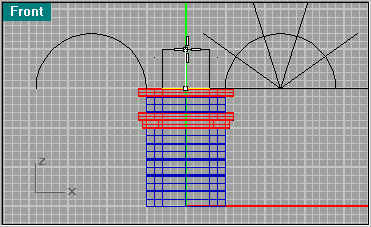
Next duplicate the pillars using Copy, and stack them 5 high.

Next move the first pattern to the top pillar so we can use it as a rail.
Create an edge using Curve/Line/Line Segment![]() ,
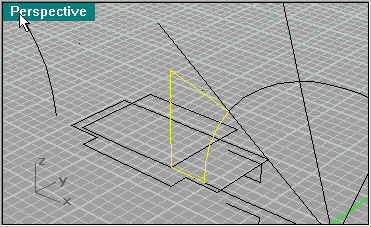
this will be railed around to create the next pillar. Make sure you move the curve you
just made inwards to about the middle of the rail so it touches it. When you have created
that, use Surface/Sweep 1 Rail.
,
this will be railed around to create the next pillar. Make sure you move the curve you
just made inwards to about the middle of the rail so it touches it. When you have created
that, use Surface/Sweep 1 Rail.


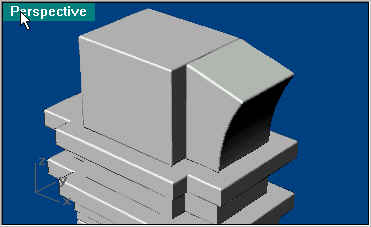
Again bevel the edges using Solid/Fillet Edge.
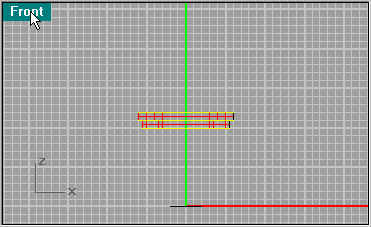

Add another pillar from the beginning. Then move the pattern up for another Rail. Create a curve as highlighted below.


Then Sweep the curve as you did before to create the next pillar.


Next make make a half circle as shown (disregard the 2nd one on the left). Then make a segment going from the center of the circle to the center line.


Use Transform/Array/Along Curve (6) to create even lines along the curve. Next use the Split command to separate the half circle into 5 segments. These will be your blocks later.


Next use Curve/Rectangle/Corner![]() to Corner to create a square as shown above. Then extrude the square with Extrude Planer Curve to 5u as shown below. Then select the edges to
be rounded (Fillet Edge).
to Corner to create a square as shown above. Then extrude the square with Extrude Planer Curve to 5u as shown below. Then select the edges to
be rounded (Fillet Edge).

Next create a line segment as shown making sure you connect to the top and base of the curve segment (I use Snap to End then switch it off so it doesn't wonder).

Next use Join![]() so the segments are one piece. Next move the segment back a unit so it lines up with the
pillar edge.
so the segments are one piece. Next move the segment back a unit so it lines up with the
pillar edge.


Next use Extrude Planar Curve to the back line to create your next block. Bevel the edges.


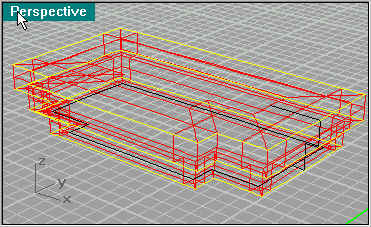
 As you can see the pieces are starting to shape up.