How to Make Roman Arches Page 2.
Duplicate the large block and place it one high. Next create another line segment as you did before to create another curved block. Make sure you know were the segments are attaching too, especially if you use snap. You want the segments to be one again with the next curve segment.
Use Extrude Planar Curve again to create you next block.


The next level has been finished (after the main pieces are done you can mirror copy them).
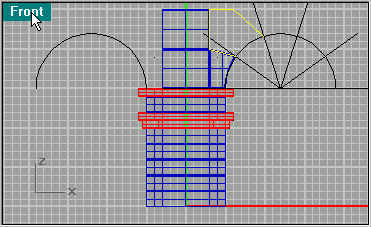
Next create two more line segments as your molding. I used .2 for the beveling the lower molding then .1 for the upper ones edge. I used Curve/Arc/Start End Direction for the curve using snap to end. Join all segments to make them one again. Then use Extrude Planar Curve. I extruded it from the center line to the center of the arch, this way you can tile it to however wide and many arches you want. Bevel the edges with .1 (I forgot to do the side edges, this would give it a look of blocks, so its up to you if want it to look like one long piece or blocks)

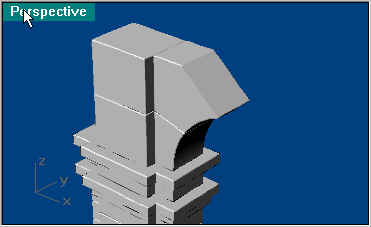
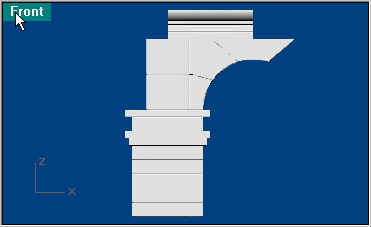
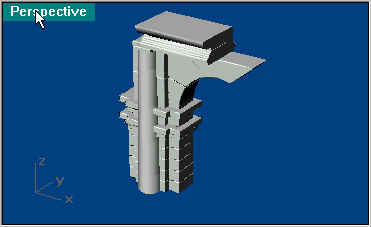
Here you see the almost final piece, back to the column.

Create another full half circle a little smaller (1.5 rad).


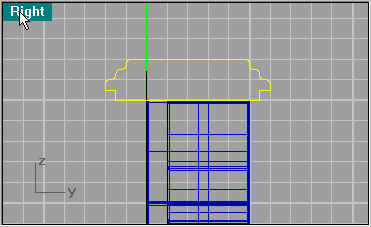
Move it to 1/2 unit from the top molding. Then use Loft![]() .
.
Now in reality the Column was in segments and part of each block, they just tapered it as they carved the rock. If you want it more realistic, then after completing this page go to Segmenting.

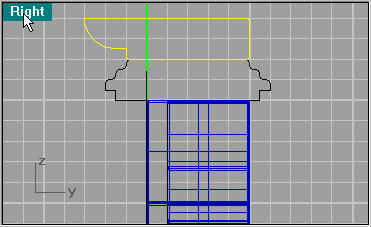
After you have created the Column create a rectangle that covers the top of the column, 3x1.5.

Use the Extrude Planar Curve to fit between the Molding and column. If you use -.5 in the command line it will extrude down automatically, .5 will go up. Select edges to be beveled. This piece actually doesn't need to be beveled but I did it anyway. If I did it again I don't think I would (maybe .05).


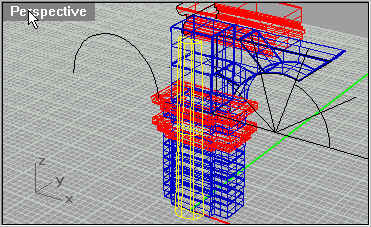
Next select all the pieces except the keystone (switch off your line segment layer) and do a mirror.

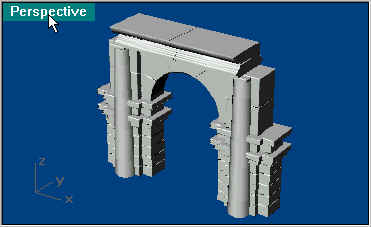
And their you have it. Join pieces together to make multiple arches.