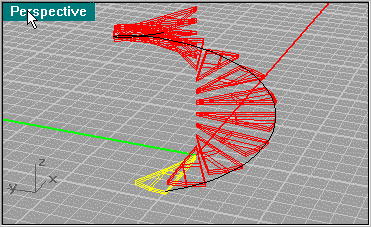

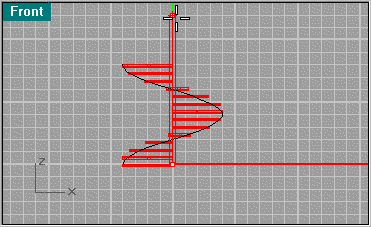
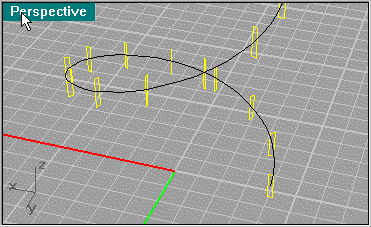
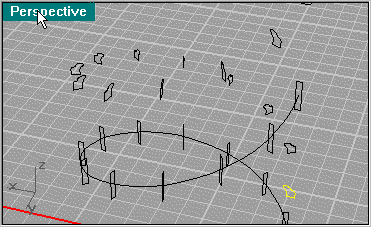
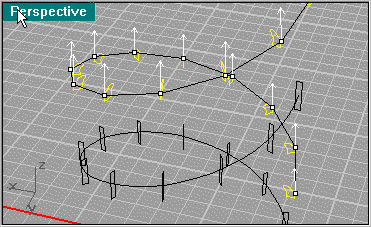
This Helix will be used allot. Now Array the step using Transform/Array/Along Curve, keep it to 14 pieces.
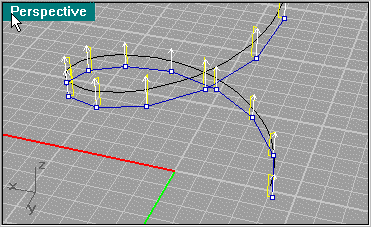
Now create a center shaft using Solid/Tube. Put a Sphere at the top to round it off. You can use the tube to cut the sphere in half, then join them. Next create a Rectangle at the base helix (.2 x 1.125 .175 from the top line). This will be the rail that holds the steps.
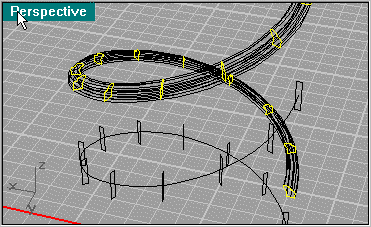
Now do another Transform/Array/Along Curve. A sweep is not possible in my experience because the rail will distort and be uneven, so creating an array will create a clean loft.
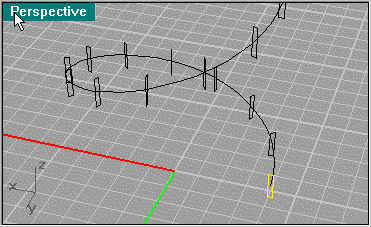
So highlight the segments and use Surface/Loft. When using loft, use Cap Planar Curves to cap the ends.
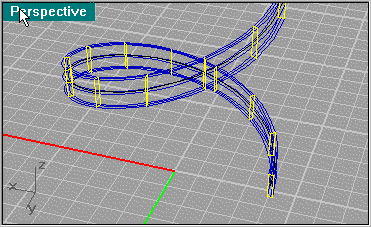

Next we create a banister. Their are many moldings of banisters, this one I made from a book. Use the Array again as you did for the lower rail.

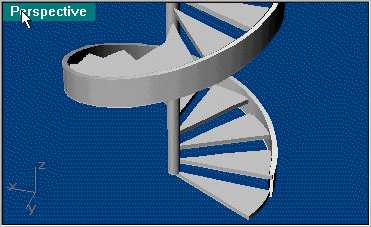
And here we have the simpler parts of the stairs. When you create Lofting, using custom points will determine how accurate the details are. Best is to experiment with 10, 20, 30 and "not simplified". Here I use Not simplified so the best detail can be shown. This will create a bigger file.
