|
|
|
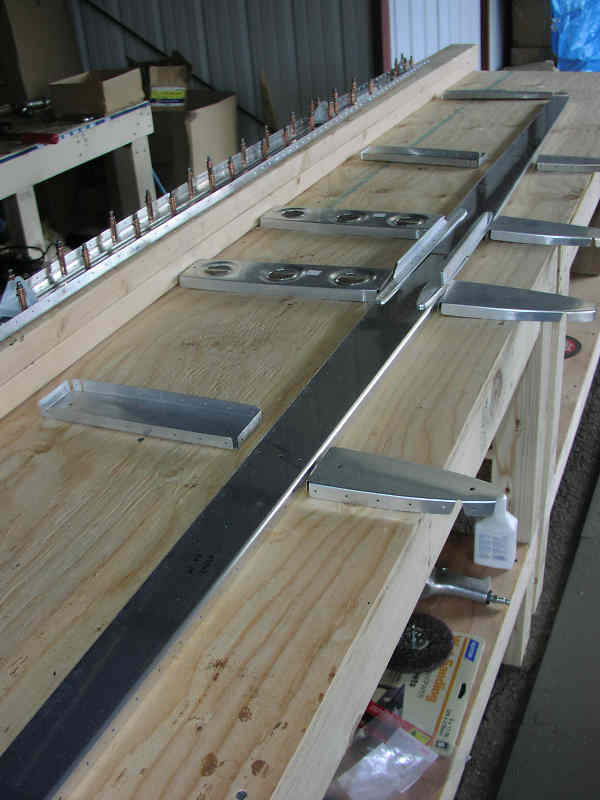
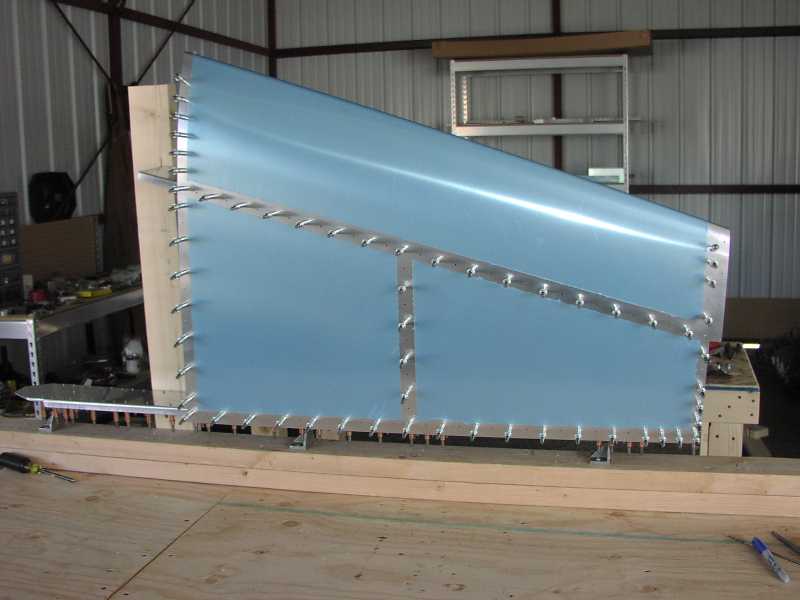
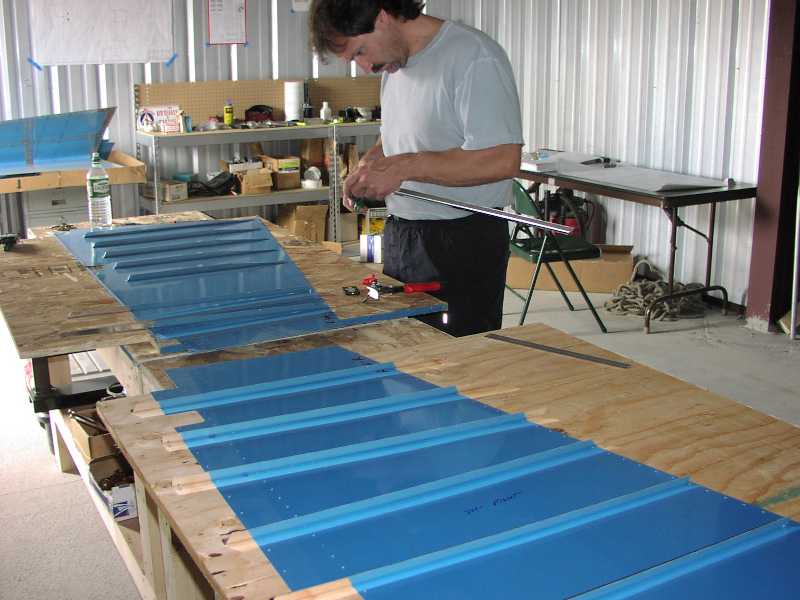
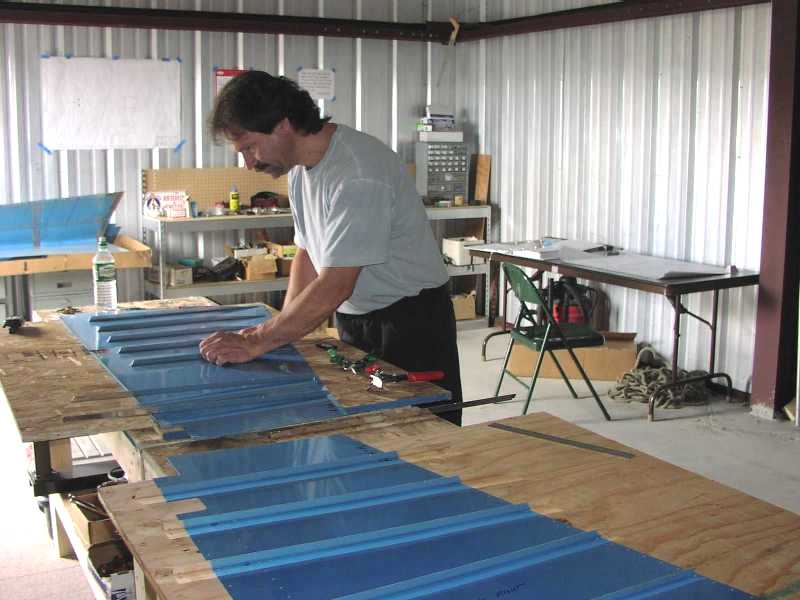
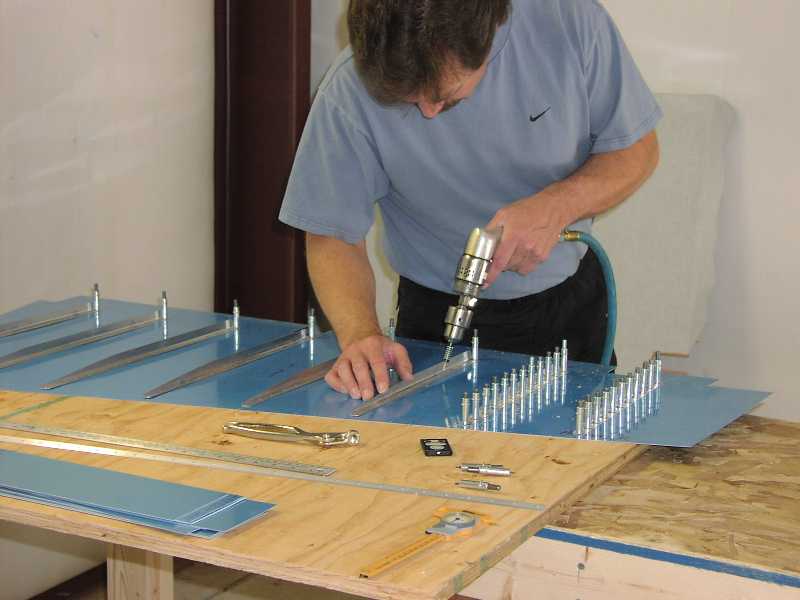
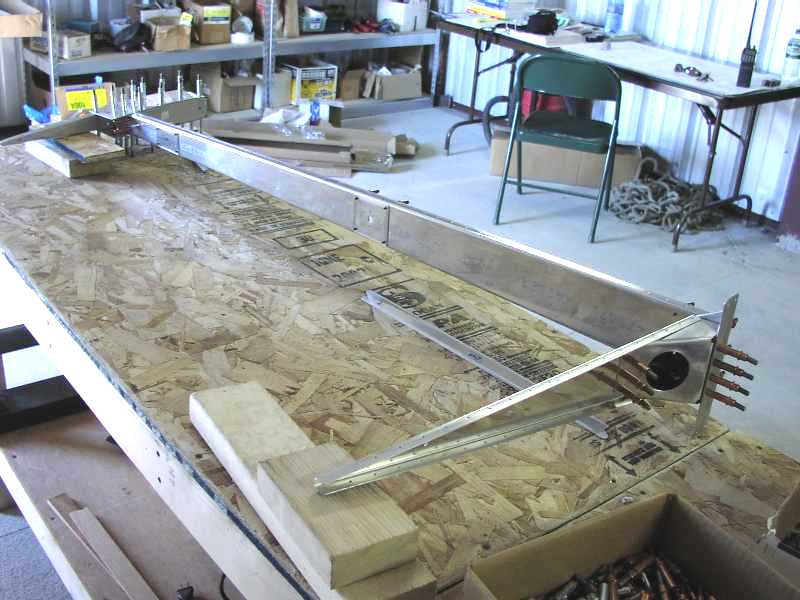
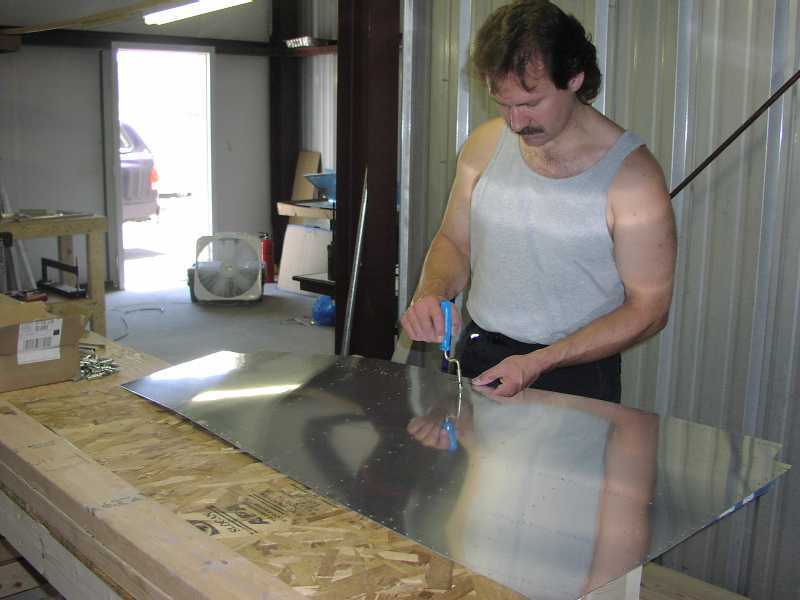
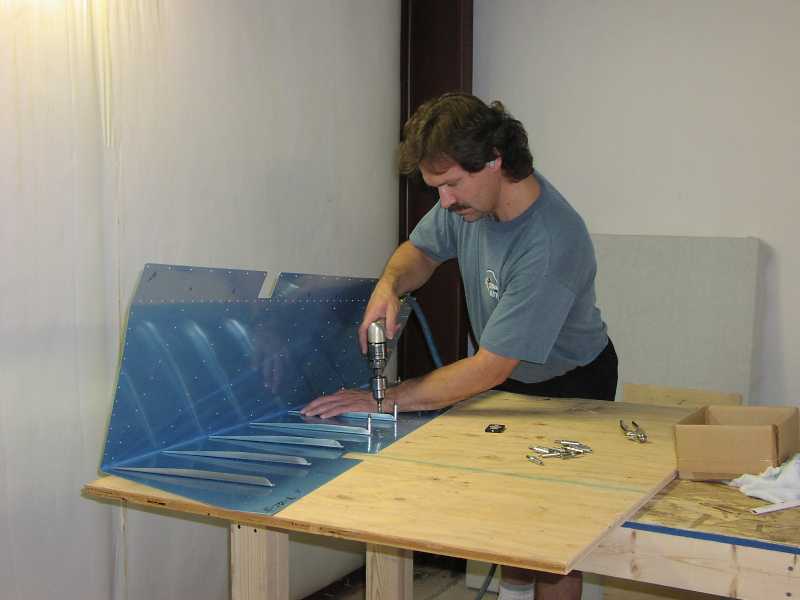
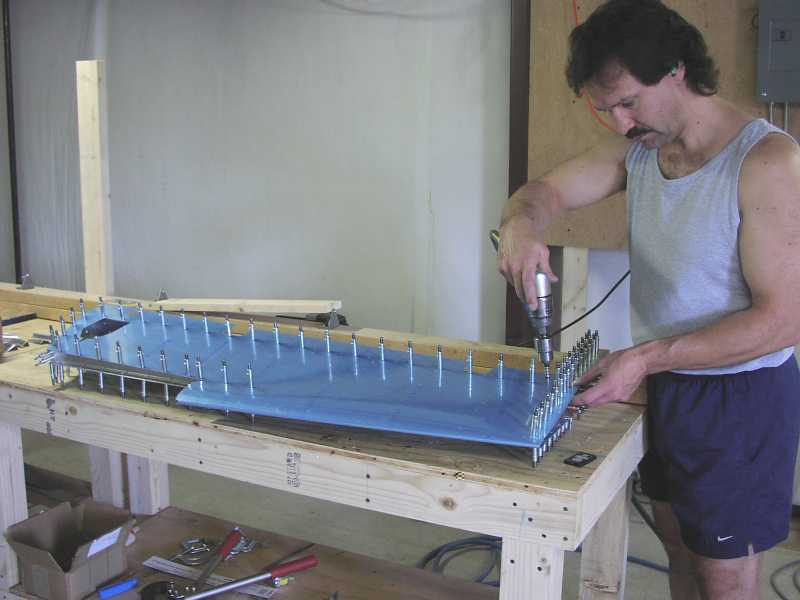
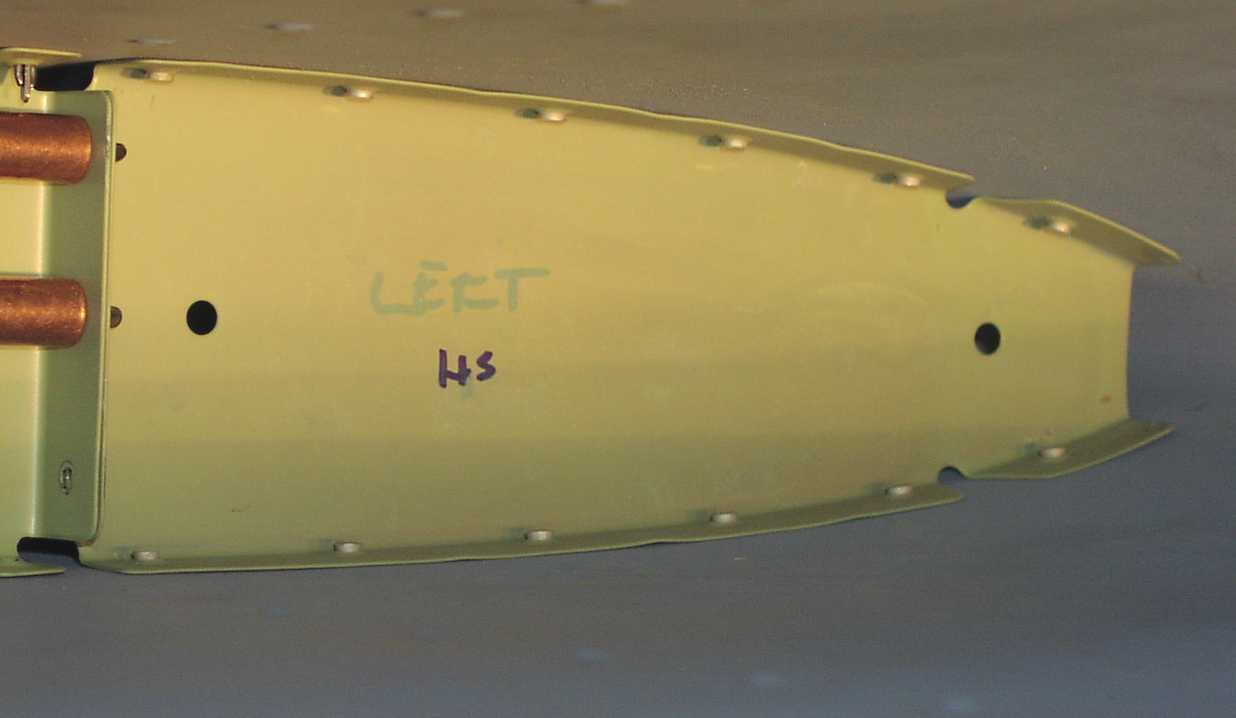
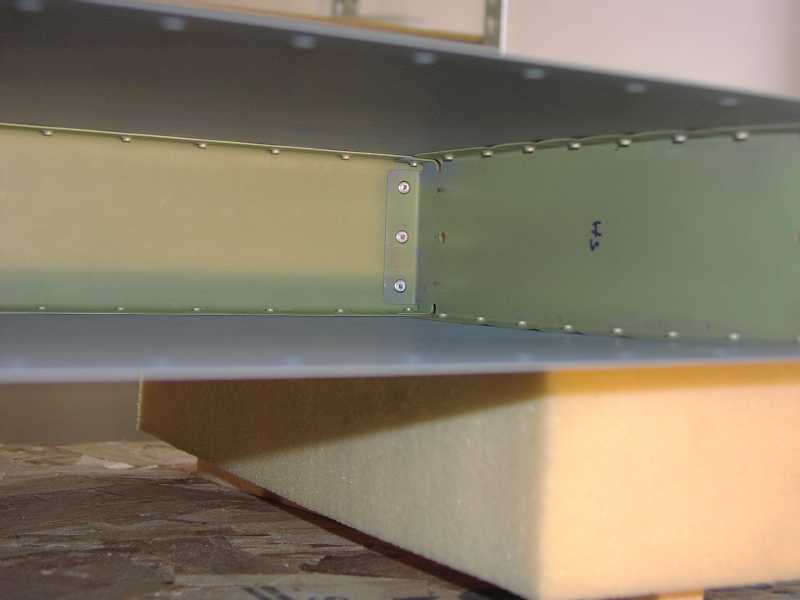
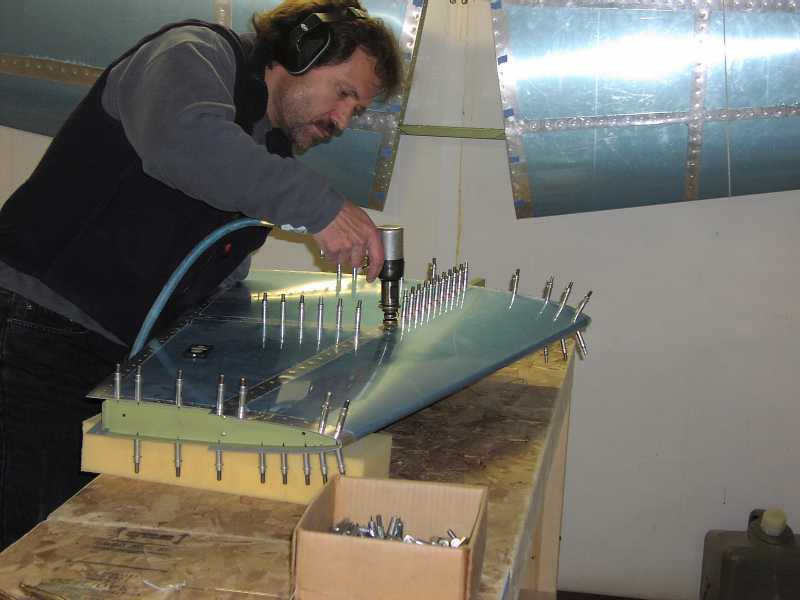
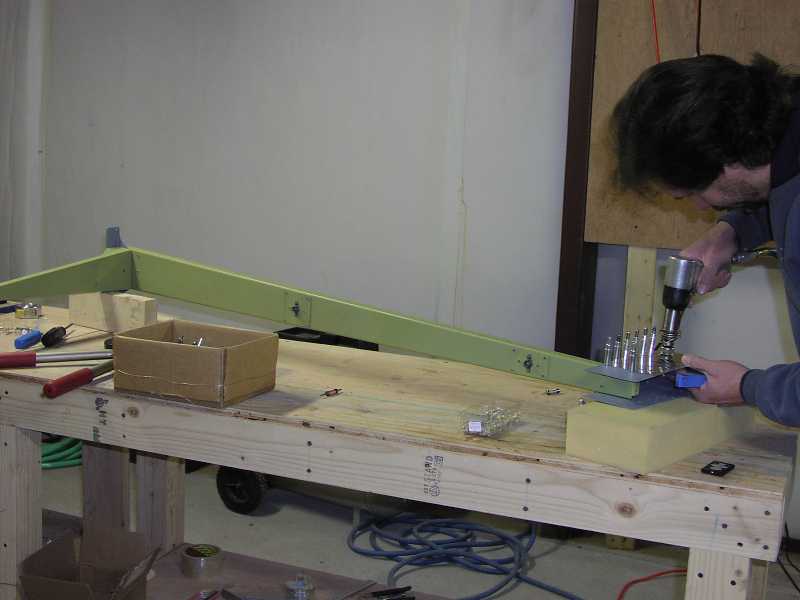
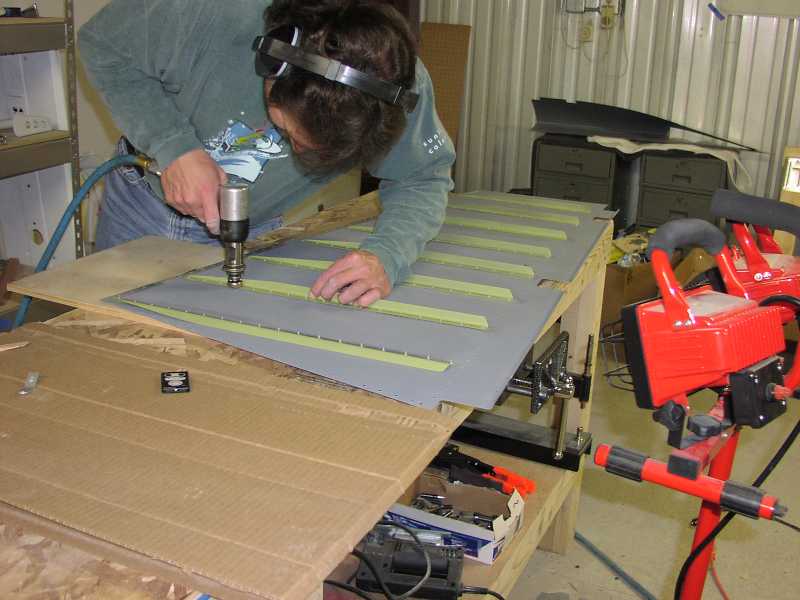
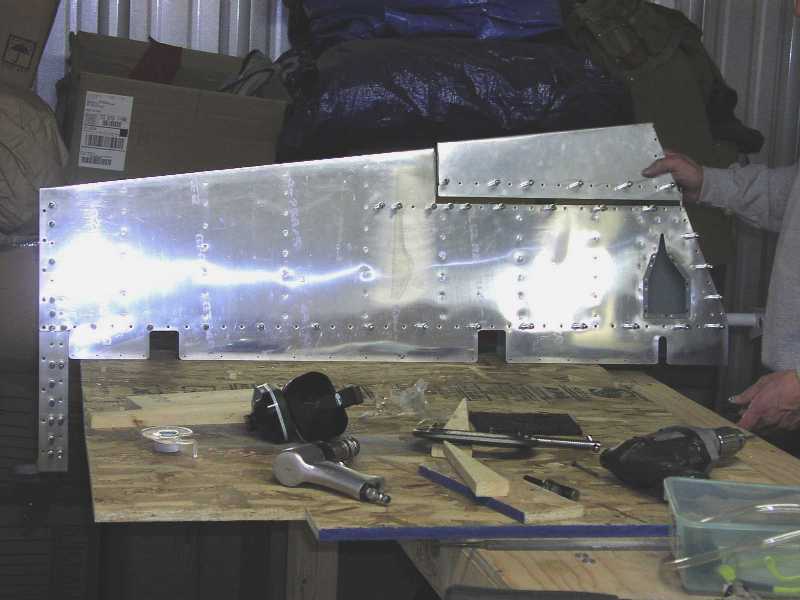
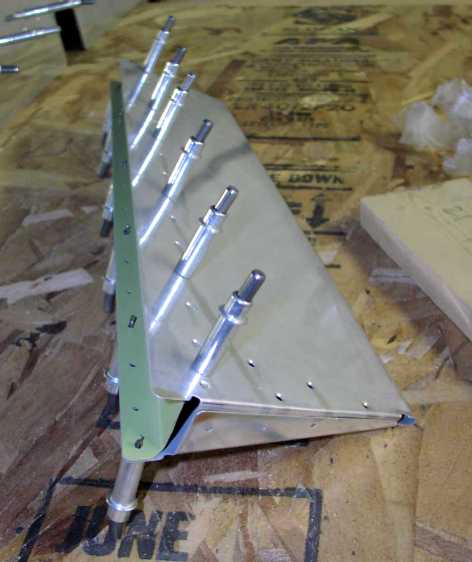
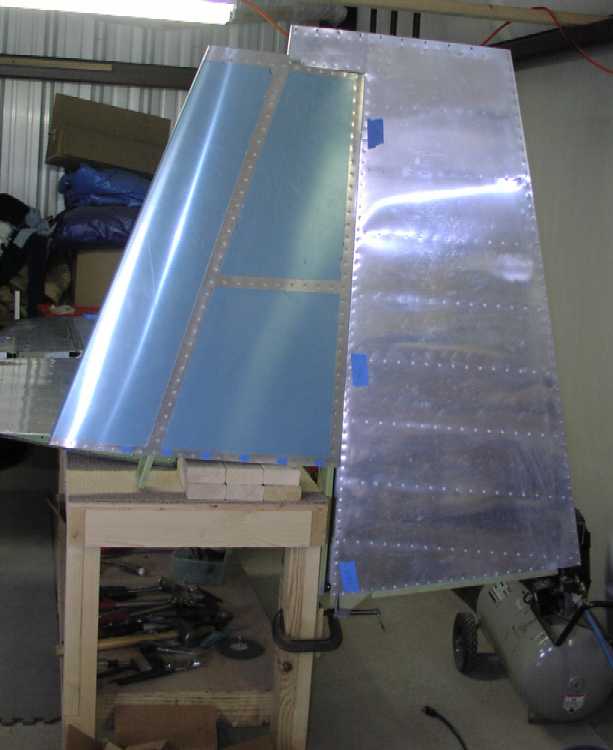
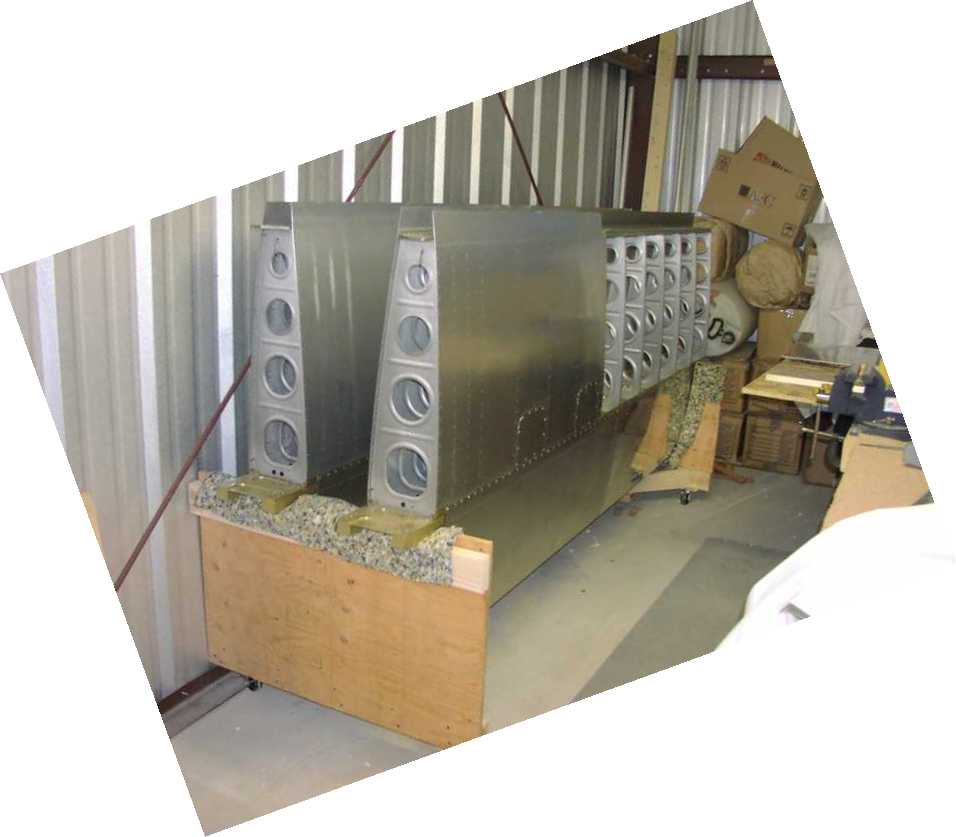
April 2003 - Attended Sun N Fun EAA Airshow in Lakeland, FL - test drove RV9a Decided on proceeding with the RV7a kit instead - ordered the empennage includes the horizontal stabilizer, vertical stabilizer, rudder and elevators. The parts arrived on April 29, 2003. Rented a T-hanger out at Eagle County Airport. The only drawback was that no electricity was available. I took a trip to Home Depot in Grand Junction and bought a 7500 watt generator. Used the generator back at the hanger for about 30 minutes and the engine seized. So it was back to Home Depot and exchanged the unit for another that is working OK. Had to get workbenches built before getting much into the project. A co-worker (Thanks - Vince) helped me build the first two and I completed two more at the hanger using the generator. May 30, 2003 - This is the progress on the horizontal stabilizer. June 1, 2003 June 2, 2003 - Had some concern about a bent rib but tech support indicated not a problem. Fixed bend. June 4, 2003 June 14, 2003 - Had some concern about edge spacing for the rivet on the HS405. There will be three layers to rivet here. Tech support said it was not a problem. June 22, 2003 - Next step is the vertical stabilizer. Same steps as the horizontal stabilizer - file edges, clip together, match drill, disassemble and get ready for primer. After priming everything I'll start back with the rivets. May to July, 2003 - Toward the end of May, I met another airplane builder here at the airport. He mentioned some other shop space on the airport that would have electricity. This began a major bureaucratic nightmare that involved the county attorney and airport admin. To spare you the shock and awe of it all I finally was able to move and as of July 11th (a day I will mark as a milestone) there is now power in the shop. No more listening to the generator. Anyone want to buy a generator? One slight issue still pending is the three foot door that needs to be modified to become a six foot double door. This is to allow the project to be removed to put the wings on and go flying. Just a detail that I need to remember :-) July 16, 2003 - Started rudder assembly July 20, 2003 - Rudder continues July 23, 2003 - The rudder is now taken back apart ready for (repeat all together now) deburr, dimple, prime, and rivet (my new mantra). When everything is deburred and dimpled I'll start with the primer part rather than mixing batches after each assembly. Another milestone! - I placed the order today for the quick-build wings and fuselage. I've asked Van's not to send them to me until November so that I can hopefully save some money to pay for them and still keep some in the sock drawer....or is that the mattress? August 21, 2003 - Time sure flies by these days. Season ski passes just went on sale....can hardly wait for snow! In the mean time the project still continues. Took the rudder apart and proceeded with deburr, dimple routine. Also have a screw and nut plate kit for the fiberglass rudder cap shown in the pictures. Most recently I have been getting the elevator parts setup, filed and ready to match drill. Catching Up...... Sure cannot believe that it is already November. August and October were especially busy in the office but I did manage to still get some work done on this project. During the end of August, I was beginning work on the elevator parts. September began with me taking a break to Arizona for a week to see the nephews and nieces. The last week of September I finally began the alumiprep and alodyne treatment of all the aluminum parts. This was a job that almost requires one to have their own backyard with a water hose connection. Since I do not have those facilities anymore the task was harder to accomplish. Using a friends driveway finally worked out and the smelly time consuming step was done for now. The pictorial story now continues. August 31, 2003 - Started the right elevator skin prep. September 3, 2003 - Started the left elevator skin prep. This was the mirror image of the right except for the rudder trim tab. After all the drilling of course it was on to debur and dimple everything. September 27, 2003 - Began the chemical treatment of the aluminum with alumiprep and alodyne. The alumiprep is a acid that etches the metal and cleans the surface to allow the alodyne to create a corrosion protection layer. Alodyne turns the metal a gold to brown color. I've discovered that the quickest way to get airplane builders on step is to ask about corrosion protection. Everybody is a expert! October 4, 2003 - The Vail Valley Jet Center sponsored a airhow so I decided to try and rope others into the 'sweet agony' of airplane building. I setup a booth and clipped all the major parts together and hauled them over to the big hanger. Not sure it was worth the effort. Did get the "Your building what?" question quite alot. I'd hoped to get interest going on starting a EAA chapter here in Eagle. October 11 and 19, 2003 - Finished using the chemical treatment on the parts and moved on the primer. A co-worker (Vince) also does car body work and offered to spray the parts in his garage. I used a product made for Boeing by the company Deft. It is water reduced and cleans up with water....kind of anyway. We started the two hour job and ten hours later had everything sprayed. The dried finish is tough and covered the parts very well. October 21, 2003 - RIVETS! Yes I have finally started the real frustration. It is nice to see parts starting to be put together but bending rivets sucks to put it mildly. Drilling them out is even worse. I'm also finding that I forget to take a break. Four hours standing seems to be a pain in the back. It has obviouly been awhile since updates but I have been busy building. I'll post the pictures and add commentary in the future...at least that is the plan. November 12, 2003 - Horizontal Stabilizer Pictures November 18, 2003 - Vertical Stabilizer Pictures - This is done just forgot to get a picture of the finished product. November 23, 2003 - Rudder Pictures December 17, 2003 - Fuselage and Wings Arrive January 11, 2004 - Left Elevator January 25, 2004 - Right Elevator Pictures May 10, 2004 - Wish I could perfect the time machine. Just need more of it. I've spent the last few weeks getting moved to another house. Getting to be expert at the moving stuff - seveth time since September 2000. That process still continues but at a lower priority for the moment. Here are pictures of the horizontal stabilizer and elevators connected along with the vertical stabilizer with the rudder connected. Built a rolling stand for the wings which should help as I being building the push tubes and attaching the flaps and ailerons. Moving on to the the wings ..... The fun continues! |