
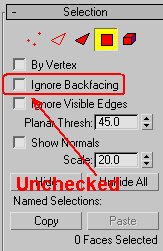
Next, on the Selection rollout uncheck Ignore Backfacing if it's checked. (If it's checked, it means that you can not select faces which u can see - faces on the back of you object - backfaces)
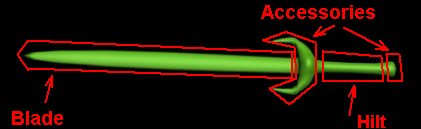
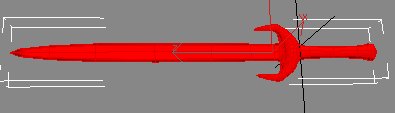
Okies, next, we've gotta deside how many materials and for which parts we will use. Ive devided me sword to three groups that r going to need each personal material, the blade, the hilt and the so called accessories, as shown in the next pic:
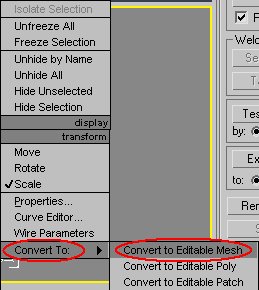
Now, how da hell do we make Max understand what we mean? Follow me.
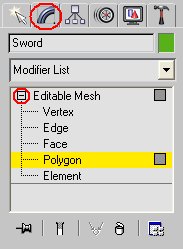
Left click and drag a selection window around your object, Select ALL polygons of your object
a selected polygon will turn red (make sure you have unchecked Ignore Backfacing else, the polygons on the back of your object won't be selected). Scroll down to Surface Properties rollout, and put in "1" value in the ID line, press Enter.
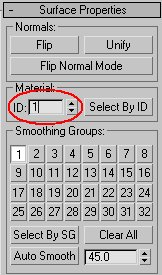
This gives all the selected polygons ID 1 (sort of a name if you wish). To test your assigning click somewhere in the viewport to unselect everything, than click the Select By ID button near the ID line enter 1 in the dialog that appears and click OK. If everything is selected again than you're fine.

Next, select only the blade
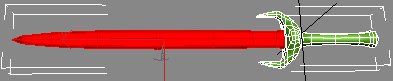
Set it's ID to "2", press Enter. Do the testing again, (make sure that Clear Selection is checked in the dialog that appears after you click the Select by ID button). Ok, now we have two "names" 2 for the blade, and 1 for everything else. Next we're going to assign number 3 to the hilt. Click somewhere to unselect everything, next, select only the hilt, like this:
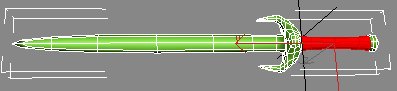
And what now? Right! Set the ID value to 3, press Enter, and test all 3 selections. 1 is the accessories, 2 should be the blade and 3 will be the hilt! we're done here, now we've gotta make us some Multi material! Mwauahahaha! Sorry, please, to the next page.