|
1. Add Mesh lighting,
Add shadows
2. Use Terrain Tool
to make mesh walls. Good size to set tool at is 3.000 to 5.000
[ You can tweak
the terrain tool under tool preferences. Minus sign: example
( - 3.000) Lowers mesh floor.] Make sure you have a absolute tool
selected , or you will have monster uneven mountains. You can
also feather the hill sides.
Terrain tool also can
be tweaked using F 9 and up keys. Play with the commands to see
how tool works]
3. Set Mesh Parameters
30 30 30 30 [top/bottom/right and left]
4. Hopefully you tag
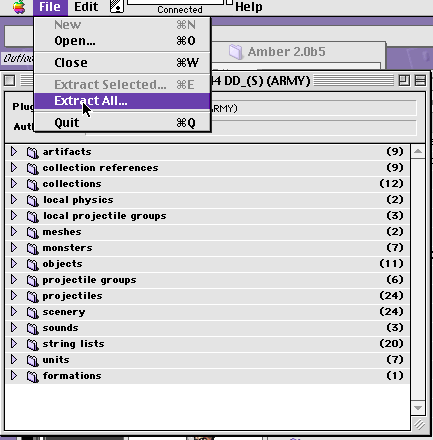
extracted a WW2 Units plugin and added to your local folder.
5. Add units, Add a
camera behind your units. [Tip is to make first Team - team 0.,
same for cameras eyes] [ Team 1 and so on.]
6. Adding water. Water
is added in Photoshop. Select a new layer. Draw and paint water
in. At this point save your map. Once you backup this step, you
can proceed.
7. Use magic wand to
select only the water in the layer. Under edit menu, use fill
to all black.
8. Delete your colormap,
so you only have water map.
9. Use magic wand to
select the water. Index your water map into 2 colors. Save and
rename map in .Pict format. Example of a
Photoshop Reflection Map:
 Utah Reflection Map.pict made off the colormap with a layer. Indexed
into 2 colors
Utah Reflection Map.pict made off the colormap with a layer. Indexed
into 2 colors
10. Import Watermap.pict
File into loathing using import reflection map.
11. Set Media Height.
[-5.000] is good. [ Play around with numbers till the man you
placed sinks into your water. Water needs to Approx. -5.000 lower
then land, when you set media height. You can test water map using
the very last tool, Click it and you should see water in a pinkish
red color. If you do not. You did not import the correct kind
of water map. [
In Photoshop, Your reflection map will be the (black areas! which
represents the water, and the (white areas) will represent the
land.
|

 Utah beach.pict format [Colormap in 240 colors adaptive]