Do NOT glue the deck to the hull yet.
You now have to cut holes on this deck which will permit the light from inside the hull to
move up to all the upper decks.
Step 5
The next step is to assemble the main deck. Glue both
parts and paint the underside White Gloss Enamel.
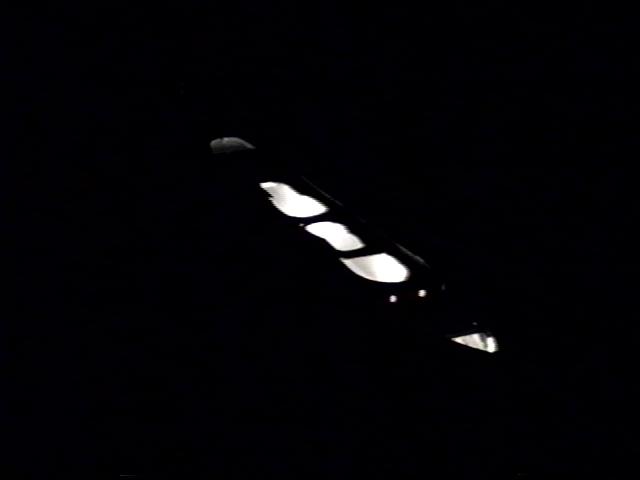
Hold the assembled part up to a light and make sure light
does not shine through. If it does, paint the underside again.
Do NOT glue the deck to the hull yet.
You now have to cut holes on this deck which will permit
the light from inside the hull to
move up to all the upper decks.
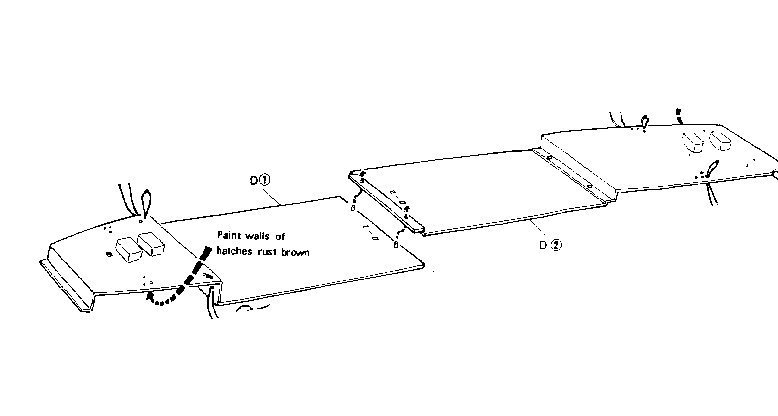
Using a jigsaw with a fine jigsaw blade, cut the holes as shown in the images below.

You can now glue your deck onto the hull.
Step 6
We have to get a little creative now.
Ideally you want to get the fibers to the optimal position
directly over the bulbs.
You can do this by passing all the fibers coming from
all the upper decks through plastic tubing.
Using plastic tubing approx. 1 inch in diameter and 2 inches long cut two tubes as shown in the images that follow below.

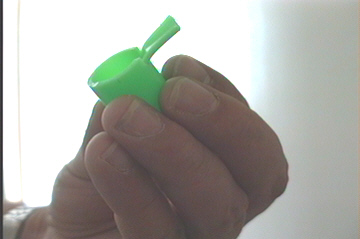
Cut a little tab in each tube, and then remove the excess
at the top.
These tubes will serve as guides for the fibers you're
going to pass into the hull.
Step 7
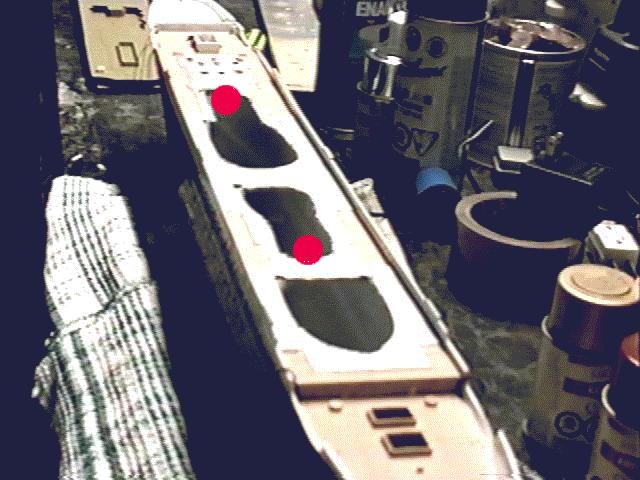
Glue the two tubes to the main deck as depicted by the
red dots in the image below.
These should be directly over the bulbs but not touching
.
![]()
Where
to get the Fiber Optics ?
Back to Titanic
Fiber Optics