

It cleaned very nicely.

The passenger side was done the same way.
| Cowl Repair - Part 1 | ||||||||||||||||||||||||||
| Teardown, Damage Assessment, and Welding | ||||||||||||||||||||||||||
|
||||||||||||||||||||||||||
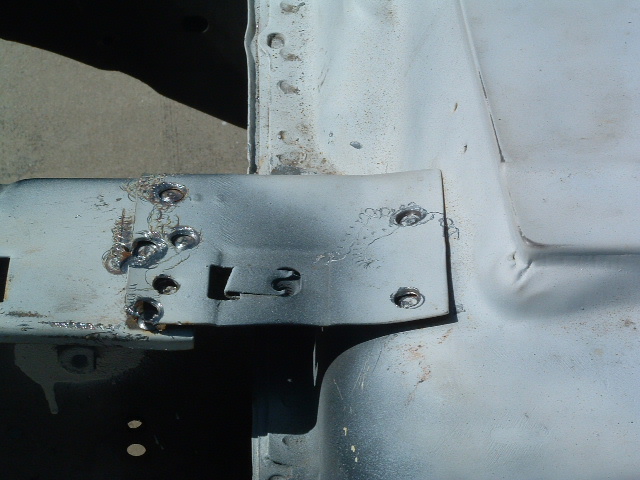
| Starting to remove spot welds! These are the cowl-inner fender connectors. | ||||||||||||||||||||||||||
|
||||||||||||||||||||||||||
| This is just the row of spot welds which connect the upper cowl to the windshield subassembly. | ||||||||||||||||||||||||||
|
||||||||||||||||||||||||||
| This is what the underside of the upper cowl looked like - lots of surface rust. It cleaned very nicely. |
||||||||||||||||||||||||||
|
||||||||||||||||||||||||||
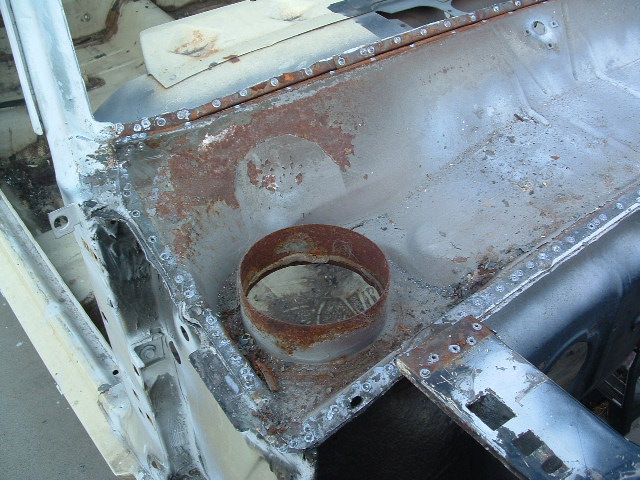
| The passenger's cowl and the driver's cowl looked very similar - neither rusted through but they were getting close! | ||||||||||||||||||||||||||
|
||||||||||||||||||||||||||
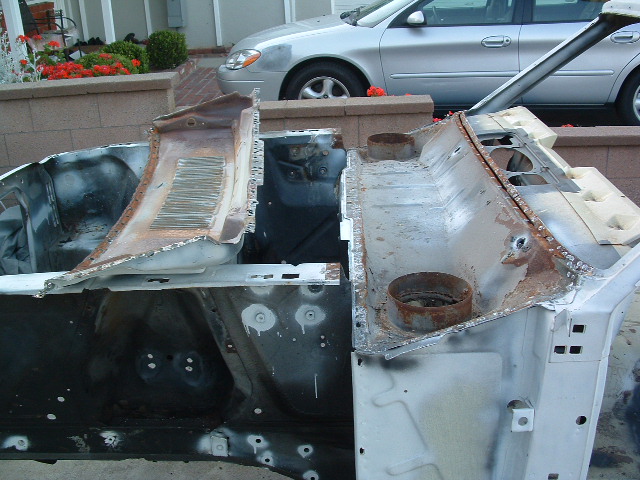
| The extent of damage. Not too bad, but I'll never wonder how bad anymore (now that they're fixed!). | ||||||||||||||||||||||||||
|
||||||||||||||||||||||||||
| Old part versus new. The replacement parts fit quite well, with little massaging using a hammer. | ||||||||||||||||||||||||||
|
||||||||||||||||||||||||||
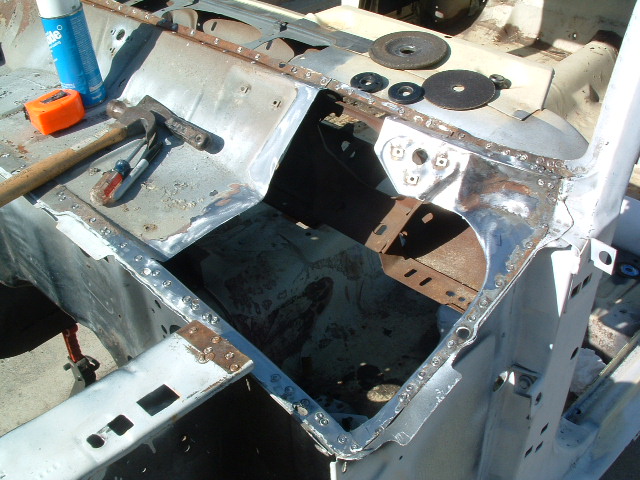
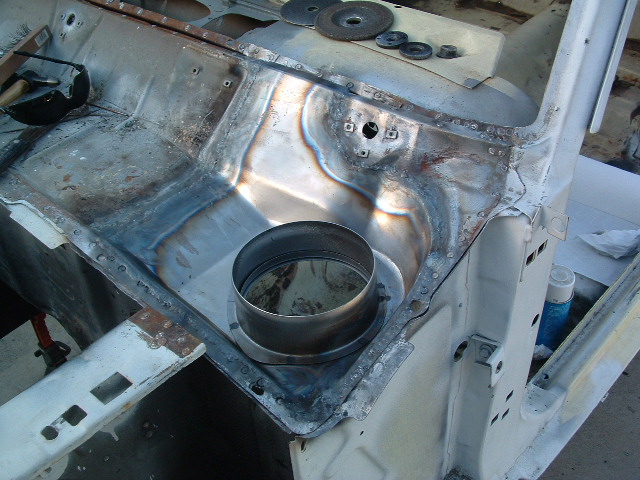
| The hole, vacated by the old cowl. It's wierd looking into the car's interior from that angle. | ||||||||||||||||||||||||||
|
||||||||||||||||||||||||||
| The hole, vacated by the old cowl. It's wierd looking into the car's interior from that angle. The passenger side was done the same way. |
||||||||||||||||||||||||||
| In Cowl Repair - Part 2, I'll show you how I completed the cowl repair and repainted the firewall | ||||||||||||||||||||||||||
| Back to Homepage | ||||||||||||||||||||||||||