Index | Ex 2-5 | Ex 2-6 | Review
Ex 2-6 Lake Cabin Printing
Exercise 2-6: Printing
The last thing you need to know to round off your basic knowledge of
Revit is how to print the current view.
Printing the current view:
- Select File . Print from the menu bar.
- Adjust your setting to match those shown in Figure 2-26.
- • Selecting a printer from the list that you have access to.
- • Set Print Range to: Visible portion of current window
- Click on the Setup button to adjust additional print settings.
- Adjust your setting to match those shown in Figure 2-27.
- • Set Zoom to: Fit to page
- Click OK.
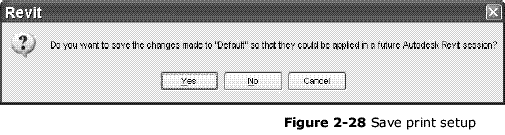
- You will see a prompt asking if you want to save
the modified “Print Setup.” (Figure 2-28) Click NO.
- Click the Preview button in the lower left corner. This will
save paper and time by verifying the drawing will be correctly positioned on the page.
- Click the Print button at the top of the preview window.
- Click OK to print to the selected printer.
fyi:
Notice you do not have the option to set the scale (i.e. 1/8” = 1’-0”). If you recall
from our previous exercise the scale is set in the properties for each view.
If you want a quick half-scale print you can change the zoom factor to 50%. You
could also select Fit to page to get the largest image possible but not to scale.
Index | Ex 2-5 | Ex 2-6 | Review