 |
 |
 | This Goldeneye Drake was entered in the 1996 Ward World Championships held in Ocean City, MD. It won a second place ribbon.I carved this duck using only power tools. Rough shaped on a bandsaw, then rounded using a Foredom Tool. Finer details were added using a Hi_Tech, high-speed grinder and a Detail Master burning pen. The following pictures show how the detail was added to the head. |
|
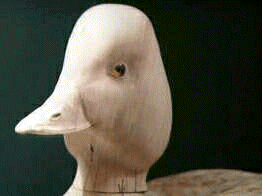
 | This image shows the head of the Goldeneye after it has been shaped and sanded smooth.Notice the cheek muscles that have been shaped. The head was also finally formed while attached to the body of the duck. The arrow on the neck ensures that the head is lined up properly for gluing. |
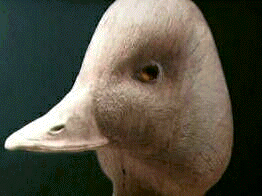
 | The general flow of feathers is sketched on the head with a pencil. Small feathers are drawn in around the bill and eyes. A fine stone, mounted in the high-speed grinder (35,000 rpm) is used to draw a series of fine lines to indicate the hair-like feathers of the head. |
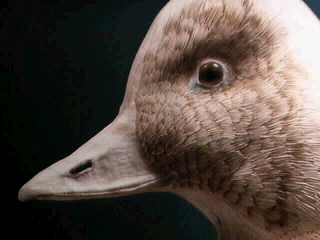
 | Because the feathers of the head are so fine, further detail is added using a pyrographic (burning) pen. The Detail Master burning pen has a reostat that gives the carver excellent control over the temperature of the burning tip. |
 Go to the Yosemite GeoCities