 |
| DTBR's Airplane Project Stabilizer Photos |
|
 |
|
| Last Updated: 1/17/01 |
 |
 |
 |
 |
 |
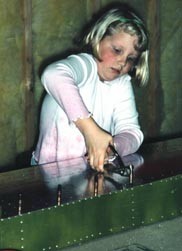 |
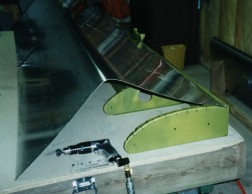
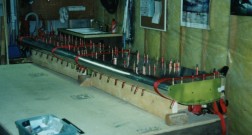
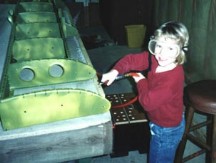
| Skinning the stabilizer offered some real opportunities for creativity. We first learned that it was much easier to work on the lower skin with the upper skin hanging over the edge of the table (left) rather than bent back on itself as defined in the instruction manual (below). |
 |
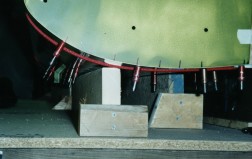 |
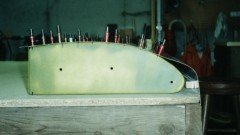
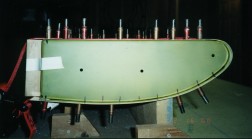
| Since we are priming all internal structure prior to riveting, we made another deviation from the instructions by not riveting the lower skin at this point. To accommodate the protruding clecos on the lower skin when we were working the upper skin, we made up some simple 2x6 supports (below) that ran the length of the stabilizer. These supports worked quite well to keep the stabilizer from twisting during all drilling and riveting operations. |
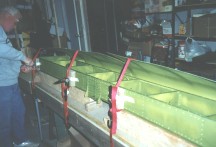
| Four straps with 2x4s taped to the rear spar worked well to wrap the skin. |
| The blocks on the rear spar were cut to fit snugly between the overhang on the upper and lower skins. This insured that the overhang would be protected during the strap operation. These blocks also provided a nice pad for the ratchet mechanisms thereby not risking damage to the skins. |