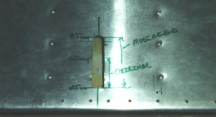
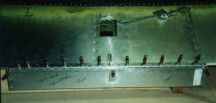
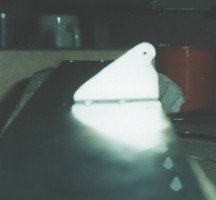
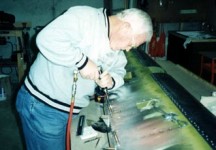
Set-up and installation of the elevator trim tab was another good Christmas week project. Dad also got his first exposure to how some of the instructions in the manual can lead you astray. In this case, it was a design change that had not been considered in all portions of the manual.
Specifically, the 801 recently went through a design change for the trim tab servo motor. When the motor was changed, the control horn on the trim tab was also changed to correlate to the new stroke on the motor. Unfortunately, the manual was not updated to reflect the new cut-out required in the elevator skin to accommodate this new stroke and horn geometry. The result was that we had to increase the cut-out in the elevator skin from a 35mm long hole to a 60mm long hole. Zenith happily provided a larger stock of material to serve as a cover for the excess area and they plan to add this update to their next manual. |