 |
| DTBR's Airplane Project Wing Photos |
|
 |
|
| Last Updated: 7/19/01 |
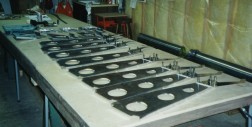
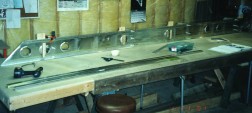
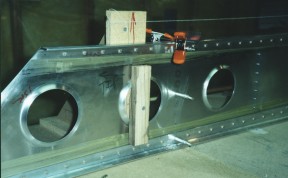
| We felt like the wing building process really began when we mounted the main spar to our 14' 8" work table using the recommended wooden "L" braces. As shown, four braces worked quite well to provide a solid support for the main spar. I alinged the braces with the lightening holes in the spar and used wooden blocks that were slightly larger than the lightening holes to clamp the spar to the brace. A single deck screw through the block and into the brace worked very well and did not interfere with the assembly process. However, I did have to remove the "L" braces and trim them down so as not to extend above the main spar cap. This was necessary to install the nose skins. |
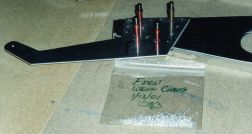
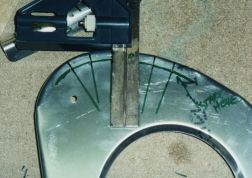
| After a thorough parts inventory and a final review of the manual, we began the right wing by mate drilling all the flaperon brackets and rear ribs. At such a momentous occassion, I thought it only appropriate to collect some of the "first chips" for use as future relics. I'm sure they'll be worth "thousands" some day. This process went very quickly along with a similar process for the slat brackets that mate to the nose ribs. |
 |
 |
 |
 |
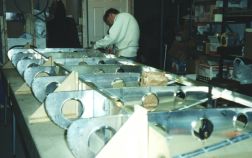
| Assembly of the internal wing structure went fairly quickly since there are just seven ribs plus the root rib to drill and cleco to the main spar and the rear spar. Pilot holes are pre-drilled in each of the spar components. |
 |
 |
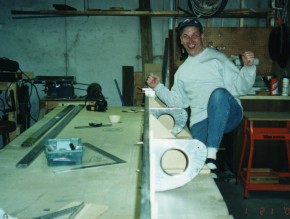 |
| Another simple victory ... first nose ribs. Yeeeee Haaaaaa! |