| DTBR's Airplane Project More Wing Photos ( Skin Application and Fixturing Techniques) |
 |
 |
|
| Last Updated: 7/20/01 |
 |
 |
 |
 |
 |
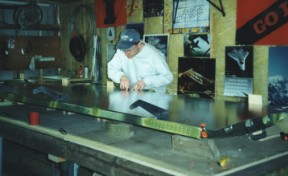 |
| With the wing skelaton riveted together, it is time to tackle the wing skins. The process starts with the structure upside down for application of the relatively flat lower skin. Throughout the wing skin installation process, the wing can twist quite easily. As such, very small changes in the support of the wing can significantly change the skin alignment to the structure. To remedy this, we used several techniques to help with the alignment process and insure a repeatable support system when the wing is moved. First, the main spar is again mounted to the "L" braces as shown on the previous page. Additionally, I used some 4x4 blocks to help support the rear ribs so they would not sag during the skin installation. Temporarily installing the slat brackets with clecos also helped significantly with the lower skin alignment. Finally, keeping some portion of the skin always clecoed to the main spar helped to keep things more rigid. |
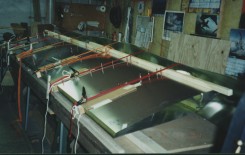
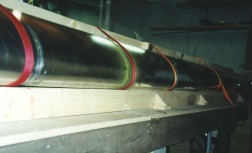
| With the lower aft skin riveted to the aft ribs and main spar and the lower forward skin riveted only to the main spar, the wing is rolled to be right-side-up for application of the upper skins. The upper aft skin goes down very similarly to the lower aft skin. However, wrapping the forward skin around the nose ribs is a challenging task that took quite a bit of trial and error to get it aligned properly. We ended up with a technique, which worked well. Click HERE to read our technique. This photo shows our use of six ratchet straps to wrap the nose skin and pull it down tight to the structure. |
| A straight 2x4 mounted to one edge of the table provided a good support for the nose ribs during the wrapping processes and provided ample clearance for the strut brackets protruding from the lower surface. Additionally, a straight 1x2 mounted to the opposite edge of the table provided a reliable "stop" that helped to hold the wing in place. |
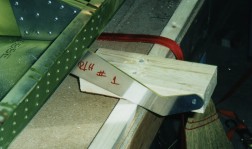
| Once the slat brackets were riveted in place, we used the pre-drilled hole in the end of two of them to screw them to 2x4 supports that were mounted to the edge of the table. We used this mounting approach to secure the wing to the table anytime we were working on it in the upright position. This created a very repeatable support system so that the wing always settled into the same position as we worked on it. We came to this approach after we found the wing to sit a little differently each time we moved it. These changes were frustrating during the skin alignment process. |
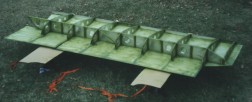
| After all the skins had been drilled and deburred, we moved the assembly to the back yard for primer application. We used the ratched straps again to hold the nose skins during transport. After priming, the nose skins are riveted in place but the upper aft skins are left clecoed in order to work on populating the wing with wiring and fuel systems. |