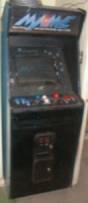
VI. Results
Does
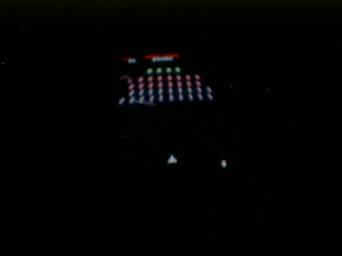
it work? What does it look like? Here are some screenshots:
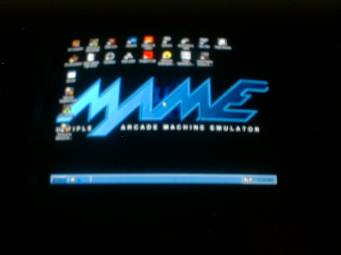
Main MAME screen. Desktop theme available from MAME’s Galaga –
My favorite. To know Galaga is to know the Tao.
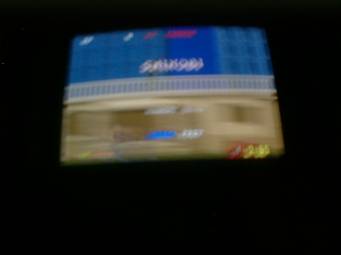
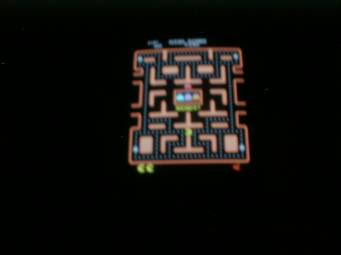
Shinobi…is back! Everybody loves Ms. Pac-Man
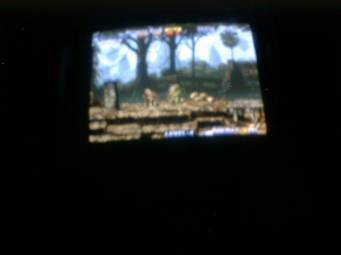
Metal Slug for the Neo-Geo system. Dragon’s
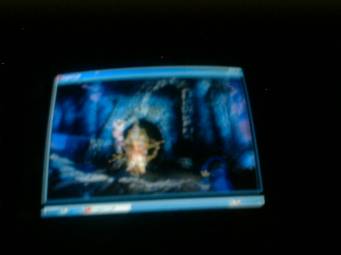
Lair for all you skeptics.
Pretty spiffy, yes?
VII. Conclusions
Let’s
talk about total cost first. The itemization works out something like this:
Original Golden Axe cabinet - $30
I-Pac control adapter - $55
Philips Brilliance Monitor - $0
HP Pavillion computer (and
subsequent Dell upgrade) - $0
Plexiglass for marquee - $6
Avery #6666 adhesive paper - $12
Black construction paper for
bezel and control panel - $5
Lumber and metal for brackets -
$0
This
makes a subtotal of $108. But here’s the sick part. I decided to sell the Golden Axe game board
that came inside the cabinet on Ebay. Knowing that it was a working board made
it a decent buy and I wound up making $60 for the sale of just that one
part. I would have probably netted more if I included the side decals, marquee,
bezel and panel underlay. Nevertheless, selling that board recouped more than
half of the investment costs and thus wound up with a net investment of only $48
in the whole thing! To put this in perspective, this is the average price of
one new Playstation2 game, and look at how much more entertainment value I’ve
wound up with for it.
Now I’m
the first to admit that this is due to some incredible luck on my part. There
just happened to be a guy in my neighborhood with a cheap cabinet for
sale and I’m fortunate enough to work in a job that graciously allows me access
to derelict PC hardware. But still, if there’s one lesson I learned in this
project is that you have to apply the right mixture of innovation and frugality
if you want to do this right. I have seen people sink between two and three thousand
dollars into their custom cabinets and I honestly don’t think they’re any
better than this sub-fifty dollar beast of my own making. Hey, if you’ve got
that kind of $$$ to invest, then more power to you…happy gaming! But to those
(the majority, I think) who are operating on a more – shall we say – sensible
budget I am here to tell you that you to not be deterred. It can be
done, but sometimes you have to learn how to make your own bargains. I gambled
my own 19-inch monitor to see this thing done right. I decided it would
be prudent to not hoard parts from the original machine which I was never going
to use again. All the risks paid off in the end. They can for you, too.
Epilogue: The
Future of the MAME Frame
“No
work of art is ever finished. It is merely abandoned.”
-George
Lucas
Sure, it’s
playable. Sure it looks passable. But there are still things I would yet like
to do:
- Backlight for the marquee – A nice touch, if I can get that
pretty logo to glow.
- Caster wheels for the bottom of the
cabinet – Would make
it a lot easier to move the thing in and out of its little wall niche.
- Master Power Switch – Self explanatory.
- Working Coin Door – Would help me make a fortune off
of my in-laws.
- Cabinet cooling fan – Currently we are relying on the
regular fan for the PC in addition to the fact that my office is very cold
in the fall and winter. Thus the machine is only on when in play. A larger
fan mounted in the rear which cools both the PC and exposed monitor tube
would allow for longer run times.
- Two more player buttons (one for each
side) – Primarily
being a fan of pre-1990 arcade games, three buttons are usually sufficient
for my needs. However, I have started to develop some taste for some Neo-Geo
games such as Metal Slug and
Puzzle Bobble. A fourth button in the right place would be really helpful.
In addition to upgrading my own cabinet, I have begun work on a
second machine, having recently acquired a second JAMMA cabinet which started
life as a Shinobi
game. I was even lucky enough to find a
nice 19-inch NEC monitor for only $15 at the local Goodwill. Work is not
progressing as quickly as the first machine, because I intend to make this one
more “trick” due to the fact that my intention is to sell this one. A history
of this new machine’s development will eventually make it’s way to the Zone
here. If you’re interested in maybe purchasing the machine, drop me a line. I intend to have it
finished by mid-July of 2003.
I have spent a lot of time here talking about what I did, but by no
means could I have pulled this off alone, and thus the following people deserve
a nod. The arcade will always be open, and unlimited game tokens will always be
gratis for:
“Rodney” – He who provided the truck which hauled home all the hardware.
Willy – My younger brother who most capably implemented all of the
internal cabinet carpentry.
Zakk – Great marquee graphics, words of encouragement and the first
individual to host pictures of the MAME Frame. Check his site out here, and for what it’s worth, I
came up with the name “MAME Frame” first!
The fella in Australia who persuaded me it was okay to remove the casing from the monitor
despite my fears of doing so. I forgot his name, but we exchanged a few emails
on the subject. Thanks, mate!
“Queen Anne” - My darling wife without whose
blessing and encouragement I could not have done any of this.
I hope you’ve found this little tour informative, or at least
encouraging if you’re planning your own cabinet. If there is any other
information you need or would like to ask some more pointed questions the
please email me and I’ll be happy to
help you out as best I can.