
Figure 11 An Absolute fixed size Table.
Page 1 Page 2 Page 3 Page 4 Page 5 Page 6
Working with Spacing in and around the cells.
“Have you noticed?” “What you say?” Look at the words; they're sitting too close to the lines that make up the borders. Wouldn’t be nicer if we could give the words some “elbow-room?” It’s easy.
Figure 11 An Absolute fixed size Table.
Inside the Table flag we will add another piece of coding that will do just that. Replace your Table code with this: < TABLE BORDER=3 WIDTH=600 CELLPADDING=7 >

Figure 12 Table with CELLPADDING of 7 pixels.
Notice how Word Wrapping takes over, not enough room in the cell for the sentence, so it had to go to the next line. It’s OK; most of the time you’ll have more than one sentence to place inside of a Data Cell anyway. Now let’s add some more spacing between the individual Data Cells with another item we’ll add to the TABLE flag. Make the following changes to your flag: < TABLE BORDER=3 WIDTH=600 CELLPADDING=7 CELLSPACING=7 >
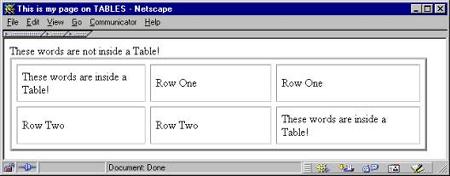
Figure 13 Table with CELLSPACING of 7 pixels.
If you desired to make a row a certain height, all you would have to add to the Row or Data cell is the HEIGHT="n" attribute. This attribute must be in pixels since you can’t set a relative height on a Table. “It’s hard to set a percent of a bottomless pit!” Tables will grow to whatever length you choose, so it’s not possible to ask for a percent in this direction, just pixel height.
On the next page we’ll learn how to space our words in the table.
Page 1 Page 2 Page 3 Page 4 Page 5 Page 6 TOP