The original power truck was mounted by its sideframe bracket. Supported only by the axle journals, a crude, noisy J shaped axle and gear mount provided a base for an old KAWAI flat, side magnet, open frame motor. It was plainly visible through the windows and precluded a full interior.

Note: Adjust brightness and contrast for optimum viewing.
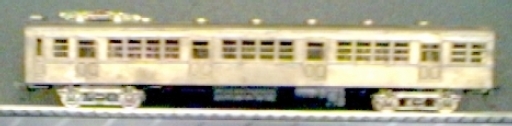
Old power truck.
Before removing old truck, measure floor hight and power truck center for later reference. Disassemble and remove power truck. Mark center lines on floor with fine marker. After eye-balling , shimming the SPUD ZEE bracket to floor bottom was the best choice. Using bracket truck screw hole and transverse center line as guides, locate two screw holes on longitudinal center line. Wood or machine screws with nuts in countersunk holes may be used. In the airplane section, 2-56 Tee nut sets with prongs can ease mounting. A little cement will help prevent nuts from being pushed out. Guestimate the number of shims needed from data sheet info and mount SPUD with bracket. Check and correct hight with Evergreen strips or brass shim stock. Glue these to bracket and cut screw clearance slot, when correct.

Bracket mounting to wood floor.
Part of the original KUP-EZE couplers visible on left edge.
Track test without body to check floor opening clearance. Widen or lengthen as necessary.
Unscrew SPUD and carefully remove bottom coverplate to mount sideframe bracket. Use dummy truck as guide in selection. In some cases the original bracket may be modified to fit. Some frames have screws and holes, while others must be unsoldered and resoldered or glued to new brackets. In most IMP and older frames, axle holes are present, but may need enlarged diameters to clear unmatched axle centers. Alternatively the SPUD axles may be shortened to clear frame.
 Caveats:
- Do not deepen journal holes. An unexplainable hole may appear on the
outside, right in the middle of the journal box lid.
- The axles are hard steel which should be ground off with an abrasive cutoff wheel. Avoid excess heat which can soften or melt plastic axle insulation.
Mount and track test again, checking for sideframe clearance. Adjust as necessary. Add wiring as desired for dummy pickup or lights. Mount body and test.
Ready for finishing.
