| Home │ | ||
Windows PE: an introduction[1] Introduction [2] Starting and running Windows PE [3] Putting Windows PE on the Hard Disk and Multi-booting Windows PE, Windows XP and Recovery Console Reference
1. IntroductionWindows Preinstallation Environment (Windows PE) is a product from Microsoft for manufacturers and corporate administrators to facilitate Windows installation and deployment. It is not freely available to the general public. It contains enough system files on a bootable CD to boot up the computer. You can add utilities and scripts to make a customised version. Thus it can be very useful for system troubleshooting and repair as well as Windows installation. Some commercial system rescue tools are based on it e.g. ERD Commander 2003 (see my tutorial on this). You can find a somewhat similar (but actually different) version called BartPE and PE Builder freely available: this is the one to use to learn to build your own version. (You decide for yourself about the legality of this: read what Bart said.) There are limitations to Windows PE to stop you using it as a normal Windows XP operating system such as a 24 hour logon time limit and number of applications running. This article merely gives you a brief introduction to Windows PE 2004 English version (based on Windows XP Professional SP2) but I won't show you how to modify it. There is another version of Windows PE based on Windows Server 2003 SP1.
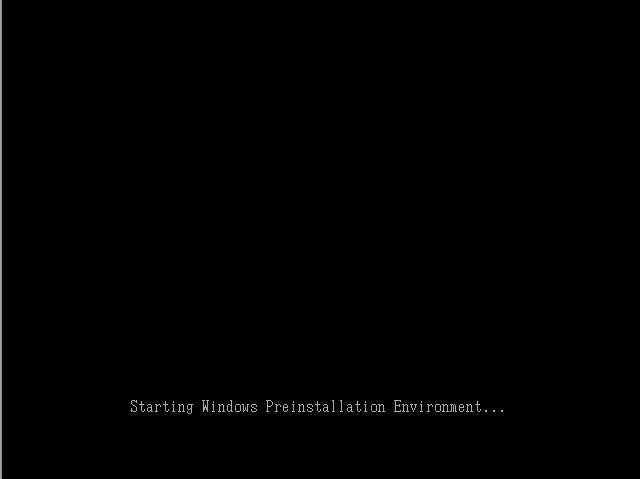
2. Starting and running Windows PEBoot the CD in the normal manner. First you see the usual Starting Windows Preinstallation Environment... (fig. 1):
Fig. 1. Starting Windows Preinstallation (without the hyphen "-") Environment.
Next comes the normal Windows XP boot screen (not shown). On booting to the desktop the startnet.cmd (in I386\SYSTEM32 directory) runs, sets the display resolution and starts networking; note the wallpaper (fig. 2). You can customise this file to start other applications (which you add to the same directory).
Fig. 2. Setting display resolution and starting networking.
Then it displays a licence agreement (fig. 3).
Fig. 3. Licence warning.
There are some basic applications you can start from the command prompt: for example, Notepad (fig. 4) and you can add others. From the command prompt you can change directory to the local Windows installation on C (Windows PE's drive letter is X).
Fig. 4. Notepad and directory listing on C.
You can start the registry editor and load a registry hive from local computer on drive C by the normal load hive method. Figure 5 shows that the local computer's HKEY_LOCAL_MACHINE (HKLM) SAM hive has been loaded into HKLM, just above the SAM of the Windows PE (I'm not suggesting for any moment that you delete the SAM if you lose the Administrator password; see my tutorial on Administrator password). When finished editing you can unload the hive.
Fig. 5. Regedit with local computer SAM loaded.
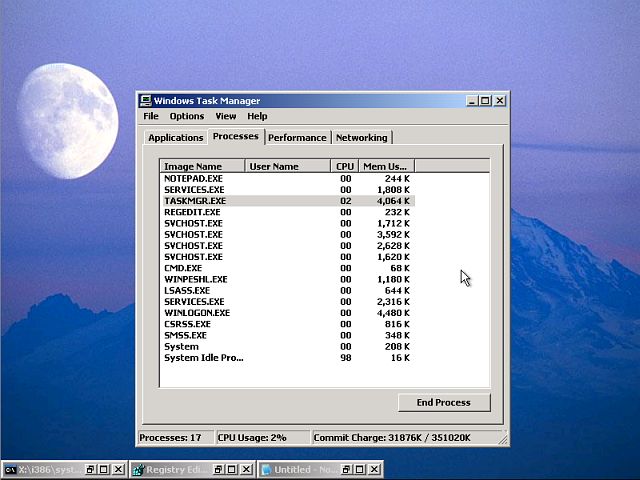
Task Manager shows the processes in use, very similar to normal Windows mode (fig. 6).
Fig. 6. Task Manager.
If this has whetted your interest in Windows PE, then try out BartPE yourself. There are some versions of customised Windows PE using BartPE.
3. Putting Windows PE on the Hard Disk and Multi-booting Windows PE, Windows XP and Recovery ConsoleIt is possible to install Windows PE on the HD to dual boot or multi-boot with Windows XP and the Recovery Console. If you wish to install Windows PE to a partition other than the first primary active partition you have to use a third party boot manager or are able to hide partitions. The basic steps to multi-boot Windows PE, Windows XP and Recovery Console are: 1. Install the Recovery Console (it can only install to the root of the first active primary partition, C) from the Windows XP Product CD. 2. The contents of the Windows PE i386 folder can be copied to the HD and must be renamed minint. If you already have Windows XP installed this can be done in Windows Explorer or using the xcopy command. If there is no Windows XP installed, boot Windows PE from CD-ROM, create and format a partition and xcopy the directory. 3. Copy BOOTSECT.DAT from the Recovery Console directory (cmdcons) to the root (C:\) to enable boot Windows PE from minint. 4. Leave the usual boot files boot.ini, ntldr and NTDETECT.COM (to boot Windows XP) as they are required also for Windows PE. 5. Edit the boot.ini entry to include Windows PE, it should read: C:\BOOTSECT.DAT="Microsoft Windows PE" The entry for Recovery Console should have been automatically entered on installation. 6. The minint folder must reside on the first active primary partition. If it is to be on other partitions then use a third party boot manager and copy the usual boot files (ntldr and NTDETECT.COM) to that partition. Configure the boot manager accordingly. 7. Do not change anything in the cmdcons (Recovery Console)
directory. If you replace txtsetup.sif in cmdcons with the same file
name from minint this will make the Recovery Console non-bootable and it
will boot Windows PE instead.
References Tools: Microsoft Windows Preinstallation Environment Microsoft WHDC Windows Preinstallation The Microsoft Windows Preinstallation Edition (Windows PE) Guide for Serious Nerds Microsoft Windows Pre-installation Environment (Windows PE) - Wayne Higdon and Ryan Hartman (Indiana University Presentation Archive PowerPoint zipped file) Checklist: Preparing a volume for capture using Windows PE (for Windows Server 2003) MSFN Windows PE forum
Copyright © 2004-2005 by Kilian. All my articles including graphics are provided "as is" without warranties of any kind. I hereby disclaim all warranties with regard to the information provided. In no event shall I be liable for any damage of any kind whatsoever resulting from the information. The articles are provided in good faith and after some degree of verification but they may contain technical or typographical errors. Links to other web resources may be changed at any time and are beyond the control of the author. Articles may be added, removed, edited or improved at any time. No support is provided by the author. This is not an official support page for any products mentioned. All the products mentioned are trademarks of their companies. Created 5 Dec 2004; updated 4 Apr 2005 |
||