|
 |
 |
 |
 |
 |
 |

Bumps in NTU: Can you feel it ? |
||||||
| Introduction | ||||||
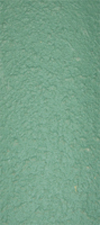
| A texture mapped surface usually lacks of realism. For
a given wall, we can see that it is not prefectly smooth. There are some 'roughness' or
simply put 'bumps' on the surface itself. In order to achieve such surface with realism,
bump mapping (a term) is used. What it does is to use a bump (normal) maps with lights in the
scene to create 'depths' in the surface. There are many ways to do this, one simple method is to use any picture/photo editor and apply some filters such as noise, embross, bumps, etc onto the texture. Using the 'new' texture, we can just simply map it back to the surface. Another method, as mentioned eariler, is to use bump (normal) maps. Together with the original texture and bump map, we can create the 'roughness' feel on our surface. |
||||||
| Approach | ||||||
| I choose the latter method which is to make use
bump (normal) maps, ie texture + bump maps = bump mapped surface. However, it is not as simple as it seems, in the programming stage addition knowlegde is required. A normalised cube map is created and used to store the light vectors. After which, together with the normalised cube map + bump (normal) maps + texture will be mapped on the surface to create the 'bumpy-effect'. More details explanations for the cube map can be found here. |
||||||
| Implementation | ||||||
| I had used the normal
map generator by ATI Technologies Inc. to generate my bump (normal)
maps. I had chose 2 surfaces on bump mapping. (Though the requirement
is one surface, I enjoyed doing it so much that I just had to do another
surface.) |
||||||
|
||||||
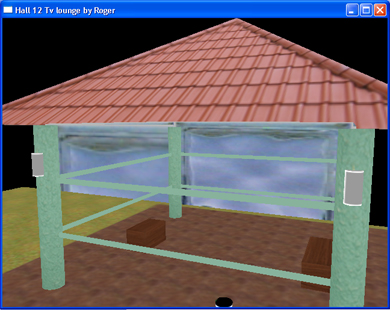
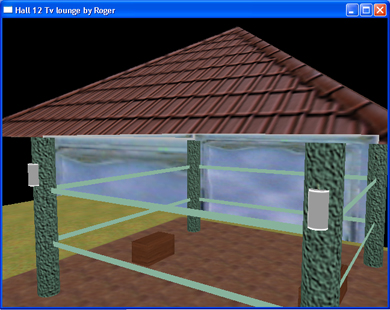
| In this assignment, I was required to reuse the previous
assignment scene. However, I had decided to revamp my program by hardcoding the model
instead of reading the OBJ file generated by Maya. In addition, real textures (taken from
the scene itself) were used on some part of the surfaces to create realistic scene. |
||||||
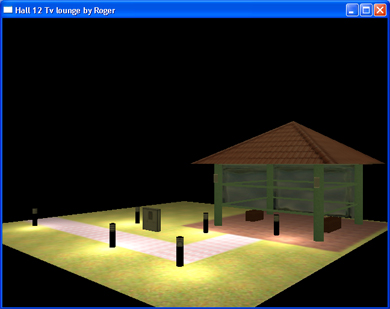
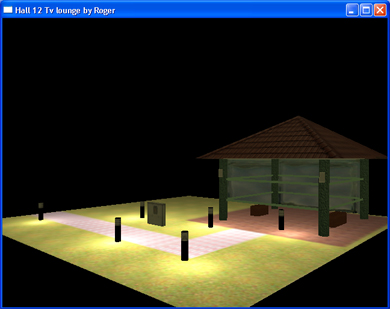
| Final Product | ||||||
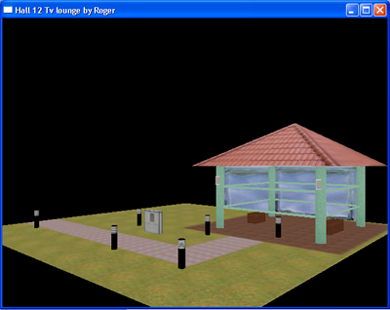
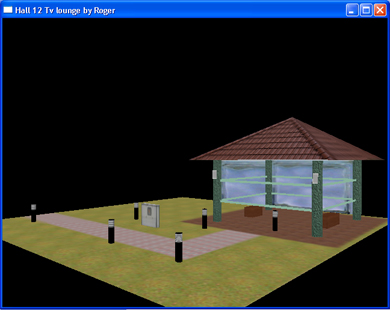
| Finally, the whole scene is complete! |
||||||
|
||||||
Notice the bumps between the scenes! |
||||||
Conclusion |
||||||
| With the implementation of Bump mapping, scenes could be rendered with more realism without much processing power from the CPU. Bump mapping is a 'hack' to create uneven surfaces using bump (normal) maps, resulting in fewer polygon counts. From assignment 2 to this assignment, using limited polygon counts, complex scenes can be rendered more efficient and faster. | ||||||
Download Code and Executable |
||||||
Acknowledgments |
||||||
| 1. I wish to thank Dr Edmond C. Prakash for
this opportunity to do some hands-on on the concepts learned in lecture. 2. Paul for his tutorial and code on bump mapping. |
||||||
| -Home- |
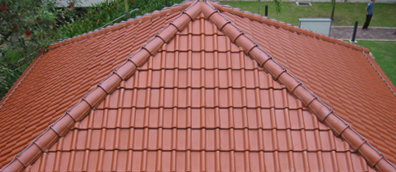
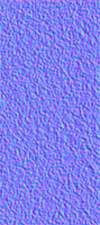
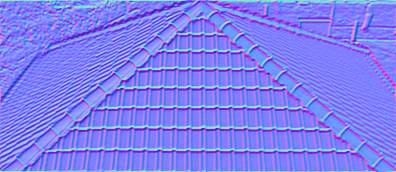 Roof Bump (Normal) Map