ALTERNATOR MOUNT PG.3

BACK TO MY MENU

HAROLD'S HOME

BACK TO PAGE 1

BACK TO PAGE 2

This is another shot of the main alternator mount. This shows it from another angle.

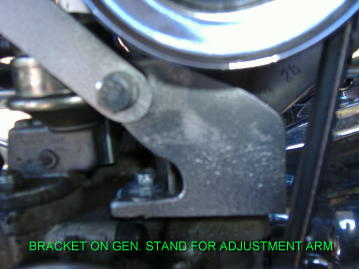
This is the adjustment bracket that came off and old Chevrolet truck.

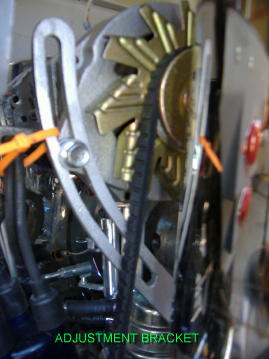
Here you see the adjustment bracket and the adjustment mounting bracket, mounted on the engine.

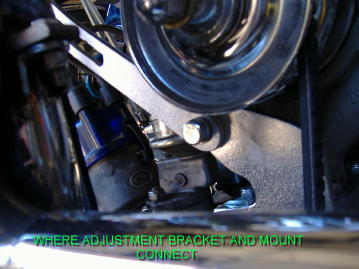
This is the same joint from a little different angle.

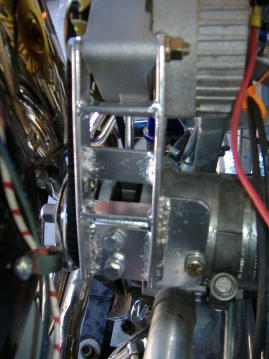
Here you see the brace I made to go between the back of the Alternator and the fan housing. This really stabilized the alternator.

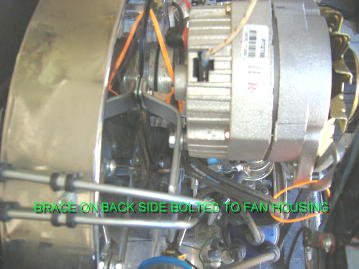
A couple more shots of this brace to let you see where it goes.

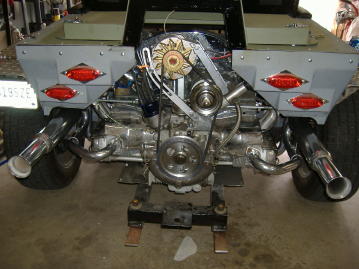
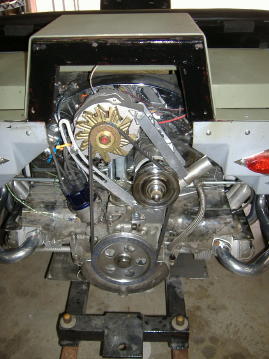
Here is a shot of the complete set up. Since I removed the stack you can see the set up better.

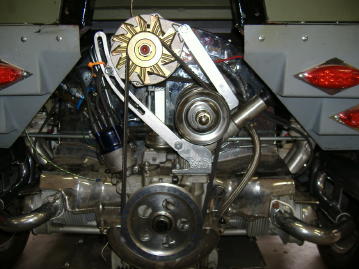
About the same shot that is above but a little closer.

This is a shot of the whole rear end. As you can see I replaced my Stack. It had a real good mellow tone but it was in my way the whole time I was installing the Altinator. If I had been a cussing man. I sure would have talked to it. ha I ordered 2 ceramic Tri-Mill mufflers. I like the tone of these also. I might try to perfect my stack later using a turn out instead of the rain flap on top. That thing was noisy.

Last but not least, the belt is a Dayton, here are all the numbers on it: 15445 11A1130 144 then off to itself 046 A2. As you can see there is a lot of adjustment so a little shorter would not hurt, but this works pretty good.

This set up is for a VW engine running dual carbs. A person could reverse it and swing it off to the right if he were running a single carb. The main thing is this altinator will work. It charges and is easy to come by. You can get them at all auto parts stores, and not expensive. I had 62 dollars in the alternator and the belt. You can get a cheaper alternator. If you have any questions don't mind asking, I will try to answer if I can.

BACK TO PAGE 1

BACK TO PAGE 2

BACK TO MY MENU

HAROLD'S HOME