This page is for the construction of Psychoblade.
Psychoblade's parts and designs
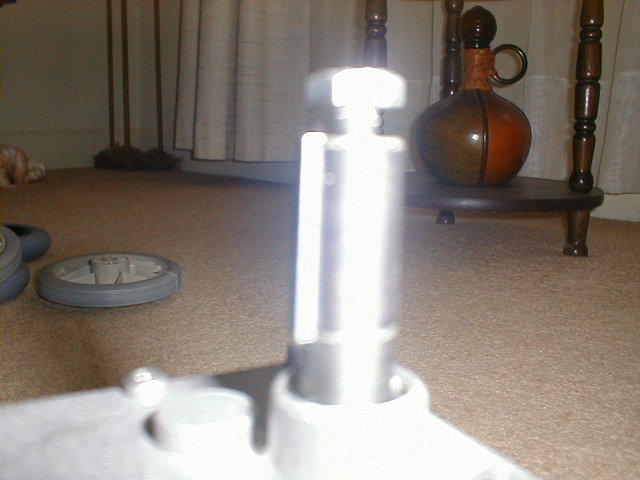
4/19/01: The first build report!!!!!!!!! Well, I haven't actually put anything together yet, but this is the first time I have been able to see how my parts will go together. Today I got some wheels that I ordered as well as one of my drive motors. Since I was going to use direct drive I was able to put a wheel on immediately. It wasn't tight as it could roll without turning the motor shaft. I noticed that the motor shaft had a bolt on the end of the shaft and a keystock. I found a way to hook the wheel to the shaft without the problem of slippage. To do that I will cut a groove in the wheel so that it will slip onto the shaft and then slide the keystock through the groove in the wheel and shaft. This will allow me to easily take off the wheel but it won't allow the wheel to turn without turning the motor shaft. I will stick a washer on the end of the shaft to keep the wheel on the shaft and the bolt will keep the washer on.
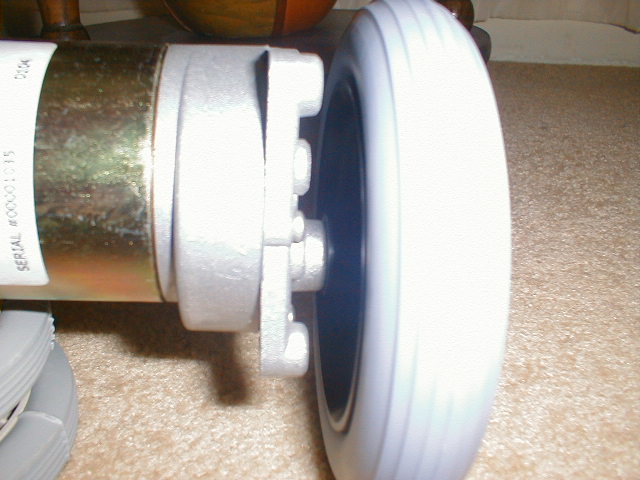
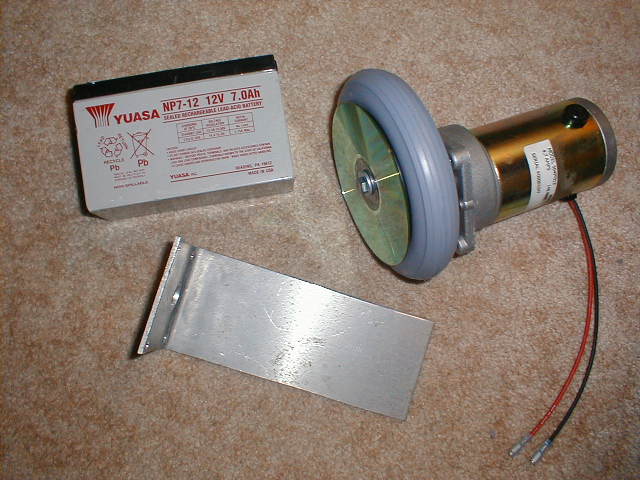
5/6/01: Since my first report I have attached the wheels to both drive motors and started building a mount for the motors. I was also able to get 2 12 volt, 7 ah, sealed lead acid batteries. To attach a wheel I first had to cut a groove in the wheel. My grandfather did this with a jig saw. Second, not feeling up to going to the store, I filed out a washer to fit the shaft between the wheel and motor (also done at my grandfathers). Then third, I stuck a washer that fit the bolt in front of the wheel to hold the it on. I stuck a cd on before the washer so that it would look better than a solid black wheel. The mount took the most time. We don't have a drill press or anything, so we used a jig saw, a hammer, a vice, and a drill with a variety of attachments to build it. Next time I visit, the second mount will be made.
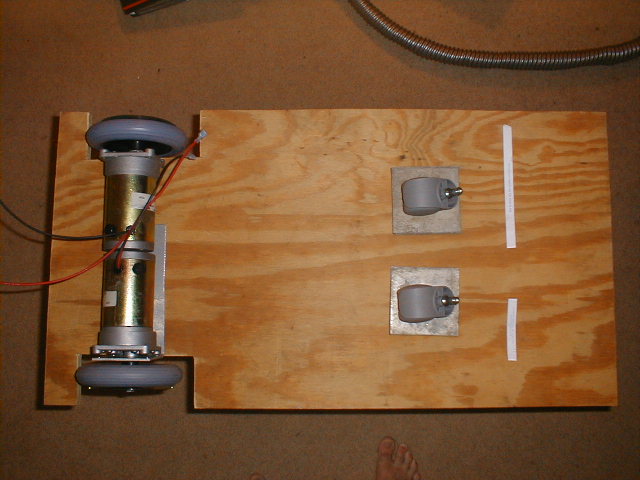
5/19/01: I keep forgetting to bring the camera during the trips when I am working on the bot. Anyway today I stopped at our local hobby shop looking for a radio. Well they don't carry any 4 channels with ground frenquencies. They have to order them. After thinking a while I decided to go and order one, but I was already on my way to my grandparents house, so I will order it later. There my grandfather and I found a 3/4" rectangular piece of plywood (different from the one mentioned in the parts section), cut it to the correct width (forgot what the measurement was) and cut the wheel holes. I then pondered on how to attach the castors. I remembered that on earlier visits I found some thick aluminum squares to hold the castors on, but instead of attaching the castors, I was trying to find one that I missplaced (I was unable to find it).I also was unable to finish the motor mounts this visit.
I would had a picture of the batteries on the base but the batteries in the camera were almost dead.
|