5/26/01: Today I went over to my grandparents and worked on the bot. We didn't get a lot accomplished as we ran out of parts. I was still unsure to where to cut the front end so we didnt do that either. What we did accomplish was mounting the motors. I had already picked up some nuts and bolts so instead of just finnishing the mounts we got the motors on the mounts and then put on the base. We arn't finnished yet, we still need to put a piece on the end of each motor and strap each motor to insure they won't move.
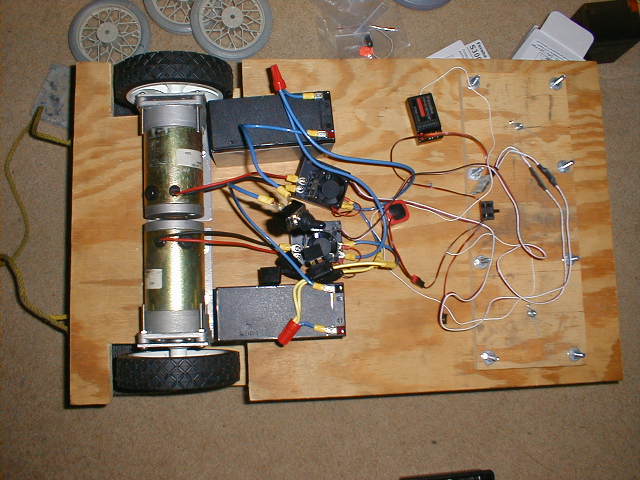
6/14/01: The robot is now at its correct length with the castors and wheels attached and the electronics hooked on. Today I was able to drive it around but the casters still need some work as they need to be raised about a half inch from the base. I still need to fully mount the motors and build the battery box before I lose the parts.
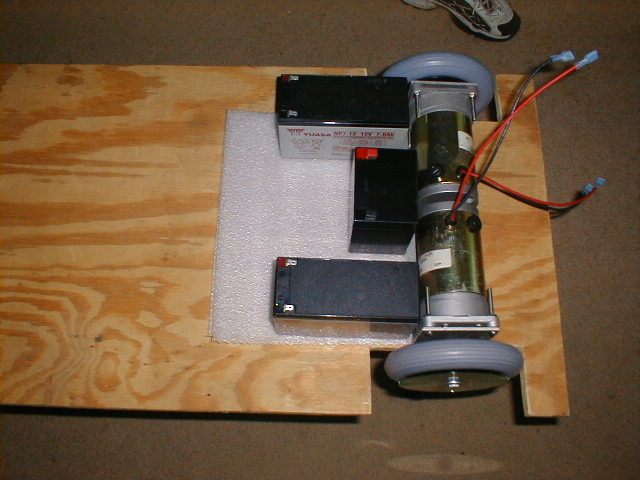
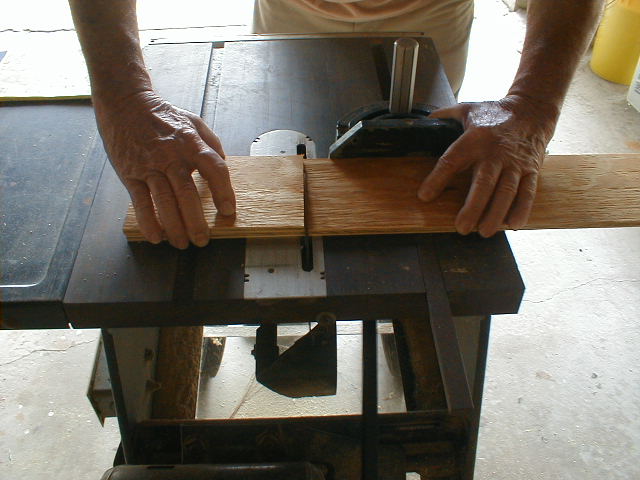
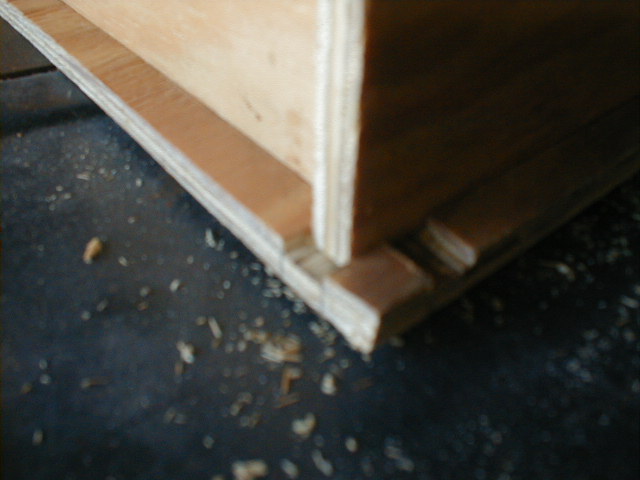
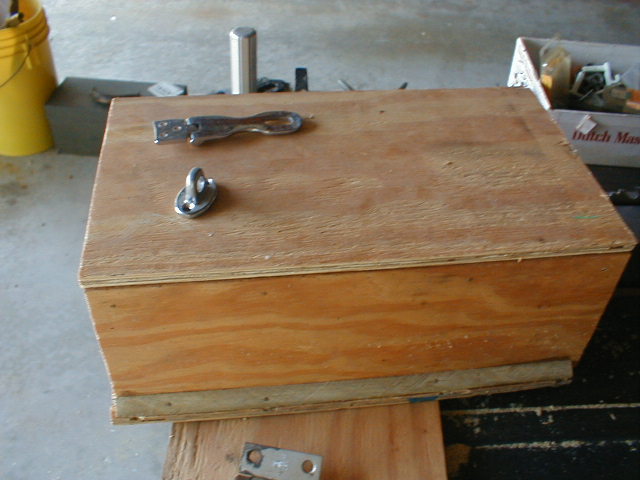
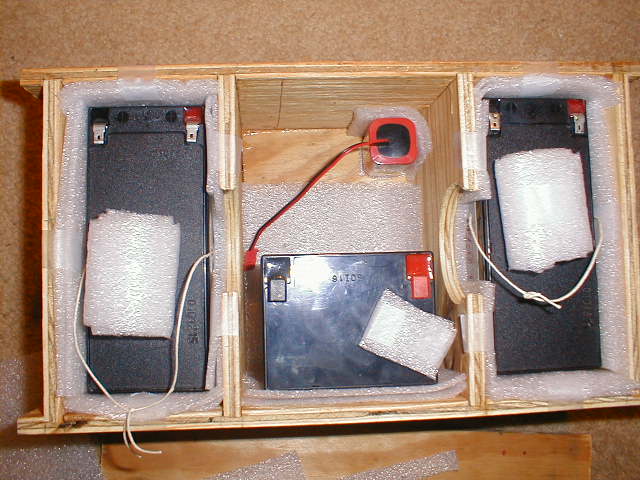
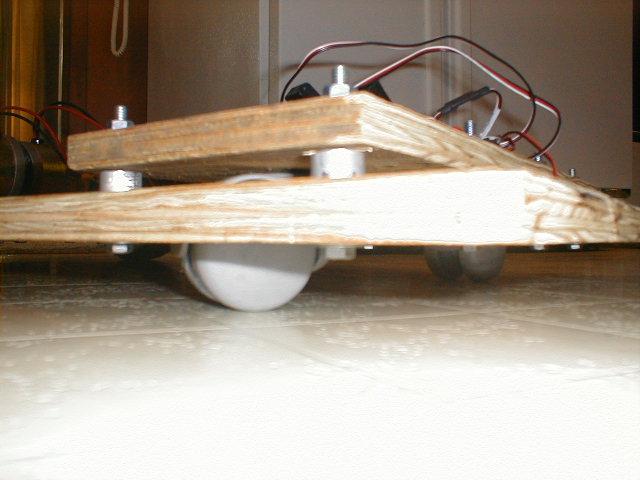
6/23/01: Yesterday I got the battery box built. I brought my camera to get some pictures of us working on the bot. The box is glued and nailed together. I found out later that we forgot to put in a wall to hold the weapon battery in. Then when I got home I went a head and put in the cushoning. Today I drilled out the spacers and I had fun doing that (my dad's vice isn't bolted down and whenever the drill hung up the whole vice would spin in a circle on the floor). When I put the spacers on they leveled out the robot perfectly. I also tried to put on the latches to hold on the cover for the battery box, but screwed up. After recieving an email from Jim S. on battery chargers I went to get one. Well the person there actually liked Battlebots and gave me a 10% discount on the charger. I spent the rest of today on a part for T.E.T.C.I.A.B. |