 |
 |
 |
| Step 11. Make file B active (click on it at the top.) Step 12. go to - layer - new rastor layer. Name this layer corners. Settings as shown in fig i. |
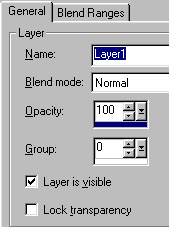 |
| fig i. |
 |
| Step 13. go to - edit - paste - paste as new selection. Position the corner so it sits just outside the chequed area fig j. |
| fig j. |
| Step 14. go to - image - rotate. Use selections as for fig l. Corner will rotate. go to - edit - copy |
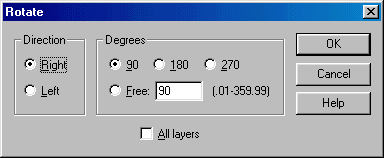 |
| fig l. |
| Step 16.Repeat this procedure of rotating and pasting until all four corners are in place. You can experiment with the degree of rotation to give one or more of the corners a slightly crooked and realistic effect. Apply the drop shadow to each corner after pasting. Each corner will need a different vertical & horizontal setting from the settings you used in fig k. They are as follows: Top right corner Vertical 1, Horizontal -4. Bottom right V -1, H -4. Bottom left V -1, H 4. |
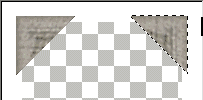 |
| fig m. |
| Step 18. Right click on layer 0ne in the layer palette. go to - merge - merge visible. Here is your finished product. fig o. |
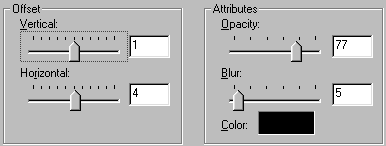 |
| Step 14. go to - effects - 3D effects - drop shadow use the settings as for fig k. Return to file B. |
| fig k. |
| Step 15. make file A active and paste corner as a new selection into the top right corner. fig m. |
| Step 17. When all the corners are in place go to - sellections - select none. Mouse over the layers palette to make it expand (toggle layer palette on & off with L) Double click on the layer titled corners. Change the opacity setting to 70. fig n. |
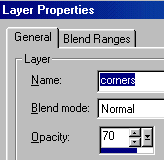 |
| fig n. |
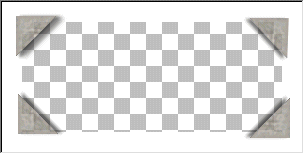 |
| fig o. |
| go to - file - save as. Give your frame a name and save with a .pfr (frames extension) and save in your frames folder. If you didn't change your default pathways when you installed PSP7, this should be: C:\Program Files\Jasc Software Inc\Paint Shop Pro 7\Frames Now when you want to frame an image go to - image - picture frame and use the drop down arrow to select your frame. Enjoy. |