 |
| DTBR's Airplane Project Left Wing Photos |
|
 |
|
| Last Updated: 11/11/01 |
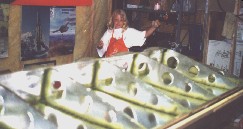
| The girls enjoy using a magnet on a string to pick-up the steel shanks from the Avex rivets. Here Becky is decked out in her work apron as she helps Dad! |
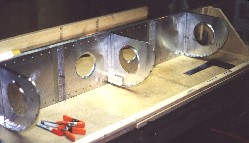 |
| We started the Left Wing on 3 June 2001 and made the following observations relative to our experiences on the Right Wing: - Second Wing goes more quickly and with higher precision due to lessons learned on the first wing. - Fixturing methods developed during the first wing avoided many of the alignment problems encountered previously. - Moving wing stands with wing onto a work table provides much better access and visiblity than when the stands are positioned on the floor. - Aluminum Fuel lines using Swagelok fittings provides a very compact and clean installation. - Corrugated, split plastic tubing provides a good routing technique and protection for internal wiring. |
 |
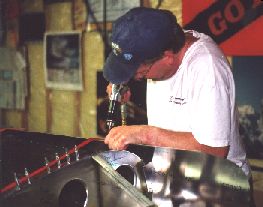 |
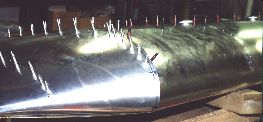
| Just to prove that I'm still doing some of the work, here I'm wrestling with the nose skin. |
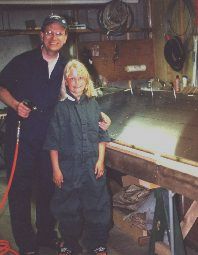 |
| More memories in the shop with Becky. |
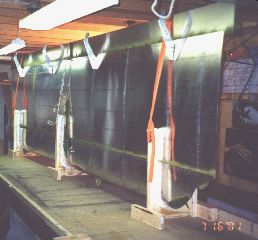 |
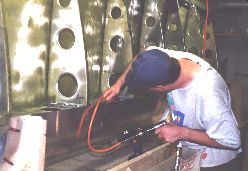
| As mentioned earlier, we moved the left wing to the work table in the support cradles to do the finishing work. This worked much better than when the cradles were left on the floor for the first wing. Below, I'm working on the fuel tank brackets. The flexible shaft attachment for the drill worked quite well for accessing tight spots. |
 |
 |
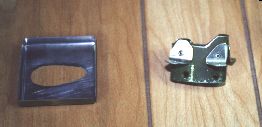
| The entire wiring task and fuel system installation was much easier to accomplish with the wing in the cradles and on the table. At left, the tanks are installed with all the wiring and fuel lines shown. |
 |
 |
 |
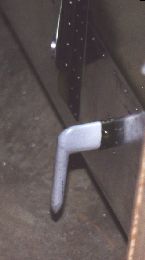 |
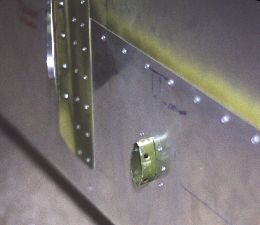
| The left wing has one unique element not included in the right and that is the Pitot tube. We elected to purchase a used heated Pitot tube from a C-172. The photos below show the mounting technique we applied. |
 |
 |
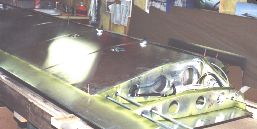
| We moved the wing from the cradles back to the table top to work the wing root. This is certainly one of the toughest parts of the wing kit, but taking it slow gets a nice result. |
| We opted not to rivet this wing closed at this point in order to show our guests the inside structure and to make sure that we haven't forgotten anything before installation. As such, we moved the wing back to the cadles and pushed it out of the way to make room for the next componets: flaps, slats, and fuselage. We completed the left wing in 118 hrs; 45 hrs quicker than the first wing. |