
Puttin' on the antler tips
Yesterday, I went pawn shopping. After going to three pawn shops without finding a flat 1/2" drill bit, I came to the realization that I was probably spending more money in gas than if I had just gone to Home Depot and bought a new one. So I went to Big Lots and got one for 89 cents. When I got home, I emailed everybody in my Bible study group to see if anybody had access to a bench grinder. I got two positive responses, so this morning I posted a message on The Leatherwall to solicite advice about grinding this drill bit, since I've never used a bench grinder before. One guy on there suggested I use a cone-shaped rotary rasp. Well I had never heard of a cone shaped rotary rasp before, but when I saw one, my eyes lit up. I figured the drill bit would work better, but impatient as I was I went to Home Depot and got a rotary rasp instead for about $3. I came home, practiced on some wood, and then set to work.
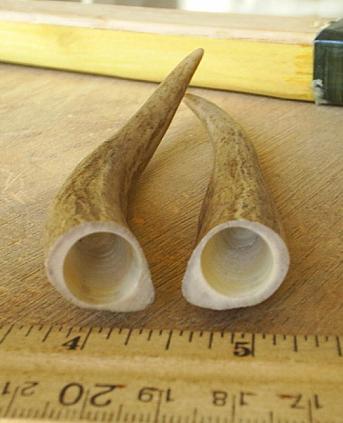
Here are the antlers I used.
To get the base wide enough for the limb tips, I had to make the antlers kind of long. I cut off those end pieces and got a hair over half an inch. Here are the antlers and my instruments of torture.

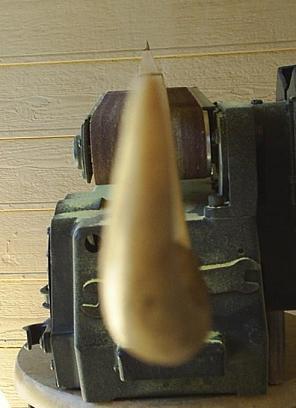
The top doohicky is my rotary rasp. It's a little dirty, because I practiced on some wood. At the bottom is a 1/4" forstner bit. I didn't have an ordinary 1/4" bit. The reason I used it is because the end of the rotary rasp is blunt, and about 1/4" wide. I used the 1/4" drill bit to drill a hole through the antler. Then I used the rotary rasp to, you know, V it out.
The hardest part was drilling straight through the middle. I didn't do a perfect job. The truth is, before using the 1/4" bit, I drilled a tiny hole with my dremel tool. I figured it would be easier that way, I'd have more control, and I could drill a hole straight in. I didn't do a perfect job, but it'll work.
I kept measuring the diameter of the holes until I got to about 1/2".
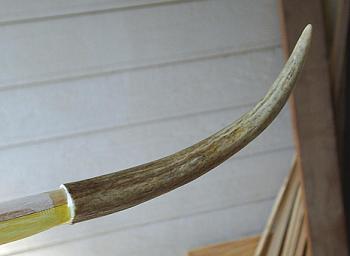
The next step was to shape the limb tips to fit in the holes. That part was easier than I thought it would be. I just sort of rolled the tips on the belt sander, and they rounded nicely. I kept doing it until the temporary nocks disappeared. To make sure I got the taper angle right, I would check by putting the rotary rasp behind the tip so I could just see the edges of it.

I had to flatten the tips since the bottom of the holes in the antlers were flat, but I only did it enough to make the antler fit snugly. Once they fit snuggly, I'd look at where the tip was sticking in the antler and see gaps. I fine tuned it with a file by filing where there were not gaps. That caused the gaps to close until finally I came really close to an almost perfect fit.
To glue them on, I used the same epoxy I used with the fishing line on the handle. I mixed some up, and then filled the hole of one antler with it. When I stuck it on the tip, epoxy oozed out all over. I rotated the bow to let it get all the way around. It dripped a little, and I wiped enough off just to keep it from dripping. Then I did the other one.
Once I had them both on, I lined them up and pushed them tight. I wish there was a way to keep some pressure on them, but I couldn't figure anything out.
It put it where the cats can't get to it. I'll let that sit over night before working on them anymore.
Today, I shaped the tips a little. I probably didn't do a good job of it. Where the antler meets the wood ain't so pretty. I think I'm going to put some kind of wrapping around it to pretty it up. Here's a look-see.

Notice how I exposed some of the wood as I filed the nocks. I don't think that will be a problem. I seem to have gotten a good fit, there are no gaps, and hickory and osage are pretty strong anyway.
After filing the nocks, I decided to string it and check the tiller. The bottom limb seemed to be bending more than the top limb, so I turned it over. That's the cool thing about bows without arrow rests--you can turn them over.
