
Finishing Touches
| Questions? Feel free to e-mail me. |
For the bezel artwork, I downloaded a GREAT inlay from the ArcadeControls website. This was designed by Cory Vigen and features the M.A.M.E. logo with a bunch of screen shots of various games. I cut two sheets of .060" thick plexi and sandwiched the prints between them. This protects it, and really makes it look sharp (at least I think so!).
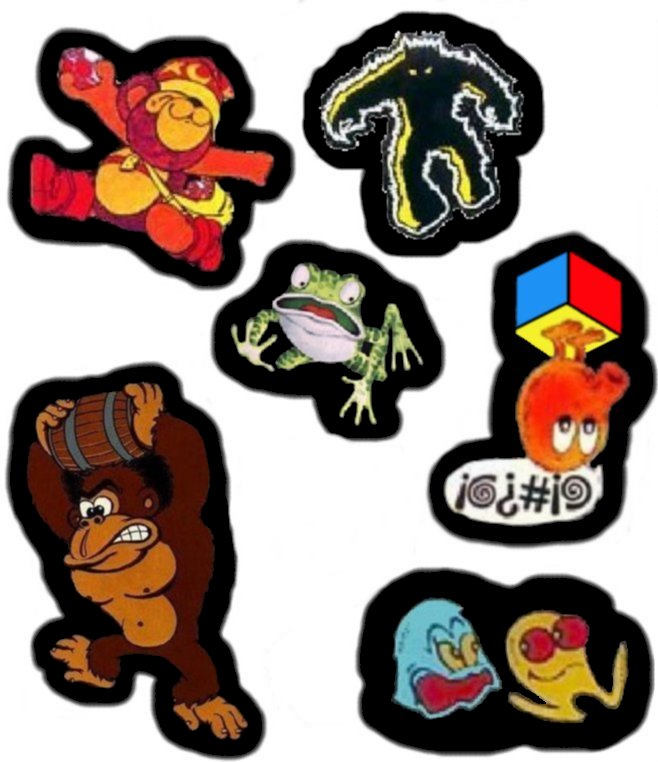
The monitor bezel is one item I agonized over for some time. I wanted something that looked good, but I didn't want just plain black surrounding the monitor. After some serious research, I ran across Arcade Paradise. Great idea on using poster board behind the plexi glass. It gives it a crisp, clear look and doesn't require any permanent marking of the plexiglass! Also, if I ever felt like changing the look (color, decals, etc…), it wouldn't take more than a couple minutes to swap in another one! What I did was get a large piece of black poster board from the local art store and cut it to the appropriate size. The size you'll want to cut it will depend on how large the opening in your cabinet is, and your screen size. Next, I spray painted it with two coats of glossy black spray paint. Once it was dry, I glued a bunch of graphics I downloaded from the Arcade Paradise website, as well as some I found and touched up.
 |
 |
 |
Finally, here is a .zip file that contains the additional .jpg files that I didn't put into a printable format. Includes Tron, Gorf, CSprint, Space Ace, Popeye and a few others.
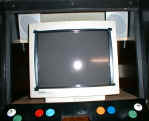
Then there was the question of the monitor itself. When it sits behind the black bezel, you can easily see that lovely beige color near the edge of the monitor. I considered spray painting or using a black marker, but didn't want to do anything permanant to the monitor. Taking another hint from ArcadeParadise, I used black electrical tape around the edge, and it works excellent! If you look closely here, you also see where the speakers have been mounted.
Then there's the whole "how do I power this thing
up?" question. I wanted something that would be easy to do, but
didn't need to all happen with one flip of a switch. To turn on the
machine, you have to open the coin door. On the right inside there
is a power strip which will power up the marquee, speakers and
monitor. I didn't want the PC going through this, so you then have
to hit the power on the PC itself, and you're off and running!
|
|